
Highlight
SwiftUI allows Mac apps to connect to system-level workflows through Settings, AppStorage, Table drag and drop, fileExporter, and Continuity Camera, so developers can use declarative code to support user preferences, data movement, file export, and device import.
Core Content
Mac users use apps their way. Some people turn on dark mode, some make the sidebar icons larger, some are used to keyboard shortcuts, and some just drag content to another window.
If the app doesn’t catch these habits, the functionality itself remains available and the experience becomes disconnected. Users have to find their way back and forth between menus, windows, and the file system. Developers also have to maintain a number of platform details: preference windows, drag and drop, save panels, import devices.
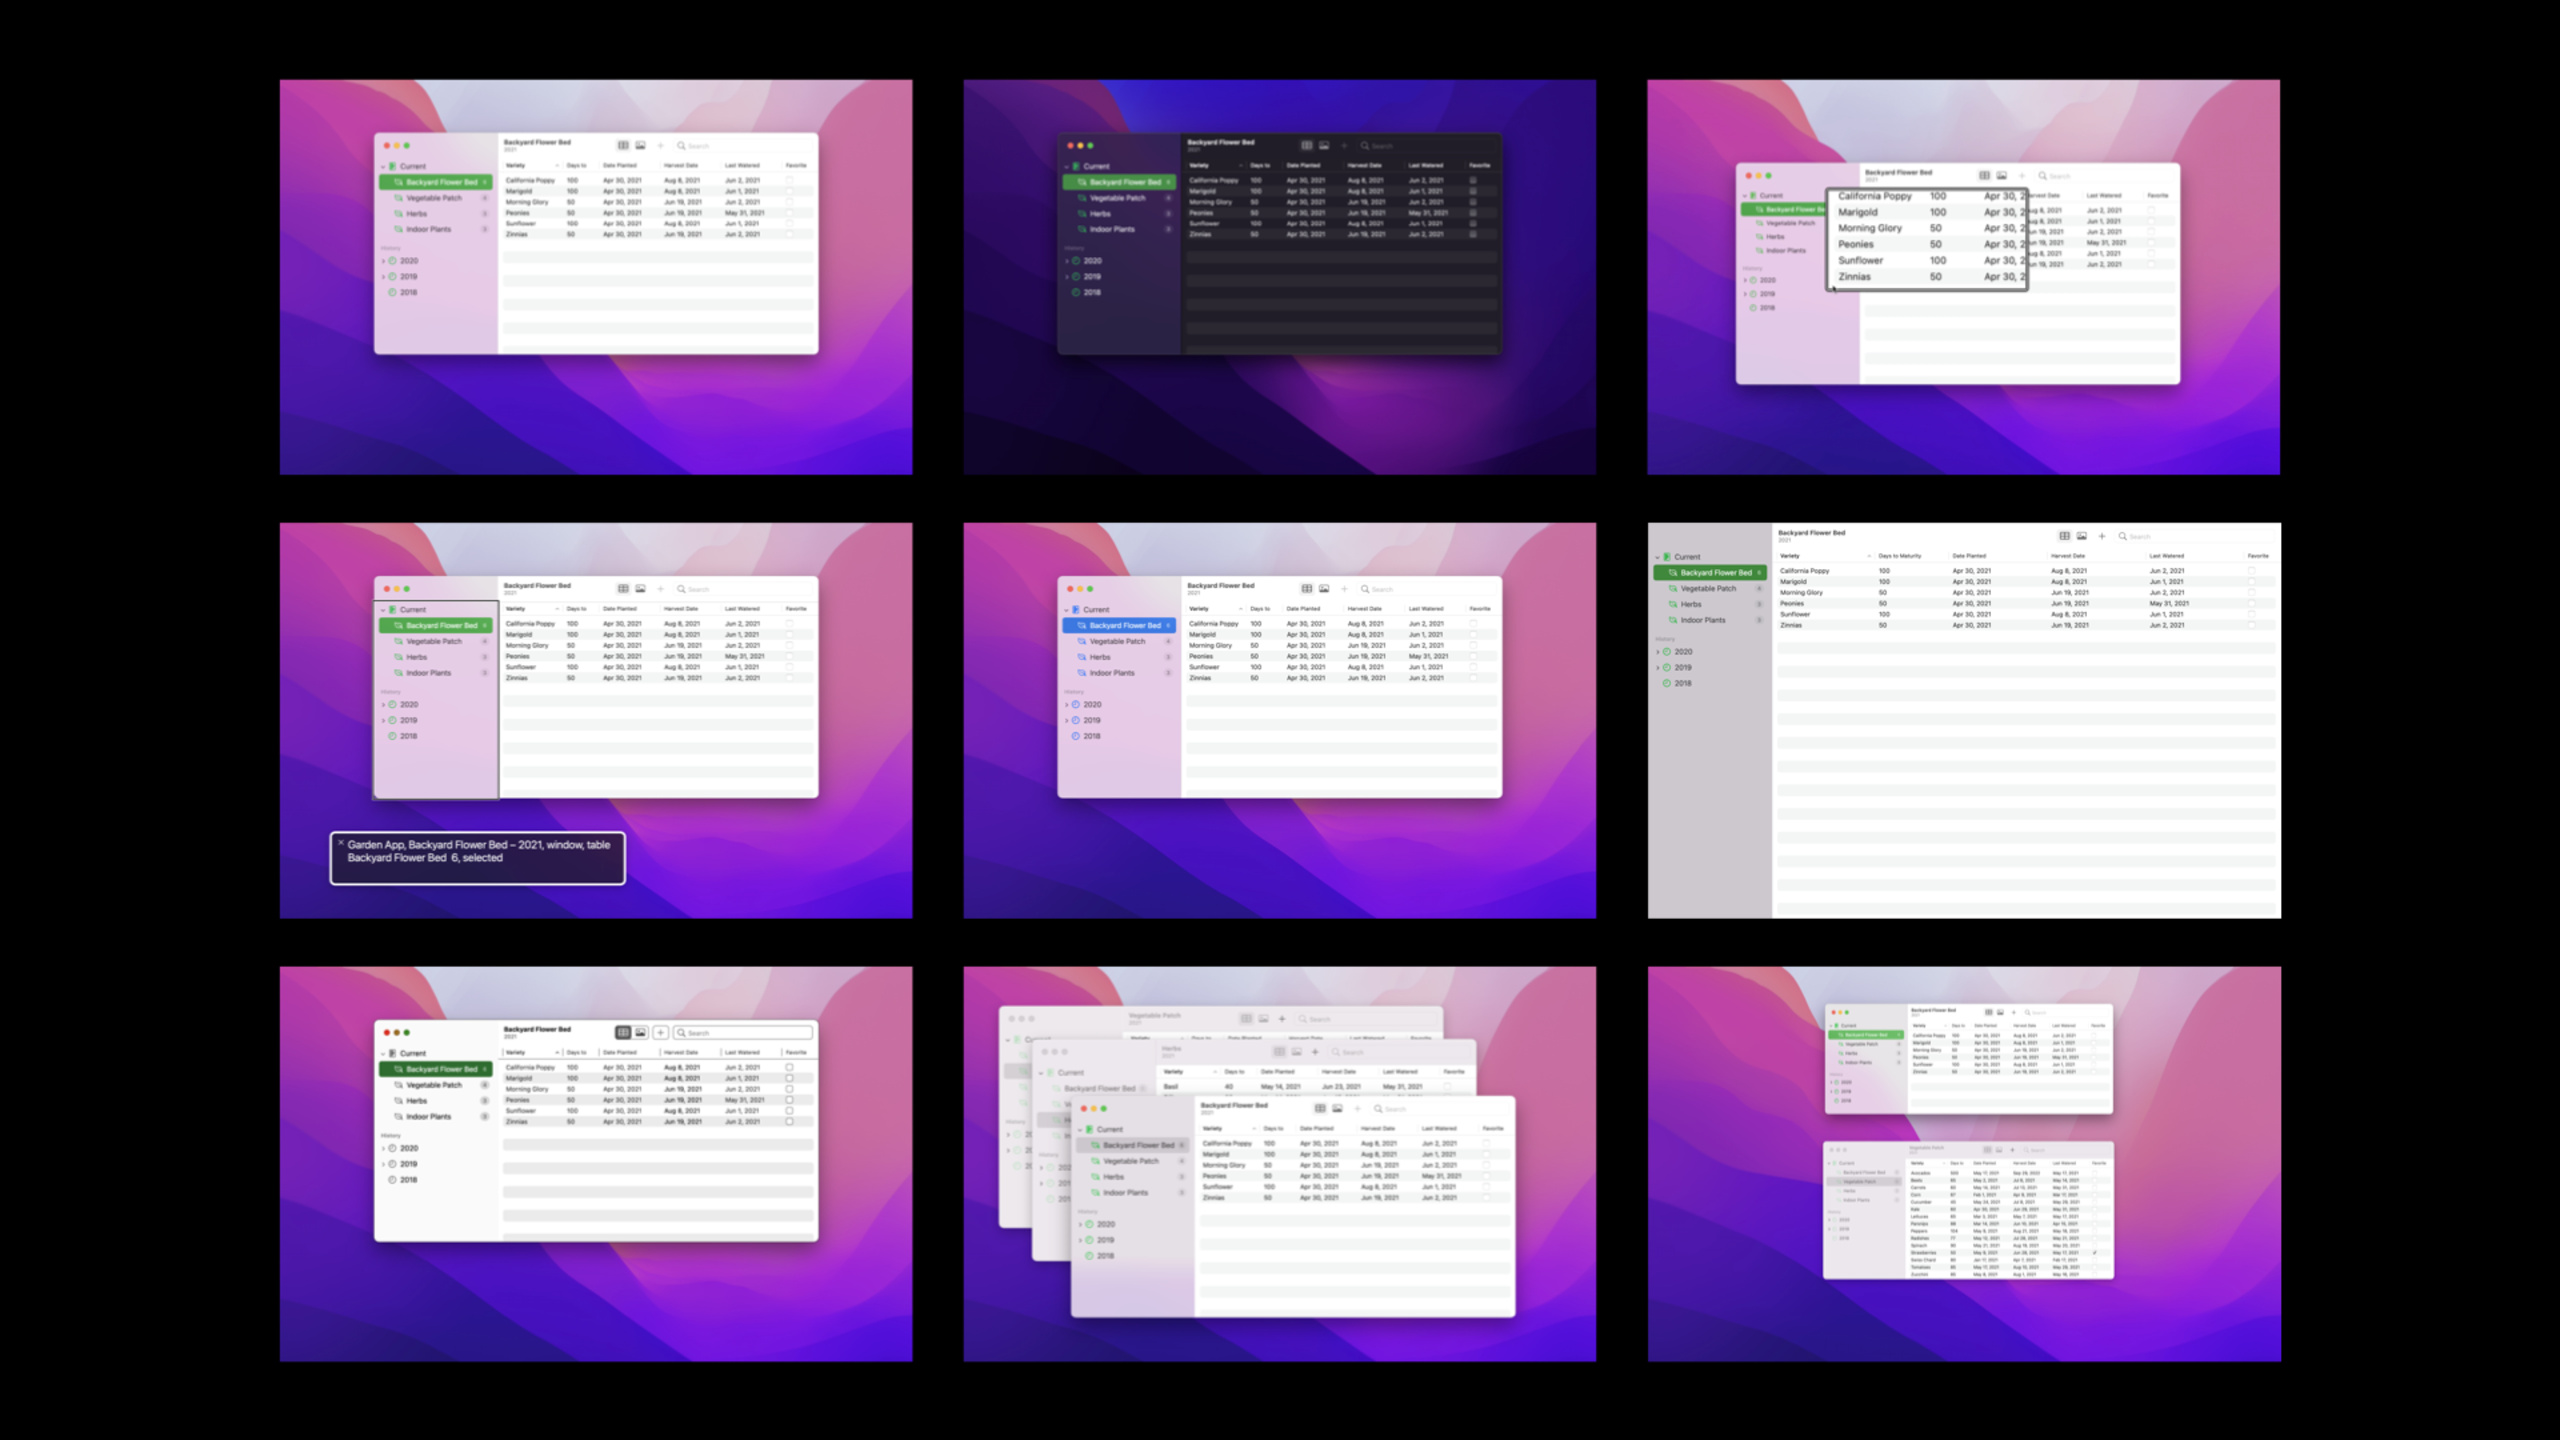
This session continues with the first part on gardening applications. The previous part has already set up the sidebar, table, multi-window, menu bar and search. The second part deals with the last bits of high-frequency detail in the Mac app.
SwiftUI first accesses system preferences. Dark mode and sidebar icon size will automatically affect the interface. Developers can also set it in the resource directoryAccentColorto use the app’s own accent color for buttons, selected states, and sidebar icons.
Then, the app adds its own settings window.SettingsThe scene is responsible for menu items andCommand-,shortcut key,TabViewResponsible for grouping,@AppStorageEnter user selectionUserDefaults。
Data operations are also changed to a method familiar to Mac users. table row passeditemProviderBecome a drag source and the form passesonInsertReceive drag and drop. Users can drag plants from one window to the garden in another window.
Finally, the application accesses the file system and device.fileExporterOpen the save panel and export the database to CSV.ImportFromDevicesCommandsandimportsItemProvidersAfter connecting to the Continuity Camera, users take pictures with their iPhone and the pictures are directly entered into the plant record in the Mac app.
Detailed Content
Settings window: Settings, TabView and AppStorage
(03:28)
The SwiftUI Mac app is available atAppAdd inSettingsscene. The system will place the preference menu item in the main menu and configure standard shortcut keysCommand-,。
The settings window in the demo has two panes: General and Viewing. This is achieved by usingTabViewPut two subviews, and then addtabItem。
import SwiftUI

struct Garden: Identifiable {
    let id: UUID
    var name: String
    var displayYear: String
}

final class GardenStore: ObservableObject {
    @Published var gardens: [Garden] = [
        Garden(id: UUID(), name: "Indoor Plants", displayYear: "2021"),
        Garden(id: UUID(), name: "Backyard Flower Bed", displayYear: "2021")
    ]
}

@main
struct GardenApp: App {
    @StateObject private var store = GardenStore()

    var body: some Scene {
        WindowGroup {
            ContentView(store: store)
        }

        Settings {
            SettingsView(store: store)
        }
    }
}

struct SettingsView: View {
    @ObservedObject var store: GardenStore

    var body: some View {
        TabView {
            GeneralSettings(gardens: store.gardens)
                .tabItem {
                    Label("General", systemImage: "gear")
                }

            ViewingSettings()
                .tabItem {
                    Label("Viewing", systemImage: "eyeglasses")
                }
        }
        .padding()
    }
}

struct GeneralSettings: View {
    let gardens: [Garden]
    @AppStorage("defaultGarden") private var selection: String?

    var body: some View {
        Form {
            Picker("Default Garden", selection: $selection) {
                Text("None").tag(String?.none)

                ForEach(gardens) { garden in
                    Text("\(garden.name) \(garden.displayYear)")
                        .tag(Optional(garden.id.uuidString))
                }
            }
            .fixedSize()
        }
    }
}

struct ViewingSettings: View {
    var body: some View {
        Text("Viewing")
    }
}

struct ContentView: View {
    @ObservedObject var store: GardenStore

    var body: some View {
        Text("Gardens: \(store.gardens.count)")
    }
}
Key points:
SettingsandWindowGroupSame level, indicating that this is an application-level settings window. -SettingsView(store: store)Pass the same model to the settings interface, and the settings can read the current garden list. -TabViewGenerates a Mac Settings window style with toolbar icons. -Label("General", systemImage: "gear")Provides text and SF Symbol icons. -@AppStorage("defaultGarden")Use the same key to persist the default garden toUserDefaults。Text("None").tag(String?.none)Give the Picker an empty selection, corresponding to None in the demo. -ForEach(gardens)Generate one entry for each garden, tag holding the garden ID string.
(07:47)
After the settings are saved, the main interface must read the same key. The logic in the demonstration is: if the current window has a garden selected, use the window’s own selection; if not, fall back to the default garden.
import SwiftUI

struct GardenSelectionView: View {
    @State private var selectedGardenID: String?
    @AppStorage("defaultGarden") private var defaultGardenID: String?

    var selection: Binding<String?> {
        Binding(
            get: {
                selectedGardenID ?? defaultGardenID
            },
            set: {
                selectedGardenID = $0
            }
        )
    }

    var body: some View {
        Picker("Garden", selection: selection) {
            Text("Indoor Plants").tag(Optional("indoor-plants"))
            Text("Backyard Flower Bed").tag(Optional("backyard-flower-bed"))
        }
    }
}
Key points:
@StateSaves the temporary selection in the current window. -@AppStorage("defaultGarden")Read the default value written by the settings window. -Binding(get:set:)Custom selection logic. -getReturn firstselectedGardenID, returned when there is no current selectiondefaultGardenID。setUpdate onlyselectedGardenID, to prevent users from changing the global default value when switching gardens in the window.
Table drag and drop: TableRow, itemProvider and onInsert
(09:30)
The first part has added the “Add Plants” menu item to the application. Here’s another new workflow: direct drag and drop.
SwiftUITableYou can turn each row into a drag source. The method in the demonstration is fromTableRemove the data array from the initializer, use row builder instead, and give eachTableRowadditemProvider。
import SwiftUI
import UniformTypeIdentifiers

struct Plant: Identifiable, Hashable {
    let id = UUID()
    var name: String

    static let draggableType = UTType.plainText

    var itemProvider: NSItemProvider {
        NSItemProvider(object: name as NSString)
    }

    static func fromItemProviders(_ providers: [NSItemProvider], completion: @escaping ([Plant]) -> Void) {
        var plants: [Plant] = []
        let group = DispatchGroup()

        for provider in providers {
            group.enter()
            provider.loadObject(ofClass: NSString.self) { object, _ in
                if let name = object as? String {
                    plants.append(Plant(name: name))
                }
                group.leave()
            }
        }

        group.notify(queue: .main) {
            completion(plants)
        }
    }
}

struct GardenDetail: View {
    @State private var plants = [
        Plant(name: "Daisy"),
        Plant(name: "Fern")
    ]

    var body: some View {
        Table {
            TableColumn("Name", value: \.name)
        } rows: {
            ForEach(plants) { plant in
                TableRow(plant)
                    .itemProvider {
                        plant.itemProvider
                    }
            }
        }
        .onInsert(of: [Plant.draggableType]) { index, itemProviders in
            Plant.fromItemProviders(itemProviders) { newPlants in
                plants.insert(contentsOf: newPlants, at: index)
            }
        }
    }
}
Key points:
TableColumn("Name", value: \.name)Declare the name column of the table. -rowsClosures let developers build line by lineTableRow, which makes it easy to add modifiers to each line. -TableRow(plant)Bind the current plant object to this row. -itemProviderreturnplant.itemProvider, this row can be dragged out. -onInsert(of:)Declare the content types accepted by the form, used in the demonstrationPlant.draggableType.- in closure
indexIt is the position where the user puts it down. -itemProvidersIt is the data carrier passed in by the drag-and-drop system. -insert(contentsOf:at:)Insert the parsed plant into the target location.
File export: CommandGroup and fileExporter
(12:08)
Users often need to take out application data. Backing up, sharing, and importing to other applications all use the file system.
For this demonstrationCommandsAdded Export item in File menu. The menu button is only responsible for switching one state, and the real save panel isfileExporterOpen.
import SwiftUI
import UniformTypeIdentifiers

struct Store: FileDocument {
    static var readableContentTypes: [UTType] { [.commaSeparatedText] }

    var plants: [String] = ["Daisy", "Fern"]

    init() {}

    init(configuration: ReadConfiguration) throws {
        plants = []
    }

    func fileWrapper(configuration: WriteConfiguration) throws -> FileWrapper {
        let csv = plants.joined(separator: "\n")
        let data = Data(csv.utf8)
        return FileWrapper(regularFileWithContents: data)
    }
}

@main
struct ExportingGardenApp: App {
    @State private var store = Store()

    var body: some Scene {
        WindowGroup {
            Text("Garden")
        }
        .commands {
            ImportExportCommands(store: store)
        }
    }
}

struct ImportExportCommands: Commands {
    let store: Store
    @State private var isShowingExport = false

    var body: some Commands {
        CommandGroup(replacing: .importExport) {
            Section {
                Button("Export…") {
                    isShowingExport = true
                }
                .fileExporter(
                    isPresented: $isShowingExport,
                    document: store,
                    contentType: Store.readableContentTypes.first ?? .commaSeparatedText
                ) { result in
                    switch result {
                    case .success(let url):
                        print("Exported to \(url)")
                    case .failure(let error):
                        print("Export failed: \(error.localizedDescription)")
                    }
                }
            }
        }
    }
}
Key points:
StoreobeyFileDocument, which can be used asfileExporterofdocument。readableContentTypesExpose CSV type, corresponding to the demoStore.readableContentTypes.first。fileWrapper(configuration:)Convert memory data into file content. -.commandsAdd menu commands to application scenarios. -CommandGroup(replacing: .importExport)Place the menu items in the import and export locations expected by the system. -Button("Export…")Use an ellipsis to prompt the user that a save panel will appear next. -isShowingExport = trueTrigger the export process. -fileExporterReceives display status, document object, content type, and completion callbacks.
Continuity Camera: Import pictures directly from iPhone
(15:08)
Plant records in gardening applications already have text data. Pictures are suitable for recording the growth status of plants.
Continuity Camera allows users to select “Import from iPhone > Take Photo” in the Mac menu. After the iPhone takes the picture, the picture is handed over to the SwiftUI view through the item provider.
import SwiftUI
import UniformTypeIdentifiers

struct PlantImage: Identifiable {
    let id: UUID
    var name: String
    var imageURL: URL?

    static let importImageTypes: [UTType] = [.image]

    static func importImageFromProviders(_ providers: [NSItemProvider], completion: @escaping (URL?) -> Void) {
        guard let provider = providers.first else {
            completion(nil)
            return
        }

        provider.loadFileRepresentation(forTypeIdentifier: UTType.image.identifier) { url, _ in
            completion(url)
        }
    }
}

struct GalleryView: View {
    @State private var plants = [
        PlantImage(id: UUID(), name: "Daisy"),
        PlantImage(id: UUID(), name: "Fern")
    ]
    @State private var selection = Set<PlantImage.ID>()

    var body: some View {
        List(plants, selection: $selection) { plant in
            Text(plant.name)
        }
        .importsItemProviders(selection.isEmpty ? [] : PlantImage.importImageTypes) { providers in
            PlantImage.importImageFromProviders(providers) { imageURL in
                guard let imageURL else { return }

                for id in selection {
                    if let index = plants.firstIndex(where: { $0.id == id }) {
                        plants[index].imageURL = imageURL
                    }
                }
            }
        }
    }
}
Key points:
ImportFromDevicesCommandsResponsible for providing the entrance to import from the device in the main menu. The demonstration adds it toImportExportCommandslater. -importsItemProvidersLet the current view receive item providers generated by device imports. -selection.isEmpty ? [] : PlantImage.importImageTypesControls menu availability; when no plant is selected, image import is not accepted. -PlantImage.importImageTypesCorresponds to all system picture types in the demonstration, used here.imageExpress image import capabilities. -providersIt is the image carrier returned by Continuity Camera. -importImageFromProvidersReturns the URL of the image saved to disk. -for id in selectionApply the same imported image to the currently selected plant record. -plants[index].imageURL = imageURLUpdate the model and the interface will refresh with the status.
Core Takeaways
-
What to do: Add a preference window to a data management Mac application. Why it’s worth doing:
SettingsAutomatically access the main menu andCommand-,,@AppStorageResponsible for saving user selections across launches. How to start: InAppAdd inSettings { SettingsView(...) },useTabViewDivide panes such as General, Viewing, and Export, and write small preferences@AppStorage。 -
What to do: Add drag-and-drop copying between windows to a list or table. Why it’s worth doing: Mac users often open multiple windows side by side to organize data.
TableRow.itemProviderandonInsertYou can turn the same operation into a drag-and-drop workflow. How to get started: Provide the model withNSItemProvider,GiveTableRowAdd toitemProvider, in targetTableFor useonInsert(of:)Parse providers and insert data. -
What to do: Add CSV export to the local database. Why it’s worth doing:
fileExporterBy directly using the system save panel, users get a familiar file saving process, and the application does not need to manage panel details by itself. How to get started: Make data containers complyFileDocument,existCommandsAdd the Export menu item and usefileExporter(isPresented:document:contentType:)Write out the file. -
What to do: Add “Import from iPhone photos” to asset recording applications. Why it’s worth doing: Continuity Camera connects shooting devices and Mac applications, suitable for inventory, gardening, maintenance records, and ticket filing. How to start: Add it to the application command
ImportFromDevicesCommands, addimportsItemProviders, write the returned image URL into the selected model. -
What to do: Set an exclusive accent color for the app. Why it’s worth doing: When users select the system’s multi-color accent color, the app’s buttons, selection highlights, and sidebar icons can use their own theme colors. How to start: Open asset catalog and select
AccentColor, set the content to the system color that matches the application theme; the demonstration uses system green to match the gardening theme.
Related Sessions
- SwiftUI on the Mac: Build the fundamentals — The first part of this session, first build the sidebar, table, toolbar, search, multi-window and menu bar of the Mac application.
- What’s new in SwiftUI — Check out the overall new capabilities of SwiftUI 2021, including macOS Table, searchable, Canvas, FocusState and other APIs.
- Direct and reflect focus in SwiftUI — Supplements the focus movement, keyboard submission and input experience in Mac and multi-platform apps.
- Demystify SwiftUI — Understand the identity, life cycle, and dependencies of SwiftUI to help determine where state should be placed.
Comments
GitHub Issues · utterances