
Highlight
Apple adds environment variables, custom scripts, additional Git repository authorization and Webhooks to Xcode Cloud, allowing developers to integrate the team’s internal tools, private dependencies and external services into the cloud build process.
Core Content
The build process of many teams has long gone beyond “compile it”.
The test environment needs to be connected to the staging API, and the release environment needs to use the production API. The PR build needs to change an icon to prevent testers from thinking the beta version is the official version. The application depends on a private Swift package, and CI must be able to pull it to the corresponding repository. Once the build is complete, the team also wants to automatically notify testers or trigger the downstream release process.
If these steps were completed locally, the configuration would be scattered across each developer’s computer. Some people forget to set environment variables, some people run less scripts, some people don’t have private warehouse permissions, and the build results are inconsistent.
Xcode Cloud’s basic workflow can already build, test, archive and distribute applications. This session talks about a layer closer to the real team: how to adjust the workflow to the team’s own process.
Apple provides four entrances. Environment variables pass configuration into the build environment.ci_scriptsThe shell script inside executes custom commands in a fixed phase. Additional repository authorization allows private dependencies to be built in the cloud. Webhooks send HTTP requests to external services during the build lifecycle.
The common goal of these capabilities is clear: to put the steps originally written in the team wiki, chat records, and personal shell configuration into a repeatable workflow in Xcode Cloud.
Detailed Content
Pass build configuration through environment variables
(01:44) A common scenario is testing environment switching. The application depends on a certain API service. It should access staging during testing and production only when officially distributed. Writing the URL firmly in the code will make it difficult for the same code to serve multiple workflows.
The Environment section of Xcode Cloud supports environment variables in the form of key-value. Variables belong to the workflow configuration and do not need to be submitted to the source code repository. Each time the workflow runs, Xcode Cloud will set these variables to the temporary environment where the action is executed.
Environment variables in Xcode Cloud

API_BASE_URL=https://staging.example.com
CI_WORKFLOW=<current workflow name>
CI_PRODUCT_PLATFORM=<iOS | macOS | tvOS | watchOS>
CI_XCODEBUILD_ACTION=<build | test | analyze | archive>
Key points:
API_BASE_URL: The team can configure the business service address in the workflow, and the test process uses the staging address. -CI_WORKFLOW: Variables provided by Xcode Cloud, which can be used to determine which workflow is currently running. -CI_PRODUCT_PLATFORM: Variables provided by Xcode Cloud, which can be used to determine which Apple platform the current action is for. -CI_XCODEBUILD_ACTION: Variables provided by Xcode Cloud, which can be used to determine whether the current action is build, test, analyze or archive.
(02:37) Sensitive information uses secret environment variables. API keys or access tokens can be stored encrypted. The decrypted value will only appear in the temporary environment where the action is run, and will be obscured in the log, and the clear text cannot be viewed again in the workflow editor.
Secret environment variables

API_TOKEN=<encrypted value>
ACCESS_TOKEN=<encrypted value>
Key points:
API_TOKEN: Suitable for saving sensitive values such as API keys. -ACCESS_TOKEN: Suitable for saving tokens for accessing external services. -<encrypted value>: Xcode Cloud saves the encrypted value and decrypts it in the temporary environment at runtime.
Insert custom build steps using ci_scripts
(03:50) Custom scripts are shell scripts placed in the source code repository. Xcode Cloud supports three types of scripts, which run at fixed times.
ci_scripts/
  ci_post_clone.sh
  ci_pre_xcodebuild.sh
  ci_post_xcodebuild.sh
Key points:
ci_post_clone.sh: Run after the main warehouse is cloned. -ci_pre_xcodebuild.sh: After dependency resolution is completed,xcodebuildRun before execution. -ci_post_xcodebuild.sh:xcodebuildWhen finished, run and then Xcode Cloud saves the build product. -ci_scripts: The folder name must match exactly and be placed at the same level as the project or workspace used by the workflow.
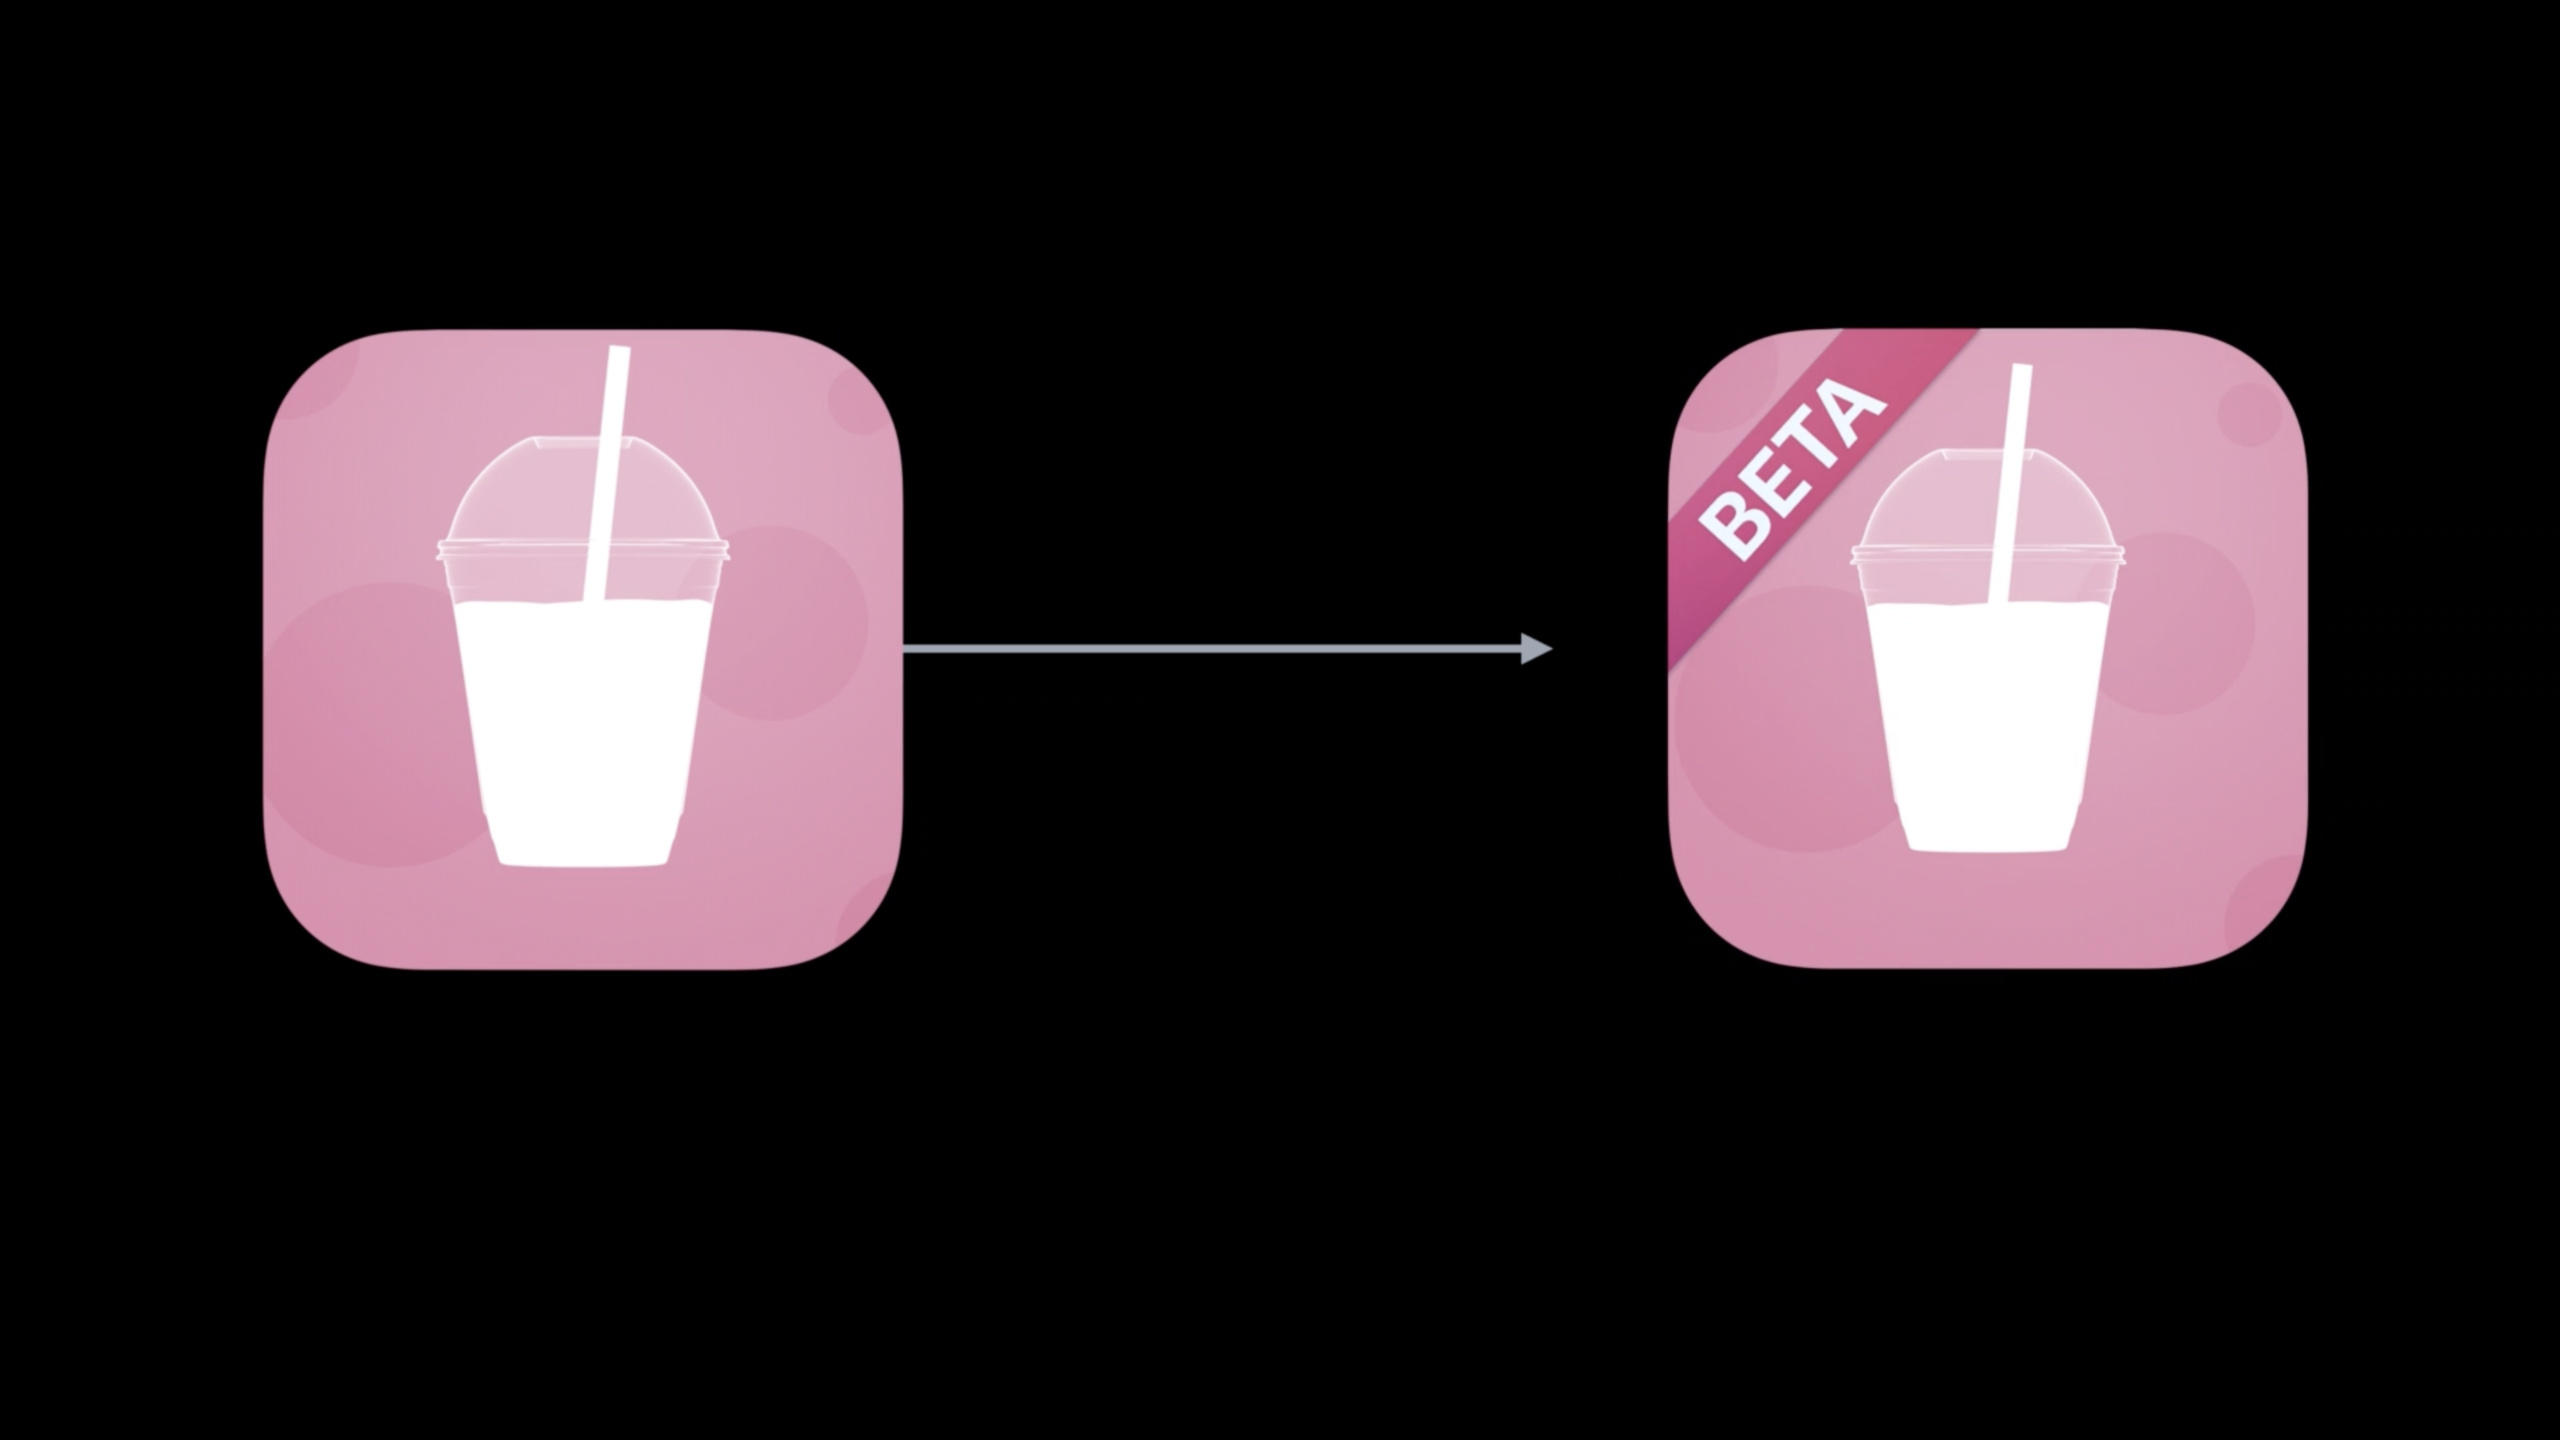
(09:03) The Fruta application in the demo has a specific requirement: when the PR build is distributed to the team for testing through TestFlight, the application icon must be replaced with a beta icon. In this way, the tester can immediately recognize on the mobile phone that the PR build currently installed is the one currently installed.
#!/bin/sh

#  ci_pre_xcodebuild.sh
#  Fruta
#
#  Made in Vancouver, Canada
#

if [[ -n $CI_PULL_REQUEST_NUMBER && $CI_XCODEBUILD_ACTION = 'archive' ]];
then
    echo "Setting Fruta Beta App Icon"
    APP_ICON_PATH=$CI_WORKSPACE/Shared/Assets.xcassets/AppIcon.appiconset

    # Remove existing App Icon
    rm -rf $APP_ICON_PATH

    # Replace with Fruta Beta App Icon
    mv "$CI_WORKSPACE/ci_scripts/AppIcon-Beta.appiconset" $APP_ICON_PATH
fi
Key points:
#!/bin/sh: Declares the script to be executed by the shell. -ci_pre_xcodebuild.sh: The script name determines where it will bexcodebuildrun before. -CI_PULL_REQUEST_NUMBER: A variable provided by Xcode Cloud; when it has a value, it means that this build comes from a pull request. -CI_XCODEBUILD_ACTION = 'archive': Only change the icon in the archive action, because TestFlight will archive it before distribution. -echo "Setting Fruta Beta App Icon": Write the current operation into the action log to facilitate troubleshooting. -APP_ICON_PATH=$CI_WORKSPACE/...:useCI_WORKSPACEAssemble the resource path within the project. -rm -rf $APP_ICON_PATH: Delete the default app icon set. -mv "$CI_WORKSPACE/ci_scripts/AppIcon-Beta.appiconset" $APP_ICON_PATH:Bundleci_scriptsThe beta icon in is moved to the default icon position.
(10:48) The standard output and standard error of the script will enter the action log, which can also be downloaded from the Artifacts tab. The script exit code will affect the action results; a non-zero exit code will cause Xcode Cloud to determine that the action failed.
#!/bin/sh

set -e

echo "Run a required custom command"
# your command here
Key points:
set -e: Stop the script when the command fails to expose the failure as early as possible. -echo: Write key steps into the log to facilitate locating whether the script is executed. -# your command here: Replaced with the command the team needs to run in the action.
Let Xcode Cloud access additional Git repositories
(12:41) Many projects rely on shared libraries, tools, or frameworks. They are usually placed in the team’s private Git repository. When Xcode Cloud builds a project, if you do not have permission to access these repositories, the build will fail.
Fruta in the demo is going to add a feature calledInvitationsKitprivate Swift package. The developer adds the dependency through Add Package in Xcode. After submitting and pushing, the new build of Xcode Cloud detects that it cannot access the warehouse, so an authorization prompt is displayed in App Store Connect.
Additional repository flow

1. Add InvitationsKit in Xcode
2. Commit and push the package dependency
3. Xcode Cloud starts a build
4. Build fails because repository access is missing
5. Open Manage Repositories
6. Grant access to the InvitationsKit repository
7. Rerun the build
Key points:
- Step 1: Dependencies are still added to the project normally from Xcode.
- Step 3: The workflow can be automatically triggered by new commits.
- Step 4: The first time you reference a private repository, Xcode Cloud may not have access.
- Step 5: The failure page will provide the Manage Repositories entry.
- Step 6: The authorization action may jump to source code services such as GitHub for confirmation.
- Step 7: After authorization is completed, rerun the build to pull the dependency.
(16:07) This mechanism is not limited to Swift packages. Xcode Cloud detects newly referenced Git repositories during the build. The cloned repository, Git submodule, and Git repository referenced by other dependency management tools in the custom script will also go through the same authorization process.
Repository references detected by Xcode Cloud

- Swift package dependency
- Git clone inside a custom script
- Git submodule
- Git repository used by another dependency manager
Key points:
Swift package dependency: In the demoInvitationsKitfalls into this category. -Git clone inside a custom script: When actively pulling the warehouse in the script, Xcode Cloud permissions are also required. -Git submodule: When the project uses submodule, Xcode Cloud also needs to access the corresponding warehouse. -another dependency manager: Other dependent tools may also trigger authorization requirements as long as they reference the Git repository.
Use Webhooks to connect to external services
(17:31) Webhooks let Xcode Cloud send real-time updates to external services during the build lifecycle. Teams can use it to notify beta testers, create or close issues, notify the on-call system when a build fails, or trigger downstream builds.
Xcode Cloud supports sending webhooks in three stages.
Xcode Cloud webhook delivery stages

1. Build is created
2. Build is starting
3. Build has completed
Key points:
Build is created: Triggered after code push or manual start of build. -Build is starting: Triggered when the build starts executing. -Build has completed: Triggered when the build ends, both success and failure will be covered.
(18:01) Add the entry of webhook in the Xcode Cloud settings of App Store Connect. Up to 5 webhooks can be created per product. Configuration items include the webhook name and a service URL that can receive HTTP requests.
Webhook configuration

Name: Release notification
URL: https://example.com/xcode-cloud/webhook
Limit: up to five webhooks per product
Payload: JSON blob with app, workflow, product, build, and more
Key points:
Name: The name should be kept unique to easily distinguish different webhooks. -URL: The target service must be able to receive and handle HTTP requests. -Limit: Maximum of 5 webhooks per product. -Payload: Xcode Cloud sends JSON blob, which contains App Store Connect app, workflow, product, build and other information.
(19:16) Apple’s example logic is: the service receives the request, decodes the JSON payload, checks the workflow name and build state. If the release workflow is built successfully, send a message to Twitter to tell testers that the new version is ready for testing. After processing is completed, a 200 status code is returned.
Webhook handler logic

1. Receive the request
2. Decode the payload to a JSON object
3. Check workflow name
4. Check build state
5. Post a message to Twitter when release workflow succeeded
6. Return HTTP 200
Key points:
- Step 1: The external service receives the request as a webhook endpoint.
- Step 2: The payload is JSON and needs to be decoded first.
- Step 3: Filter publishing processes based on workflow name.
- Step 4: Judge the build result based on the build state.
- Step 5: Notify testers only when the release workflow is successful.
- Step 6: Return 200 to indicate that the request has been processed.
(19:59) If the endpoint does not return a success status code, Xcode Cloud will retry sending the request. You can also view webhook delivery records in App Store Connect to check the requests sent and responses received.
Webhook troubleshooting

- Xcode Cloud retries when the endpoint does not return a successful status code
- App Store Connect shows delivered requests
- App Store Connect shows received responses
Key points:
retries: When the external service fails briefly, Xcode Cloud will send it again. -delivered requests: You can see what Xcode Cloud is actually sending. -received responses: You can check what the endpoint returns, locate format or status code issues.
Core Takeaways
-
What to do: Automatically change the beta icon for PR builds. Why it’s worth doing: Use of Fruta in the demo
CI_PULL_REQUEST_NUMBERandCI_XCODEBUILD_ACTIONTo determine the build source, TestFlight testers can identify the PR version directly from the desktop icon. How to start: Create in the same level directory of the projectci_scripts/ci_pre_xcodebuild.sh, put betaAppIcon.appiconsetput inci_scripts, used in scriptsCI_WORKSPACEReplace resources. -
What to do: Configure different API environments for different workflows. Why it’s worth doing: Environment variables belong to the workflow configuration, and there is no need to submit the staging URL or token to the warehouse. Secret variables can also hide sensitive values. How to start: Add in the Environment section of Xcode Cloud workflow
API_BASE_URL, set the API key to the secret environment variable. -
What to do: Incorporate private Swift packages into cloud builds. Why it’s worth it: Xcode Cloud detects additional Git repositories referenced in the build and provides authorization access in App Store Connect. How to start: First add Package in Xcode and submit dependency changes. After the build fails, open Manage Repositories, grant access to the private repository, and then rerun build.
-
What to do: Automatically notify beta testers when the build is successful. Why it’s worth doing: Webhooks send JSON payloads when builds are created, started, and completed, and external services can decide whether to notify based on workflow and build state. How to start: Add a new webhook in Xcode Cloud settings, and the URL points to your own HTTP endpoint. After receiving the request, the service decodes the JSON, determines whether the release workflow succeeded, and finally returns HTTP 200.
-
What to do: Automatically notify the on-duty system when the build fails. Why it’s worth doing: Apple explicitly mentioned that webhooks can send build failures to the paging system, which is suitable for release processes and master branch protection. How to start: Configure webhook for the main branch workflow, check the build state in the endpoint, and call the team’s existing alarm service when it fails.
Related Sessions
- Meet Xcode Cloud — Introducing the basic concepts of Xcode Cloud as an Apple platform CI/CD service.
- Explore Xcode Cloud workflows — Explain the startup conditions, environment, actions, and distribution steps of workflow.
- Meet TestFlight on Mac — Shows how an Xcode Cloud build enters the TestFlight test distribution process.
- Discover and curate Swift Packages using Collections — Explain the Swift Package collections and package import process used in the demonstration.
Comments
GitHub Issues · utterances