
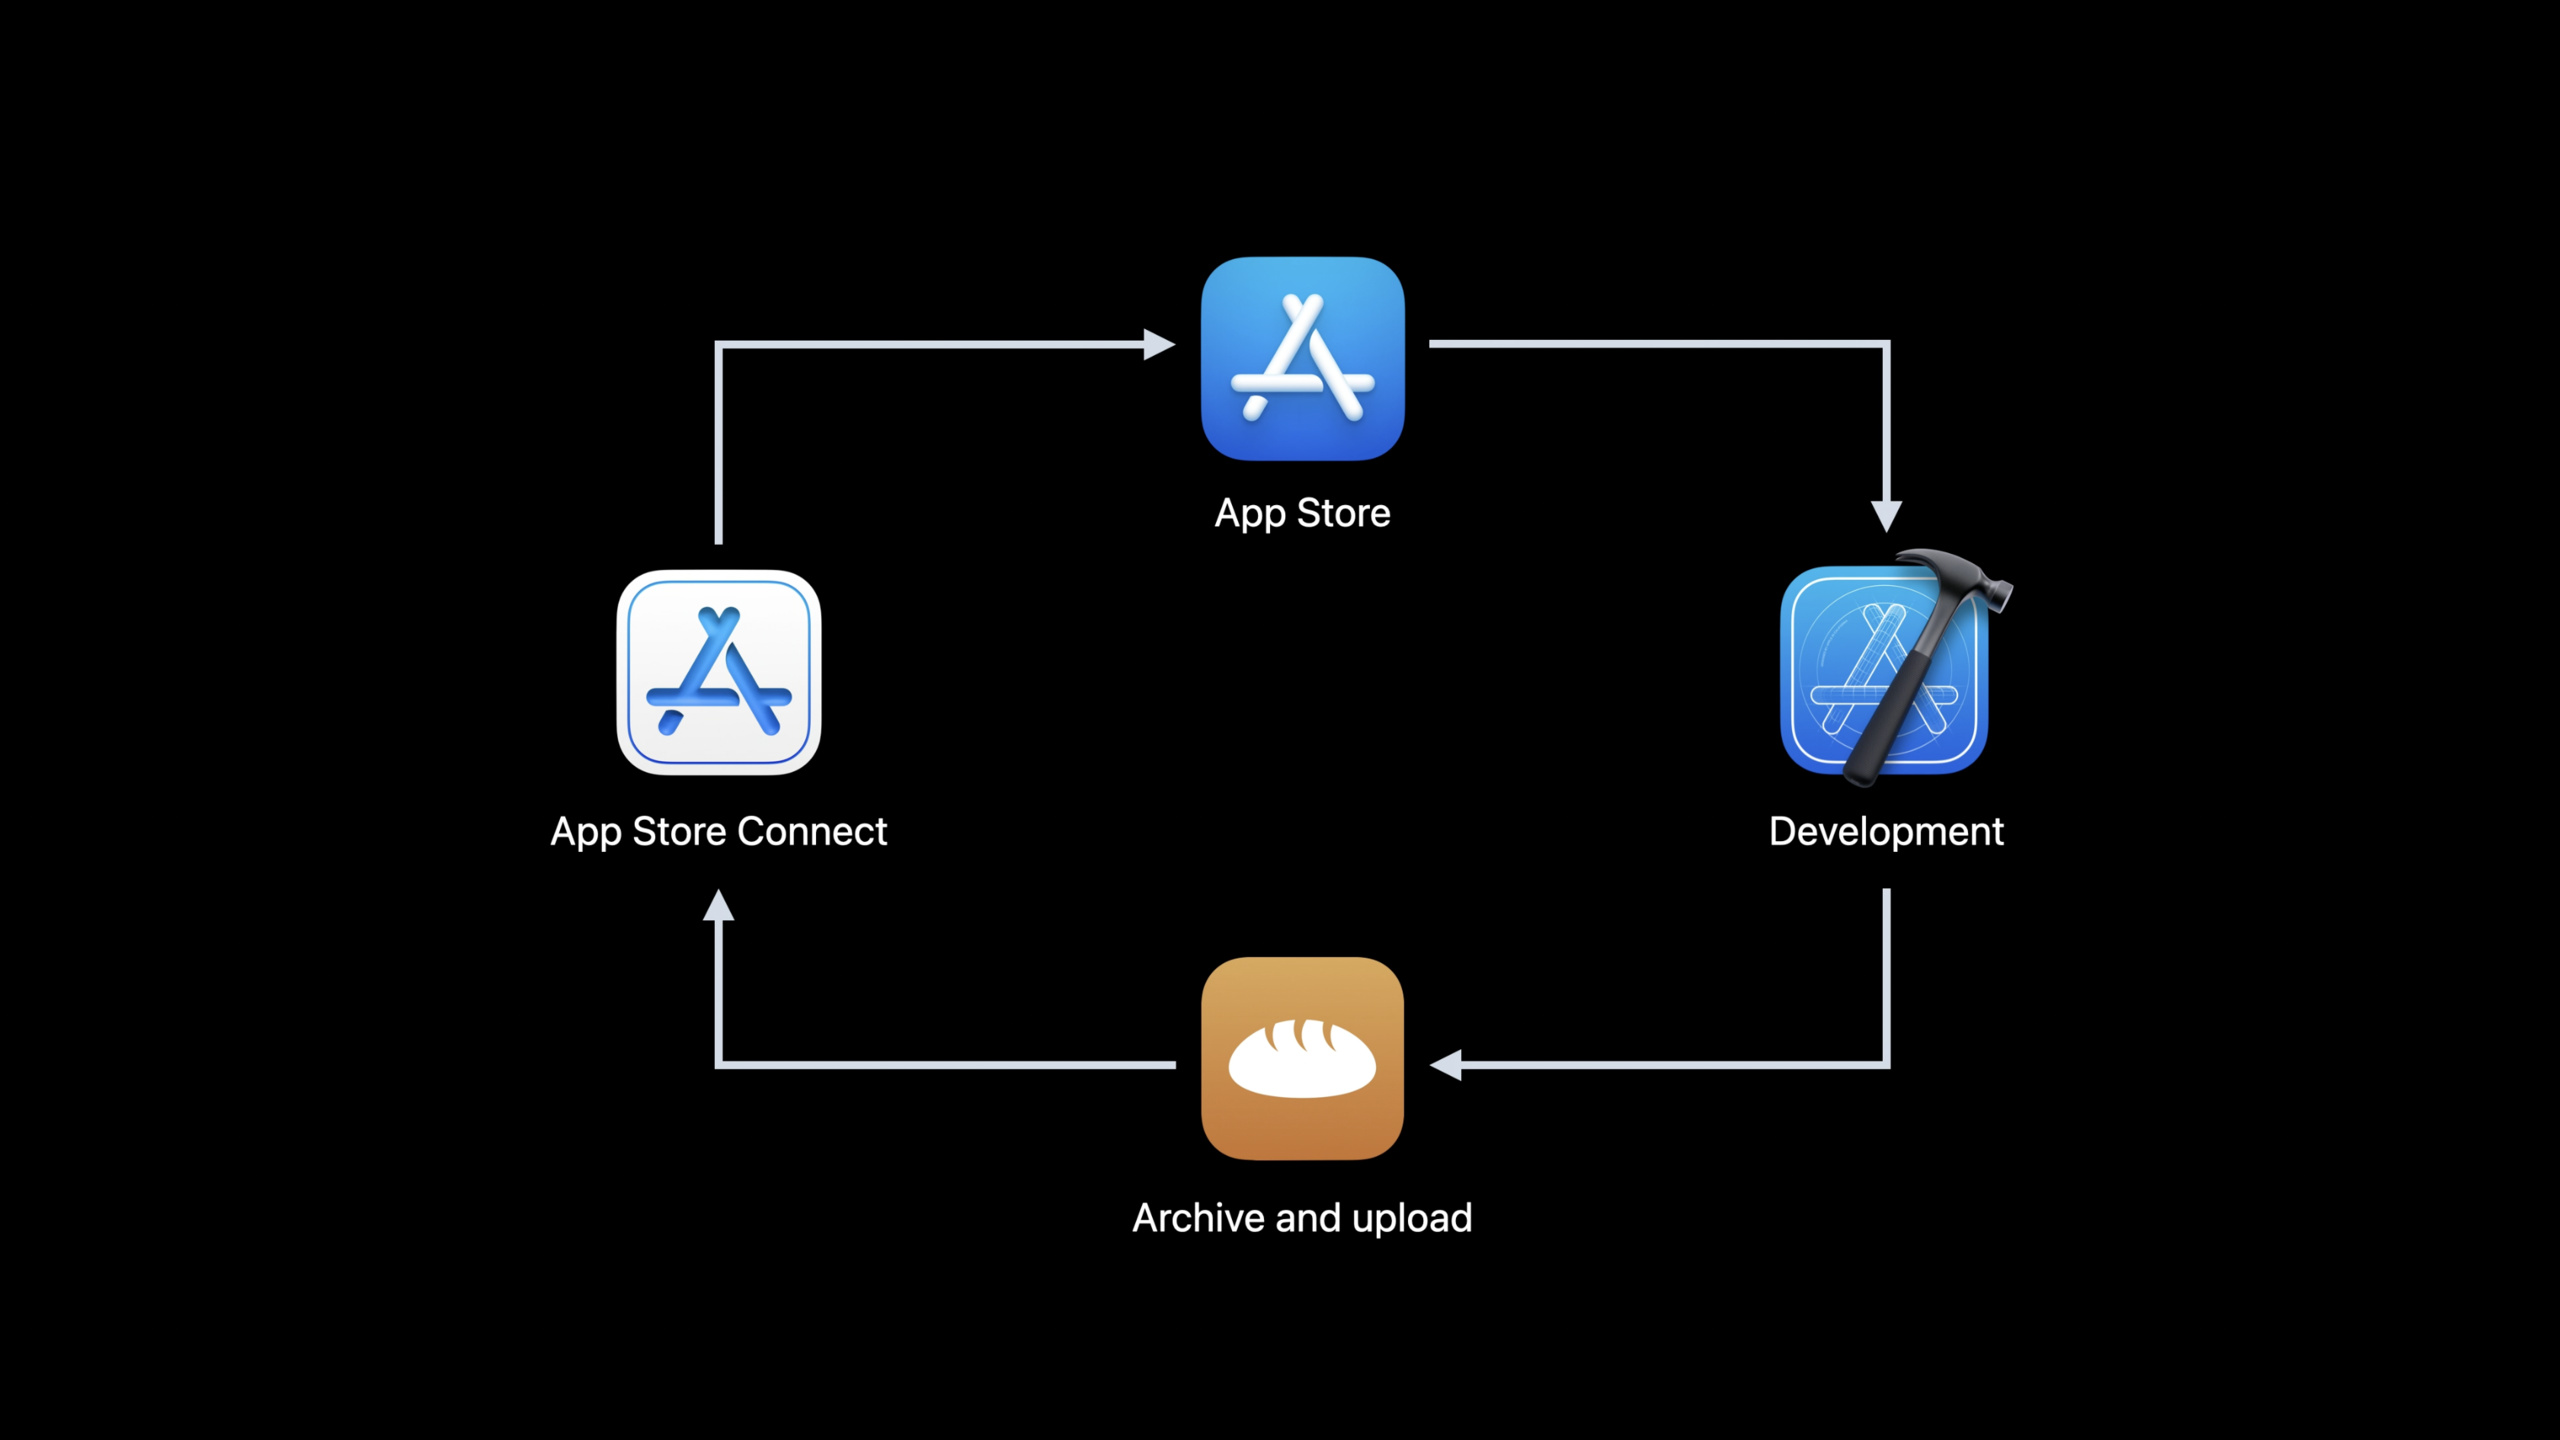
Highlight
Xcode 13 puts App Store Connect upload, application record creation, build number management and cloud signing into the same distribution process, so developers can complete application distribution without native certificate configuration.
Core Content
After an application is written, the next step is usually the most troublesome part.
You need to upload your build to App Store Connect before it can be tested by TestFlight. Before uploading for the first time, you need to create an app record in App Store Connect. This machine also needs to prepare a distribution certificate and private key. If the team changes a machine, the certificate and private key will become additional configurations.
This session uses an iOS app called Baker to demonstrate the complete process. The developer has completed the first build and wants to hand it over to the TestFlight testers. Previously this would happen across Xcode, Native Keychain, and App Store Connect. Xcode 13 incorporates these steps into Organizer’s distribution wizard.
First upload: Xcode directly creates application records
When Baker first uploaded to App Store Connect, there was no app record yet. Xcode 13 prompts you to create an app record during the upload process and fills in default values from the archive and system settings, such as app name, bundle ID, and primary language.
Once created, subsequent builds of Baker will all go into the same application record. There, developers can configure TestFlight, App Store, in-app purchases, and pricing information.
Signature: The private key is no longer required to be placed on the local machine
Signatures are used to prove that the application comes from a trusted developer. Previously when using automatic signing, the certificate and private key still needed to be distributed on the machine. Xcode 13 introduces cloud signing: certificates and private keys can be safely stored in the cloud, and signing operations are completed in the cloud.
Xcode will generate a partial signature from the developer-signed app in the archive and send the hash of the application content to the server. The server completes the signature with the private key and certificate, and returns the remaining signature to Xcode. The final IPA can be uploaded to App Store Connect.
Subsequent upload: the build number can be handed over to Xcode for management
App Store Connect uses a version number and a build number to distinguish each upload. When uploading Baker for the second time, the application record already exists, but the build number must be valid.
Xcode 13 will detect if the build number has already been used, or if it has not been incremented. If an issue is found, the distribution process provides a valid build number. Developers can see the value selected by Xcode in the Manage Version and Build Number option.
Detailed Content
Archive is the entrance to distribution
(02:42) Xcode distribution starts from archive. The archive is a developer-signed release build that contains application and team-related metadata.
Run Destination: Any iOS Device
Menu: Product > Archive
Organizer: Archives > Distribute App
Distribution Method: App Store Connect
Action: Upload
Key points:
Any iOS Device: Select the Universal iOS device target to ensure your build targets supported iOS devices. -Product > Archive: Generate a release archive package for distribution. -Organizer: Automatically opens after the archive is completed, displaying information such as version, bundle ID, team name, etc. -Distribute App: Start the Distribution Wizard. -App Store Connect: Send the build to App Store Connect for use with TestFlight or the App Store. -Upload: Xcode will sign, generate the IPA, and upload it to App Store Connect.
Xcode 13 can create App Store Connect app records
(05:20) The first time you upload Baker, Xcode will check the App Store Connect status and prompt to create an app record. This record is where TestFlight, App Store, in-app purchases, and pricing information are subsequently managed.
App Record Creation
- app name: derived from archive
- bundle ID: derived from archive
- primary language: derived from system settings

Available after creation:
- TestFlight builds
- App Store builds
- in-app purchases
- pricing information
Key points:
app name:Xcode derives the default app name from the archive package. -bundle ID: Xcode reads the bundle ID from the archive and uses it to match the app identity. -primary language:Xcode infers the primary language from system settings. -TestFlight builds: After the app record is created, the uploaded build can enter the TestFlight process. -in-app purchases: The same app record also hosts in-app purchase configuration.
Cloud signature removes local certificate configuration
(07:27) Automatic signing in Xcode 13 can use cloud signing. The certificate and private key are stored in the cloud, Xcode generates a partial signature, and the server completes the remainder.
Archive app
  -> generate partial signature
  -> send content hashes to Apple servers
  -> sign with cloud-managed certificate and private key
  -> return remaining signature
  -> complete distribution-signed app
Key points:
Archive app: Input is a developer-signed application in an archive package. -partial signature: Xcode generates partial signatures natively. -content hashes: What is sent to the server is the hash of the application content. -cloud-managed certificate and private key: The server uses the certificate and private key managed in the cloud to complete the signature. -remaining signature: The server returns the remaining signature, which Xcode inserts into the partial signature. -distribution-signed app: The result is a distribution-signed app that can be uploaded to App Store Connect.
(09:23) Permissions also have clear rules. Cloud signing is available by default for App Store Connect Admins and Account Holders. The Developer role needs to be granted Cloud Hosting Distribution Certificate permissions.
Cloud signing permission
- Admin: allowed by default
- Account Holder: allowed by default
- Developer: requires "Access to Cloud Managed Distribution Certificate"
Key points:
Admin: Cloud signing is available by default for App Store Connect distribution. -Account Holder: Cloud signature can be used by default. -Developer: Requires additional authorization. -Access to Cloud Managed Distribution Certificate: This is the permission switch that allows the Developer role to use cloud signing.
Build number management reduces repeated upload failures
(10:47) When Baker is uploaded for the second time, the application record has been created, and there is one less step in the process. However, App Store Connect uses version and build numbers to distinguish each build. The upload process is blocked when build numbers are duplicated or not incremented.
Manage Version and Build Number
- detects build number already used on App Store Connect
- detects build number not incrementing
- offers a valid build number in the archive
Key points:
already used:Xcode will check whether the build number has been uploaded. -not incrementing:Xcode will check if the build number is not incremented. -valid build number: The distribution process can provide a valid build number in the archive package. -archive: This modification occurs in the distribution archive.
Mac Distribution: Mac App Store with Developer ID
(13:11) Most iOS apps can run on Apple silicon Macs by default. If you want to support Intel Mac, you can make a Mac Catalyst version or a native Mac version. There are two main distribution paths for Mac apps.
Mac distribution options
- Mac App Store: cloud signing, App Store Connect upload
- Developer ID: cloud signing, notarization, outside Mac App Store
Key points:
Mac App Store: The process is similar to iOS uploads, using cloud signing and distribution to App Store Connect. -same bundle ID: If a Mac app and an iOS app use the same bundle ID, the same app record will be used. -in-app purchases: The same application record means that certain functions can be shared across platforms. -Developer ID: Suitable for distribution outside the Mac App Store. -notarization: Developer ID distribution will upload the application for malicious content checking, and after completion, macOS will trust the application.
Ad Hoc, Custom Apps and Enterprise for iOS
(15:13) Sometimes developers just want to send a fix build directly to teammates, or internal applications to company members. Xcode still retains these distribution methods.
iOS distribution options
- Ad Hoc: run on up to 100 registered devices per device type
- Custom Apps: distribute through App Store Connect
- Enterprise: distribute privately through the enterprise program
Key points:
Ad Hoc: Used to send the distribution signature build to team members. The device must be registered to the team. -100 registered devices per device type: Ad Hoc’s device limit is calculated by device type. -Custom Apps: First distribute to App Store Connect, and then configure the custom app there. -Enterprise: For private distribution with the Enterprise plan, select the enterprise distribution method in Organizer.
Use xcodebuild to automate distribution
(17:18) If the team uses a continuous integration service, the distribution process can be handed over to the command line. The entry point to Xcode isxcodebuild -exportArchive. It requires an archive package, an export options plist, and credentials.
xcodebuild -exportArchive \
  -archivePath "/path/to/Baker.xcarchive" \
  -exportOptionsPlist "/path/to/ExportOptions.plist" \
  -allowProvisioningUpdates \
  -authenticationKeyIssuerID "$ISSUER_ID" \
  -authenticationKeyID "$KEY_ID" \
  -authenticationKeyPath "/path/to/AuthKey.p8"
Key points:
xcodebuild -exportArchive: Commands for automated distribution. --archivePath: Pass in the path of the archive package that has been built. --exportOptionsPlist: Pass in the export options plist, record upload, bitcode, automatic signature and other distribution options. --allowProvisioningUpdates:Allows xcodebuild to communicate with the Apple Developer website. --authenticationKeyIssuerID: Pass in the Issuer ID of the App Store Connect API Key. --authenticationKeyID: Pass in the Key ID of the App Store Connect API Key. --authenticationKeyPath: Pass in the downloaded API Key file path.
(19:13) There are two methods of credentials. The first is to log in first in Xcode, and the command line will reuse the session for a period of time. The second is to use App Store Connect keys, which does not require logging in to Xcode.
xcodebuild credentials
- signed in to Xcode + -allowProvisioningUpdates
- App Store Connect keys + -allowProvisioningUpdates
Key points:
signed in to Xcode: Suitable for native automation, login sessions are retained for a period of time. -App Store Connect keys: Suitable for CI environment, does not require graphical interface to log in to Xcode. --allowProvisioningUpdates: Both methods are required because xcodebuild still needs to access the developer website.
Core Takeaways
Automatically send TestFlight builds every week
- What to do: Upload stable builds of the master branch to App Store Connect weekly and hand them over to TestFlight testers.
- Why is it worth doing: session is clearly given
xcodebuild -exportArchive, export options plist and App Store Connect keys are a set of automated entrances. - How to start: First manually export IPA in Xcode, save the generated ExportOptions.plist; then
xcodebuild -exportArchivePut it into CI and use-authenticationKeyIssuerID、-authenticationKeyID、-authenticationKeyPathProvide credentials.
Send temporary repair package to team members
- What to do: Generate Ad Hoc builds for urgent bug fixes and send them directly to colleagues who have registered devices for verification.
- Why it’s worth it: Ad Hoc distribution supports up to 100 registered devices per device type, suitable for small-scale verification.
- How to start: Select Ad Hoc in Organizer’s Distribute App, export the IPA, and send the build to test members whose devices have been registered to the team.
Distribute Mac apps outside the App Store
- What to do: Provide official website download and installation packages for Mac utility applications.
- Why it’s worth doing: Developer ID distribution will perform cloud signing and notarization, and once completed, macOS will trust the application to run.
- How to start: Select the Developer ID distribution method in Xcode Organizer to complete the signature and notarization; when you need more in-depth notarization details, continue to see “Faster and simpler notarization for Mac apps”.
Let non-admin developers participate in uploading
- What: Allows Developer role members to upload builds without touching the private key file.
- Why it’s worth doing: Cloud signing puts the certificate and private key in the cloud, and the Developer role only needs to be granted
Access to Cloud Managed Distribution Certificate. - How to get started: Check your team roles in App Store Connect, turn on Cloud Hosted Distribution Certificate permissions for the Developer members who need to upload, and let them use Xcode’s automatic signed distribution.
Sharing app records for Mac and iOS
- What: Let the iOS app and the Mac Catalyst app use the same bundle ID to share App Store Connect app records.
- Why it’s worth doing: Mac apps with the same bundle ID mentioned in session will use the same app record as the iOS version, and some features such as in-app purchases can be shared.
- How to get started: Add a Mac Catalyst or native Mac version to an existing iOS app, evaluate whether to use the same bundle ID, and then upload it through the Mac App Store path.
Related Sessions
- Meet TestFlight on Mac — TestFlight supports macOS apps and is suitable for continuing to learn about Mac app testing distribution.
- Faster and simpler notarization for Mac apps — Developer ID distribution will use notarization, this article will talk about the command line notarization tool.
- Meet Xcode Cloud — If you want to hand over building, testing, and distribution to Apple CI services, this is the entry point.
- Explore Xcode Cloud workflows — Explain how Xcode Cloud configures archiving and distribution workflow.
- Customize your advanced Xcode Cloud workflows — For teams that need environment variables, custom scripts, and external service integration.
Comments
GitHub Issues · utterances