
Highlight
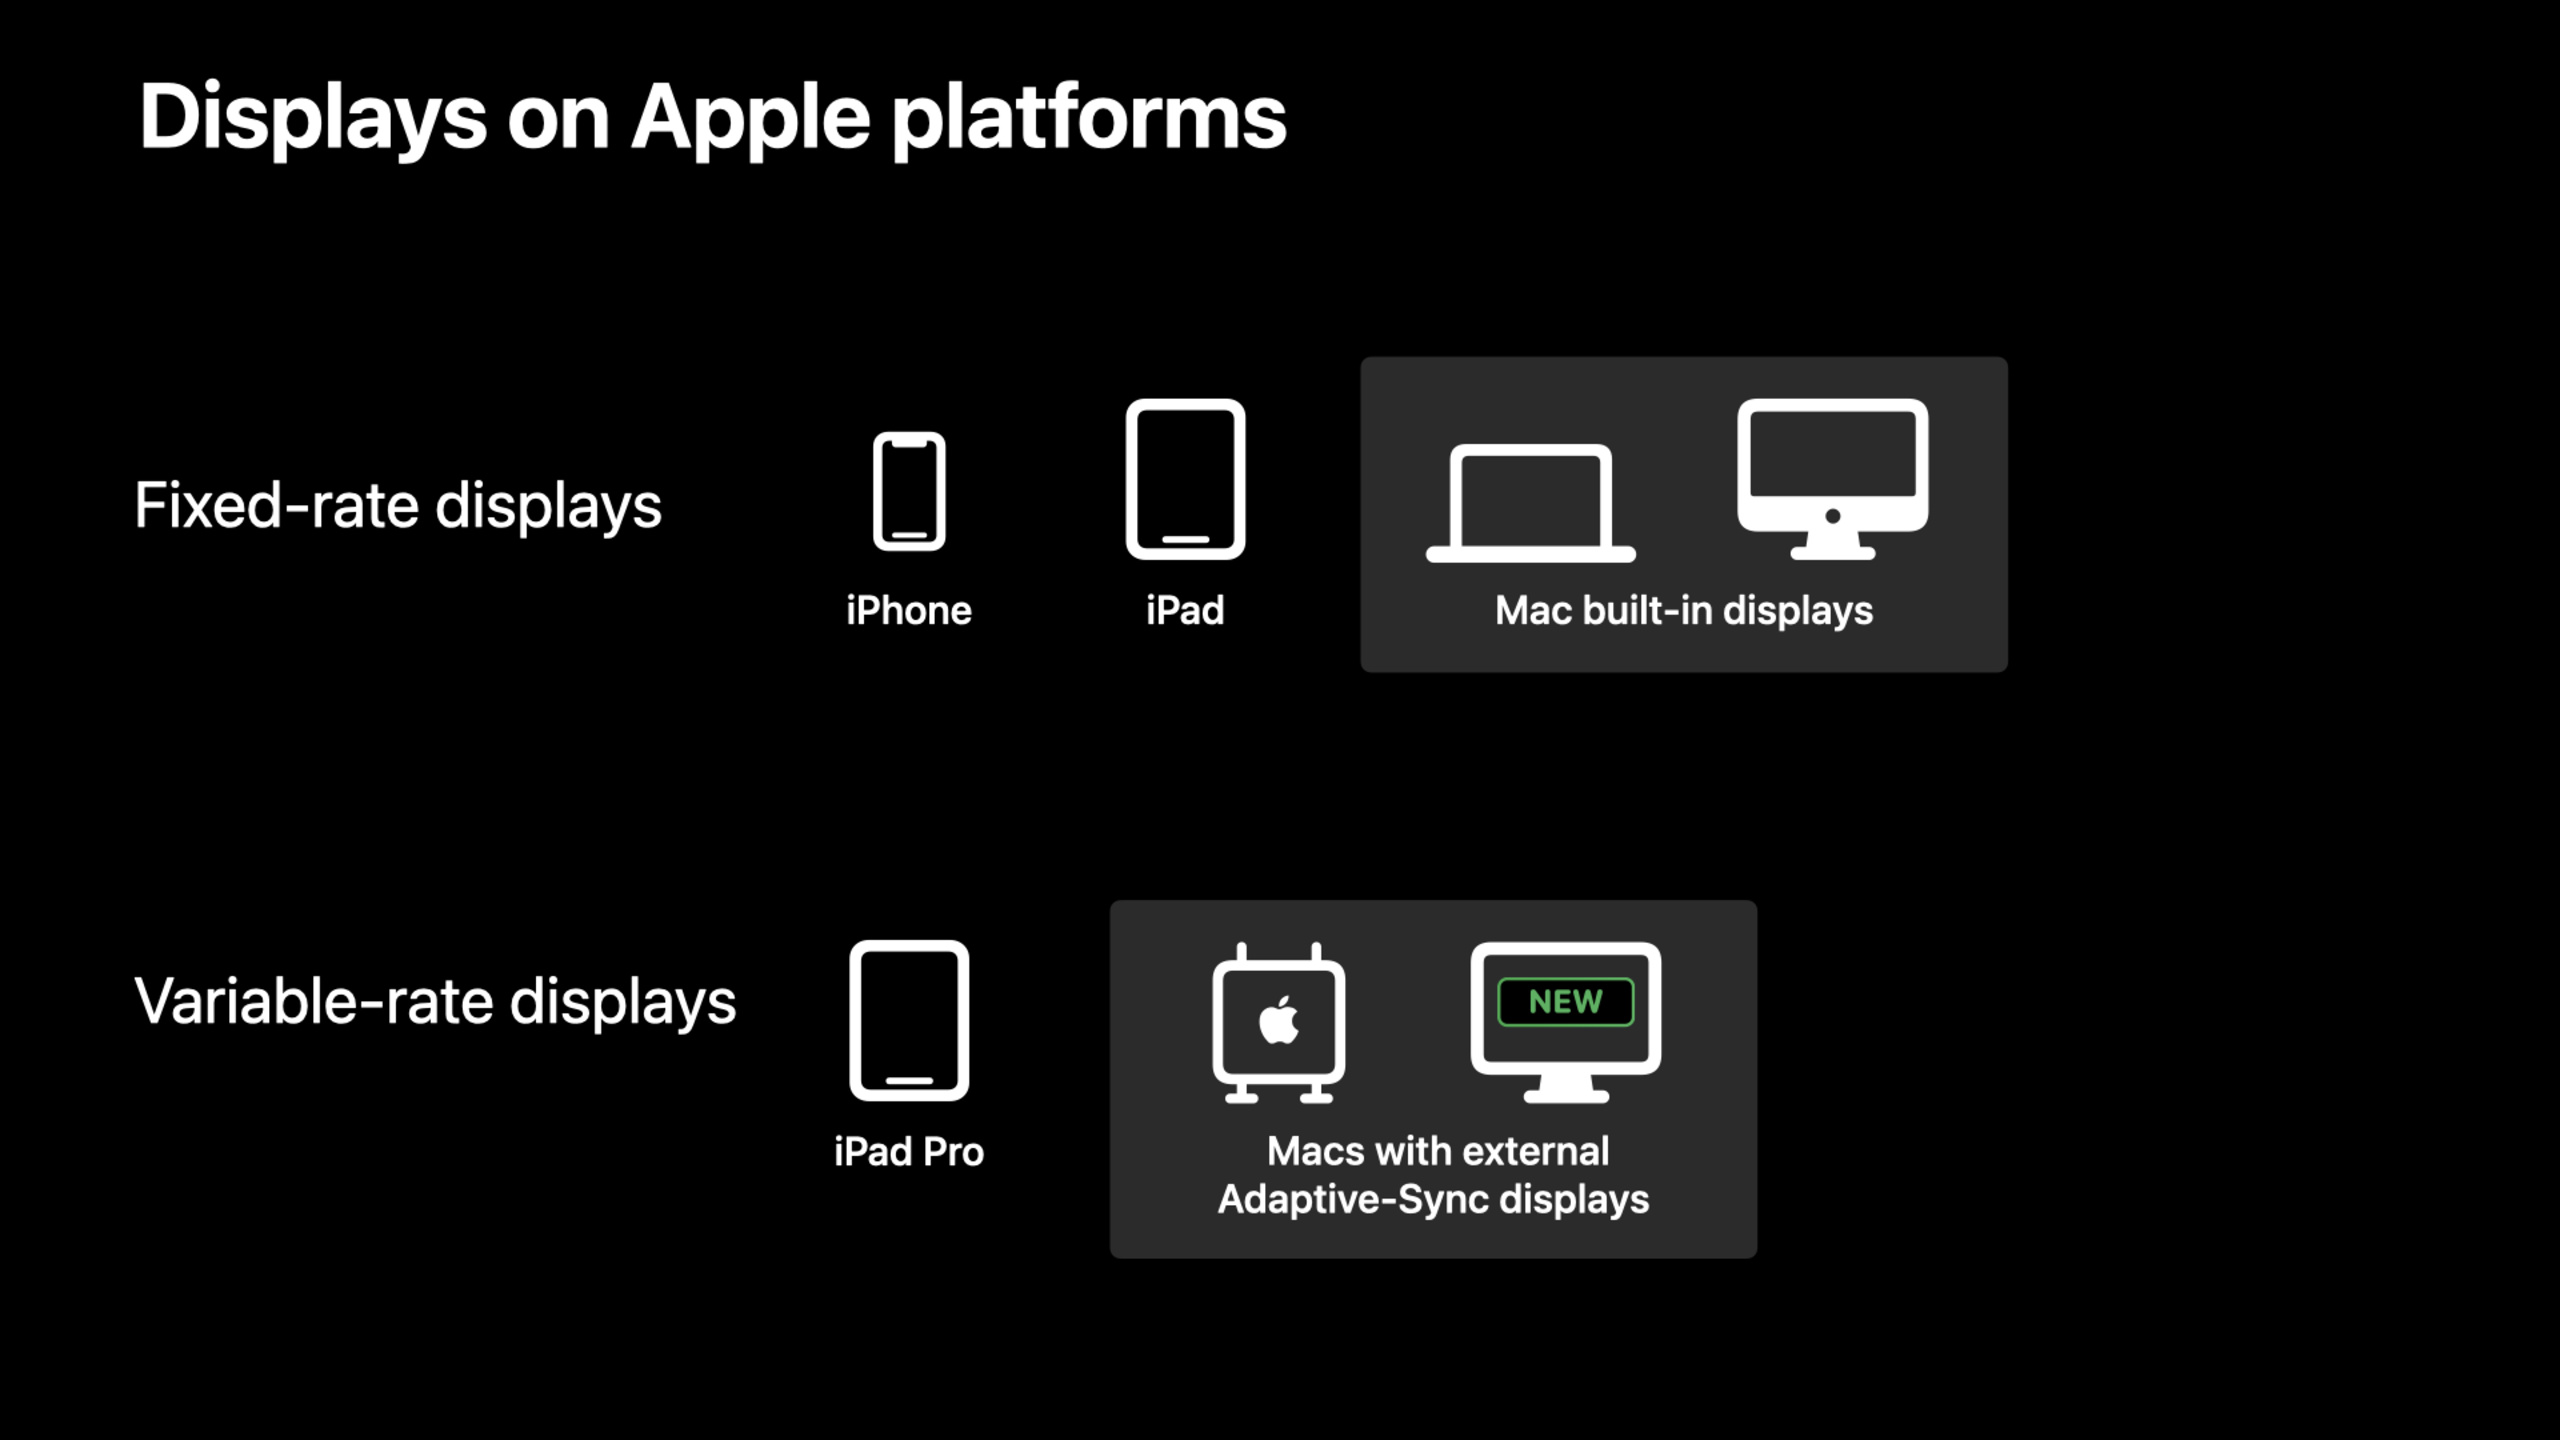
macOS Monterey introduces Adaptive-Sync monitor support, Metal games can pass
presentAfterMinimumDurationEnables adaptive frame rates; works with iPad Pro’s ProMotion displayCADisplayLinkoftargetTimestampKeeps animations smooth when frame rate changes.
Core Content
Your game will run at a stable 120fps on a 120Hz monitor most of the time. But occasionally the scene complexity soared, and a certain frame took 9ms to render. On a fixed refresh rate monitor, this frame will be delayed until the next 16.6ms refresh cycle, and users will experience obvious lag. On an Adaptive-Sync monitor, this frame delay is only 1ms, which is almost imperceptible.
That’s the value of a variable refresh rate monitor. But to make good use of it, you need to change the traditional frame rate control idea.
Detailed Content
How Adaptive-Sync monitors work on macOS
(01:27)
Fixed refresh rate monitors (60Hz or 120Hz) refresh every 16.6ms or 8.3ms. If the GPU is not ready for a new frame, the previous frame is displayed repeatedly.
Adaptive-Sync monitors work differently. The time each frame stays on the screen is an interval, not a fixed value. For example, a 40-120Hz Adaptive-Sync monitor can stay on the screen for 8ms to 25ms per frame.
This means:
- If your frame completes at 9ms, it will be displayed immediately after 9ms, no need to wait until 16.6ms
- Stuttering has been reduced from 8ms to 1ms, which is almost imperceptible to users
(02:44)
Key points:
- Adaptive-Sync monitor refresh interval is dynamic
- Display immediately after the frame is completed, no need to wait for the next fixed refresh point
- After the maximum dwell time is exceeded, the display must be refreshed and will be temporarily unavailable.
Adaptive-Sync Best Practices
(04:18)
On a fixed refresh rate monitor, if the GPU work continues beyond the refresh interval, Apple recommends dropping the frame rate by the next factor (e.g. from 60fps to 30fps).
On Adaptive-Sync monitors, this advice changes: you should render frames at the highest uniform frame rate your application can reliably achieve.
// Detect whether Adaptive-Sync is available
let screen = window.screen
let isAdaptiveSync = screen.minimumRefreshInterval != screen.maximumRefreshInterval
let isFullScreen = window.styleMask.contains(.fullScreen)

if isAdaptiveSync && isFullScreen {
    // Enable Adaptive-Sync frame rate control
}(05:51)
Key points:
minimumRefreshIntervalandmaximumRefreshIntervalIs a new property of NSScreen- Two values that are not equal indicate Adaptive-Sync mode
- Must also check if the window is full screen
- Adaptive-Sync scheduling is only available in full screen mode
Use presentAfterMinimumDuration to control the frame rate
(06:51)
The simplest way is to usepresentAfterMinimumDurationFixed frame rate:
let desiredInterval: CFTimeInterval = 1.0 / 78.0 // Target 78Hz

// In the render loop
drawable.present(afterMinimumDuration: desiredInterval)(07:11)
Key points:
presentAfterMinimumDurationEnsure frames are rendered after a specified interval- Suitable for implementing user-adjustable FPS slider
- Frame rate is stable but may not be optimal
A more advanced approach is to dynamically calculate the frame rate:
var averageGPUTime: CFTimeInterval = 1.0 / 120.0 // Initial optimistic estimate

// First frame: use the optimistic estimate
let firstDrawable = getDrawable()
let commandBuffer = encodeWork()
commandBuffer.addCompletedHandler { _ in
    let gpuTime = CACurrentMediaTime() - frameStartTime
    // Rolling average
    averageGPUTime = 0.9 * averageGPUTime + 0.1 * gpuTime
}
commandBuffer.commit()
firstDrawable.present(afterMinimumDuration: averageGPUTime)(08:44)
Key points:
- use
CommandBufferThe completed handler measures GPU time - Rolling average smoothes frame rate changes
- The same set of code automatically adapts frame rates on Macs with different performance
- It may run to 48Hz on a weak Mac and 78Hz on a strong Mac
ProMotion and CADisplayLink Best Practices
(10:22)
iPad Pro’s ProMotion display supports up to 120Hz, but may not be available in the following situations:
- User turned on low power mode (new in iPadOS 15)
- User sets limit frame rate (upper limit 60Hz) in accessibility
- Device overheated, system limited to 120Hz
CADisplayLinkis the recommended tool for driving custom drawing. It will wake up every vsync, which is better than normalNSTimerMore precise.
// Set up CADisplayLink
displayLink = CADisplayLink(target: self, selector: #selector(draw))
displayLink.preferredFramesPerSecond = 40
displayLink.add(to: .current, forMode: .common)

// In the callback
@objc func draw() {
    let interval = displayLink.targetTimestamp - displayLink.timestamp
    // interval is the actual available render time
}(15:37)
Key points:
preferredFramesPerSecondJust a suggestion, the actual frame rate is determined by the system- Request 40Hz on a 60Hz monitor and the system will automatically adjust to 30Hz
durationProperty reflects the current actual frame interval- use
targetTimestampinstead oftimestampPrepare animation
Why use targetTimestamp instead of timestamp
(17:46)
When the frame rate drops from 120Hz to 60Hz, if you usetimestampSampling animation progress, there will be a jump:
// Using timestamp: animation progress jumps when the frame rate changes
// Frame 1 (120Hz): timestamp=0, progress=0
// Frame 2 (120Hz): timestamp=8ms, progress=0.05
// Frame 3 (60Hz): timestamp=16ms, progress=0.10 <- Jump here!usetargetTimestampThen smooth:
// Using targetTimestamp: animation stays smooth when the frame rate changes
// Frame 1 (120Hz): targetTimestamp=8ms, progress=0.05
// Frame 2 (120Hz): targetTimestamp=16ms, progress=0.10
// Frame 3 (60Hz): targetTimestamp=32ms, progress=0.20 <- Smooth transition(19:26)
Key points:
timestampis the time when the callback is calledtargetTimestampis the time at which the next frame will be composited- use
targetTimestampSampling animation, there will be no jump when the frame rate changes - The code change is very simple: put
timestampReplace withtargetTimestamp
Handling missed callbacks
(20:16)
A high priority thread or a busy runloop may causeCADisplayLinkThe callback is delayed or skipped.
@objc func draw() {
    let currentTime = CACurrentMediaTime()
    let timeRemaining = displayLink.targetTimestamp - currentTime

    if timeRemaining < minimumWorkTime {
        // Not enough time, reduce work or skip this frame
        return
    }

    // Use the previous frame's targetTimestamp to calculate the correct time delta
    let delta = displayLink.targetTimestamp - previousTargetTimestamp
    previousTargetTimestamp = displayLink.targetTimestamp

    // Use delta to update animation state
    updateAnimation(delta: delta)
}(21:48)
Key points:
- use
CACurrentMediaTime()Check remaining time - reserve
previousTargetTimestampCalculate the correct time increment - When the callback is skipped, delta automatically becomes twice the frame interval
- Animation does not slow down or speed up
Core Takeaways
-
Add Adaptive-Sync support to Metal games. Detection
minimumRefreshInterval != maximumRefreshIntervalAnd when the window is full screen, the rolling average GPU time is used to dynamically control the frame rate. Entrance API:NSScreen.minimumRefreshInterval+MTLDrawable.present(afterMinimumDuration:)。 -
Replace all timestamps of CADisplayLink with targetTimestamp. This is the only correct way to avoid animation jumps when switching frame rates. Entrance API:
CADisplayLink.targetTimestamp。 -
Add frame rate degradation logic to custom animation. when
timeRemaining < minimumWorkTimeReduce workload or skip frames to ensure no frames are lost. Entrance API:CACurrentMediaTime()+displayLink.targetTimestamp。 -
Detect ProMotion availability in iPad app. use
CADisplayLink.durationGet the actual frame interval, do not useUIScreen.maximumFramesPerSecond(It always returns 120). Entrance API:CADisplayLink.duration。 -
Add user-adjustable FPS cap to the game. use
presentAfterMinimumDurationFixed frame rate, reducing GPU power consumption and heat generation. Entrance API:MTLDrawable.present(afterMinimumDuration:)。
Related Sessions
- Optimize high-end games for Apple GPUs — Apple GPU TBDR architecture game optimization
- Enhance your app with Metal ray tracing — Metal ray tracing API
- Create image processing apps powered by Apple silicon — Apple Silicon image processing optimization
- Discover Metal debugging, profiling, and asset creation tools — Xcode 13 Metal debugging and performance analysis tools
Comments
GitHub Issues · utterances