
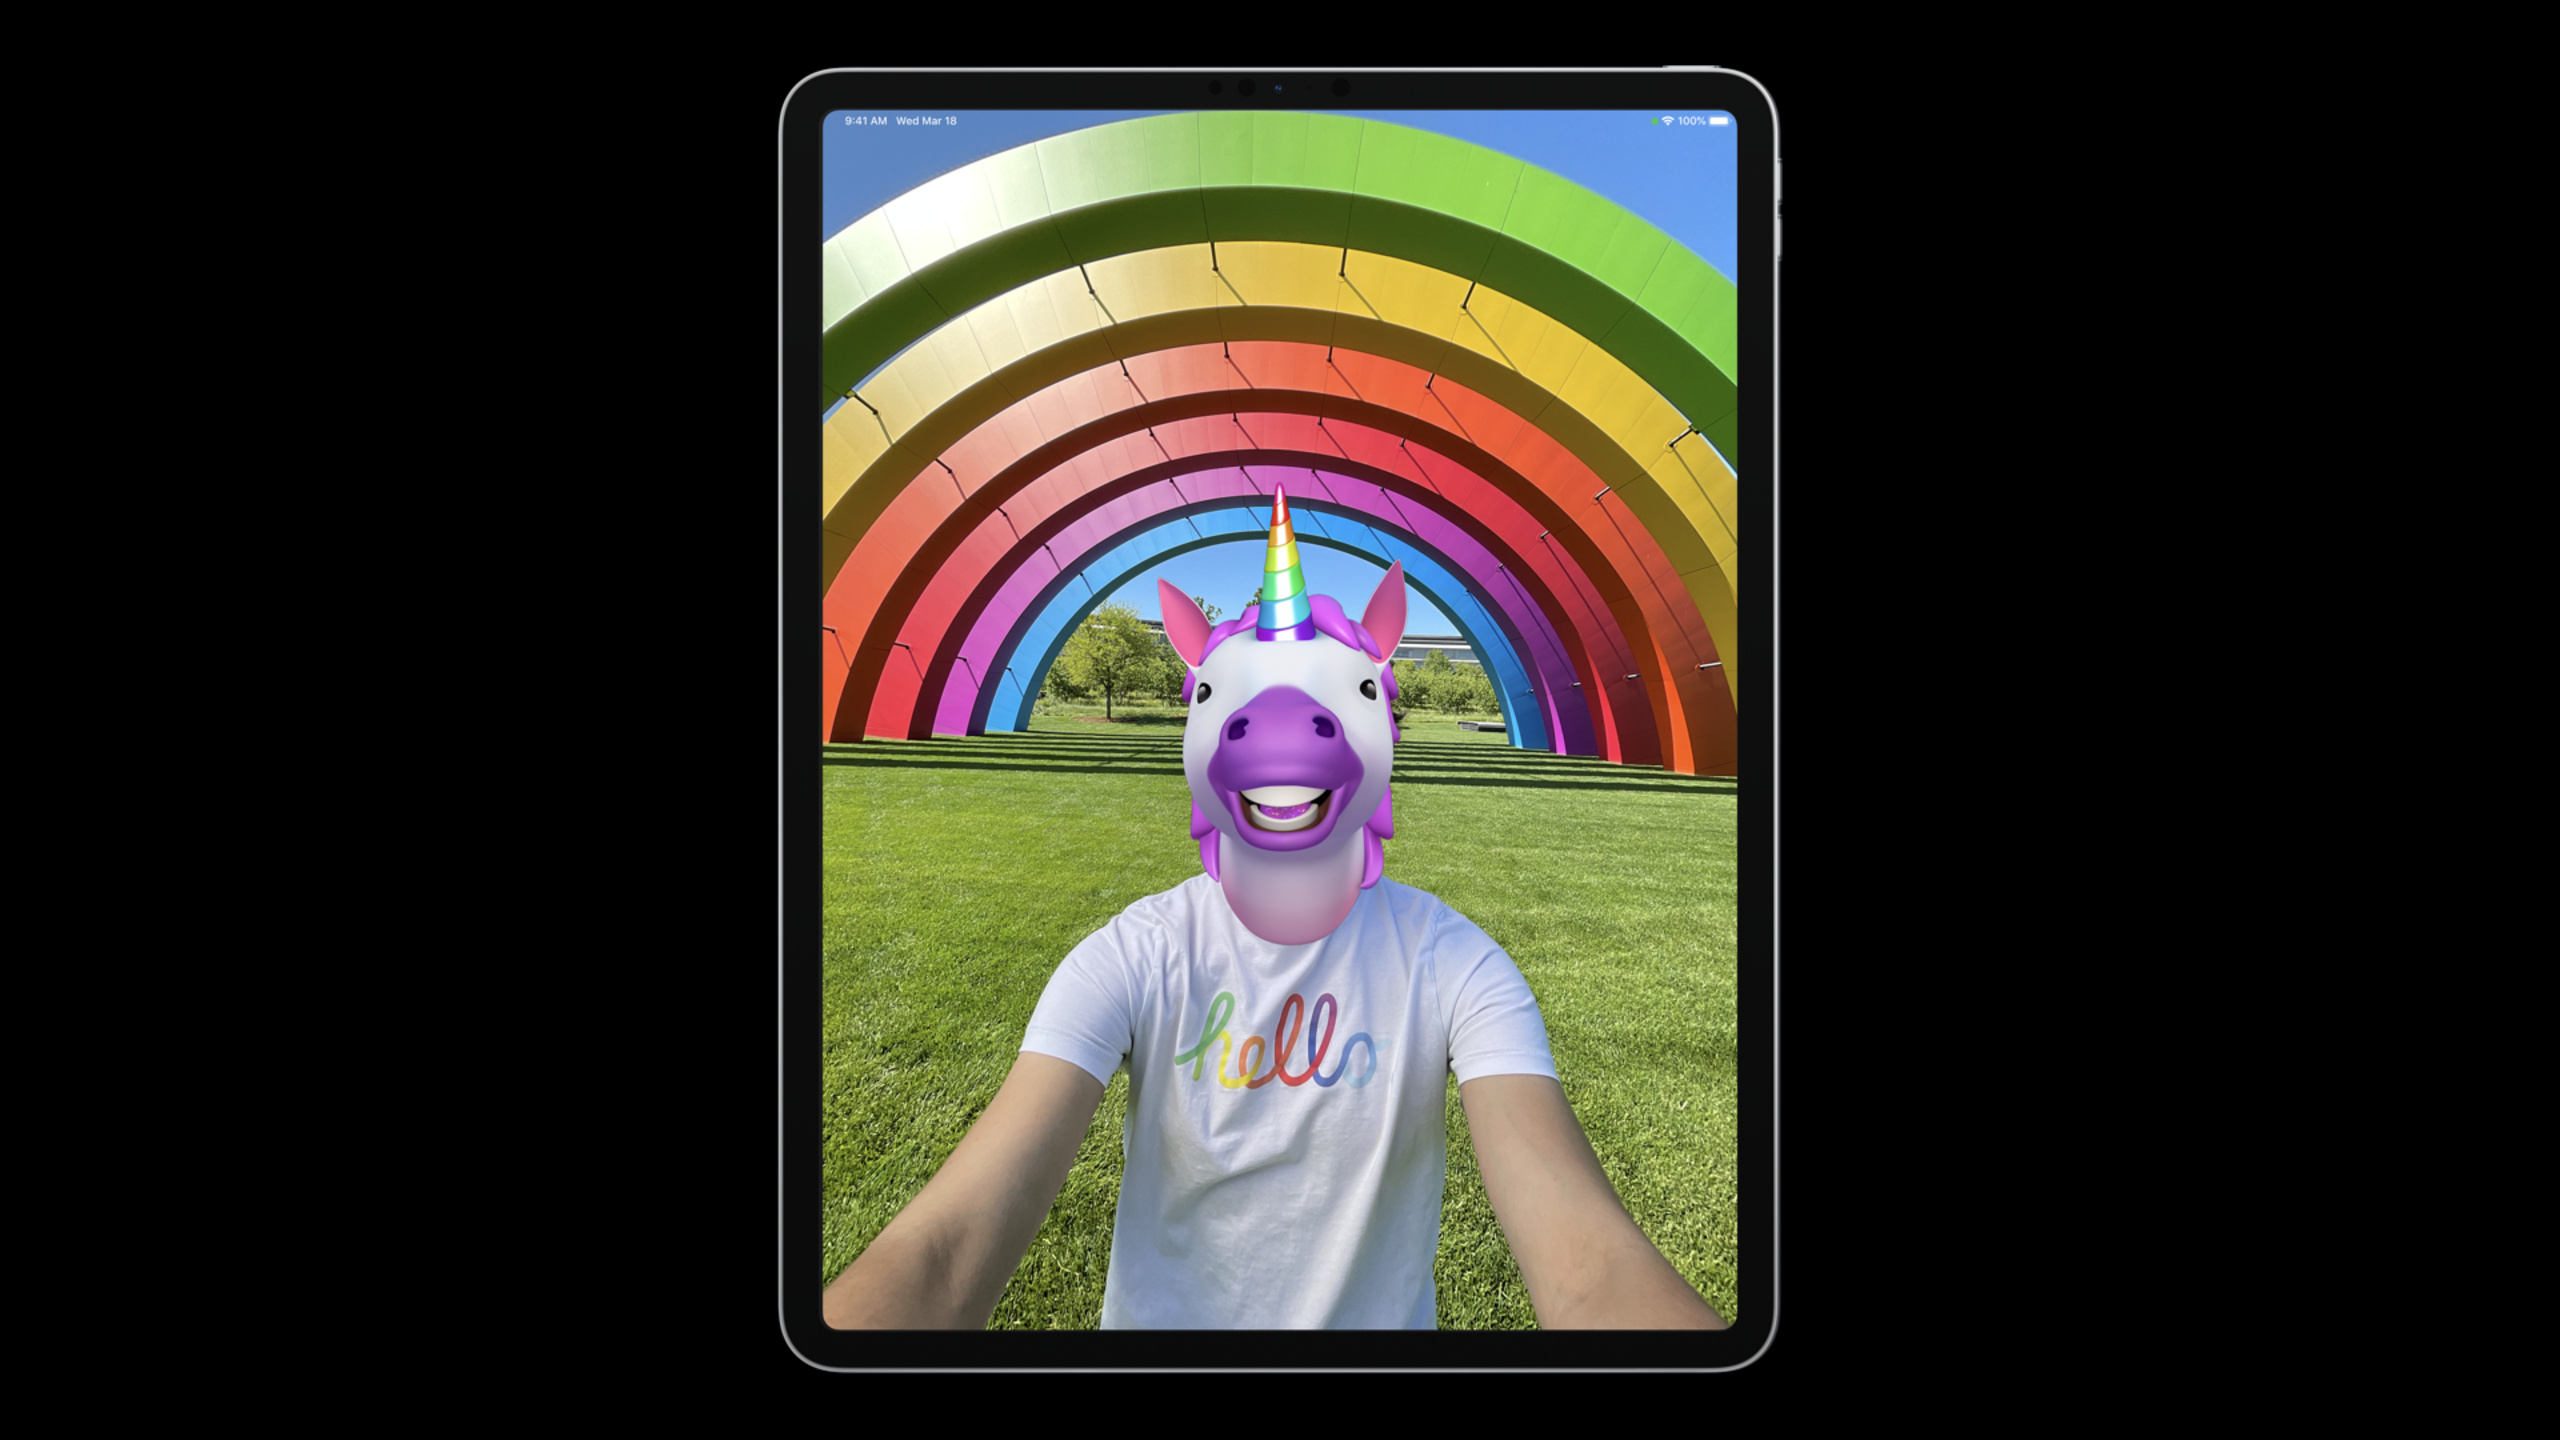
Highlight
ARKit 5 expands the support area for position anchors, adds App Clip Code tracking, supports face tracking for the iPad Pro ultra-wide-angle front camera, and improves the accuracy and distance range of motion capture.
Core Content
Location Anchor: From Indoors to Outdoors
(01:31)
The Location Anchors introduced in ARKit 4 allow AR content to be bound to real-world latitude and longitude coordinates.This already works well for indoor AR, but outdoor scenes are where it really comes into play.The ScavengAR app uses it to create virtual public art installations, and the iOS 15 map app also uses it to implement AR walking navigation.
This year, Location Anchor’s support areas have expanded from 5 U.S. metropolitan areas to more than 25, and for the first time, a city outside the U.S. has been added: London.For developers who are not in a supported area, ARKit provides recording and playback functions. You can use Reality Composer to record scene data outdoors and then play back and debug it in Xcode.
Guide users to complete positioning: GeoTracking Coaching Overlay
(05:06)
Location anchors require the device to scan building facades outdoors to complete positioning.In this process, users do not know how to operate and give up easily.
ARKit 5 new.geoTrackingTargetedARCoachingOverlayView, which displays an animation guiding the user to point the device at a building.This UI is consistent with the guidance interface in the map application, and users already have a cognitive foundation.Developers only need to setgoal: .geoTrackingcan be enabled.
App Clip Code: The precise entry point to AR content
(09:10)
App Clip Code was launched with App Clips last year, allowing users to launch lightweight applications by scanning the code.This year ARKit 5 adds the ability to track App Clip Code.
ARAppClipCodeAnchorContains three key attributes: embedded URL, decoding status (.decoding / .decoded / .failed) and the physical radius of the yard.Decoding URLs takes time, and developers can display placeholder content during the decoding process to give users instant feedback.
The Primer app demonstrates practical usage: users scan the App Clip Code on a tile sample, and the App Clip launches to preview the AR effect of the tile directly on the wall, without downloading the full app.
Face tracking: ultra-wide angle view
(17:29)
The new iPad Pro is equipped with an ultra-wide-angle front-facing camera that has a much wider field of view than a regular front-facing camera.ARKit 5 supports face tracking on this camera, but developers need to actively choose it.
By traversingsupportedVideoFormats,examinecaptureDeviceTypeIs it.builtInUltraWideCamera, and then set the selected format toARFaceTrackingConfigurationto enable it.Note that the ultra-wide-angle camera does not provide depth data;capturedDepthDatawill be empty.
Motion capture: longer distances and greater range of motion
(18:59)
On A14 chip devices like iPhone 12, ARKit 5’s motion capture supports a wider range of body poses.The rotation accuracy is higher and suitable for tracking sports actions.The camera can track body joints from a greater distance, and the tracking range of limb activities has also been greatly increased.These improvements require no code changes and all motion capture apps on iOS 15 automatically benefit.
Detailed Content
Check for location anchor support and create a GeoTracking session
import ARKit
import CoreLocation

func startGeoTrackingSession() {
    // Check whether the device is supported
    guard ARGeoTrackingConfiguration.isSupported else {
        print("Geo tracking requires A12+ with cellular and GPS")
        return
    }

    // Check whether the current location is available
    ARGeoTrackingConfiguration.checkAvailability { available, error in
        guard available else {
            print("Geo tracking not available at this location")
            return
        }

        let configuration = ARGeoTrackingConfiguration()
        let session = ARSession()
        session.delegate = self
        session.run(configuration)
    }
}

// Add a location anchor
func addGeoAnchor(at coordinate: CLLocationCoordinate2D, altitude: CLLocationDistance? = nil) {
    let geoAnchor: ARGeoAnchor
    if let altitude = altitude {
        geoAnchor = ARGeoAnchor(coordinate: coordinate, altitude: altitude)
    } else {
        geoAnchor = ARGeoAnchor(coordinate: coordinate)
    }
    session.add(anchor: geoAnchor)
}
Key points:
ARGeoTrackingConfiguration.isSupportedCheck device hardware conditions (A12+, cellular network, GPS)checkAvailabilityAsynchronously checks whether the current geographical location is within the supported areaARGeoAnchorCan be created using latitude and longitude, or additionally specify altitude- When adding anchor points, the device should be within 50 meters of the target location to obtain more accurate altitude data
Using GeoTracking Coaching Overlay
import ARKit
import UIKit

class ViewController: UIViewController, ARSessionDelegate {
    @IBOutlet var arView: ARView!

    override func viewDidLoad() {
        super.viewDidLoad()

        let coachingOverlay = ARCoachingOverlayView()
        coachingOverlay.session = arView.session
        coachingOverlay.goal = .geoTracking
        coachingOverlay.translatesAutoresizingMaskIntoConstraints = false
        arView.addSubview(coachingOverlay)

        NSLayoutConstraint.activate([
            coachingOverlay.leadingAnchor.constraint(equalTo: arView.leadingAnchor),
            coachingOverlay.trailingAnchor.constraint(equalTo: arView.trailingAnchor),
            coachingOverlay.topAnchor.constraint(equalTo: arView.topAnchor),
            coachingOverlay.bottomAnchor.constraint(equalTo: arView.bottomAnchor)
        ])
    }
}
Key points:
ARCoachingOverlayViewofgoalset to.geoTrackingA guided animation is shown for the position anchor point- After the boot is completed, the overlay automatically disappears and the application can start placing AR content
- It is recommended to monitor at the same time
session(_:didChange:)geo tracking status in to obtain more detailed positioning information
Track App Clip Code
import ARKit

class ViewController: UIViewController, ARSessionDelegate {
    var session: ARSession!

    func startAppClipCodeTracking() {
        guard ARAppClipCodeAnchor.isSupported else {
            print("App Clip Code tracking requires A12+")
            return
        }

        let configuration = ARWorldTrackingConfiguration()
        configuration.appClipCodeTrackingEnabled = true
        session.run(configuration)
    }

    func session(_ session: ARSession, didUpdate anchors: [ARAnchor]) {
        for anchor in anchors.compactMap({ $0 as? ARAppClipCodeAnchor }) {
            switch anchor.urlDecodingState {
            case .decoding:
                // Show placeholder content to tell the user decoding is in progress
                showPlaceholder(at: anchor)
            case .decoded:
                // URL decoded successfully; load the corresponding content
                if let url = anchor.url {
                    loadContent(for: url, at: anchor)
                }
            case .failed:
                // Decoding failed; notify the user
                showDecodingError(at: anchor)
            @unknown default:
                break
            }
        }
    }
}
Key points:
ARAppClipCodeAnchor.isSupportedCheck if the device supports it (A12+)appClipCodeTrackingEnabledMust be explicitly enabled in configuration- There are three decoding states:
.decoding(Decoding),.decoded(success),.failed(fail) anchor.radiusProvides the physical radius of the code, which can be used to accurately place content
Enable iPad Pro ultra-wide angle face tracking
import ARKit

func enableUltraWideFaceTracking() -> ARFaceTrackingConfiguration? {
    guard ARFaceTrackingConfiguration.isSupported else { return nil }

    let configuration = ARFaceTrackingConfiguration()

    // Find the Ultra Wide camera format
    for format in ARFaceTrackingConfiguration.supportedVideoFormats {
        if format.captureDeviceType == .builtInUltraWideCamera {
            configuration.videoFormat = format
            break
        }
    }

    return configuration
}
Key points:
- Super wide-angle format requires active traversal
supportedVideoFormatsFind - set up
videoFormatRun the session later to enable ultra-wide-angle face tracking - There is no depth data in ultra-wide-angle mode, and functions that rely on depth data need to fall back to the ordinary front camera.
Core Takeaways
-
What to do: Deploy location-based AR tours at city attractions or business districts Why it’s worth doing: Location anchors allow AR content to be accurately bound to real geographical coordinates, and the content is automatically triggered when the user walks to a specific location. How to start: Use
ARGeoTrackingConfigurationCreate a session viaARGeoAnchorPlace dummy content at target location -
What to do: Add App Clip Code to retail products to achieve AR effects by scanning the code Why it’s worth it: Users don’t need to download the full app, just scan the QR code to preview how furniture, tiles, and decorations will look in their own space. How to start: Print the App Clip Code on the product packaging and enable it in App Clip
appClipCodeTrackingEnabled, load the corresponding 3D model after scanning -
What to do: Develop a dance or fitness teaching app to evaluate user movements in real time Why it’s worth doing: ARKit 5’s motion capture supports longer distances and a larger range of motion, making it suitable for home fitness scenarios How to get started: Use
ARBodyTrackingConfiguration,fromARFrameextracted fromskeleton3D, calculate joint angles and compare with standard movements -
What to do: Build a multiplayer AR mask or emoticon app on iPad Pro Why it’s worth it: The ultra-wide-angle front camera can accommodate more people’s faces and is suitable for multi-person interaction scenes How to get started: Select
.builtInUltraWideCameraformat to enable face tracking for each detectedARFaceAnchorOverlay virtual content
Related Sessions
- Dive into RealityKit 2 — New features of RealityKit 2, working with ARKit 5 to build immersive AR experiences
- Explore advanced rendering with RealityKit 2 — RealityKit 2’s advanced rendering capabilities enhance the visual effects of AR content
- Create 3D models with Object Capture — Use Object Capture to create 3D models as content materials for ARKit scenes
Comments
GitHub Issues · utterances