
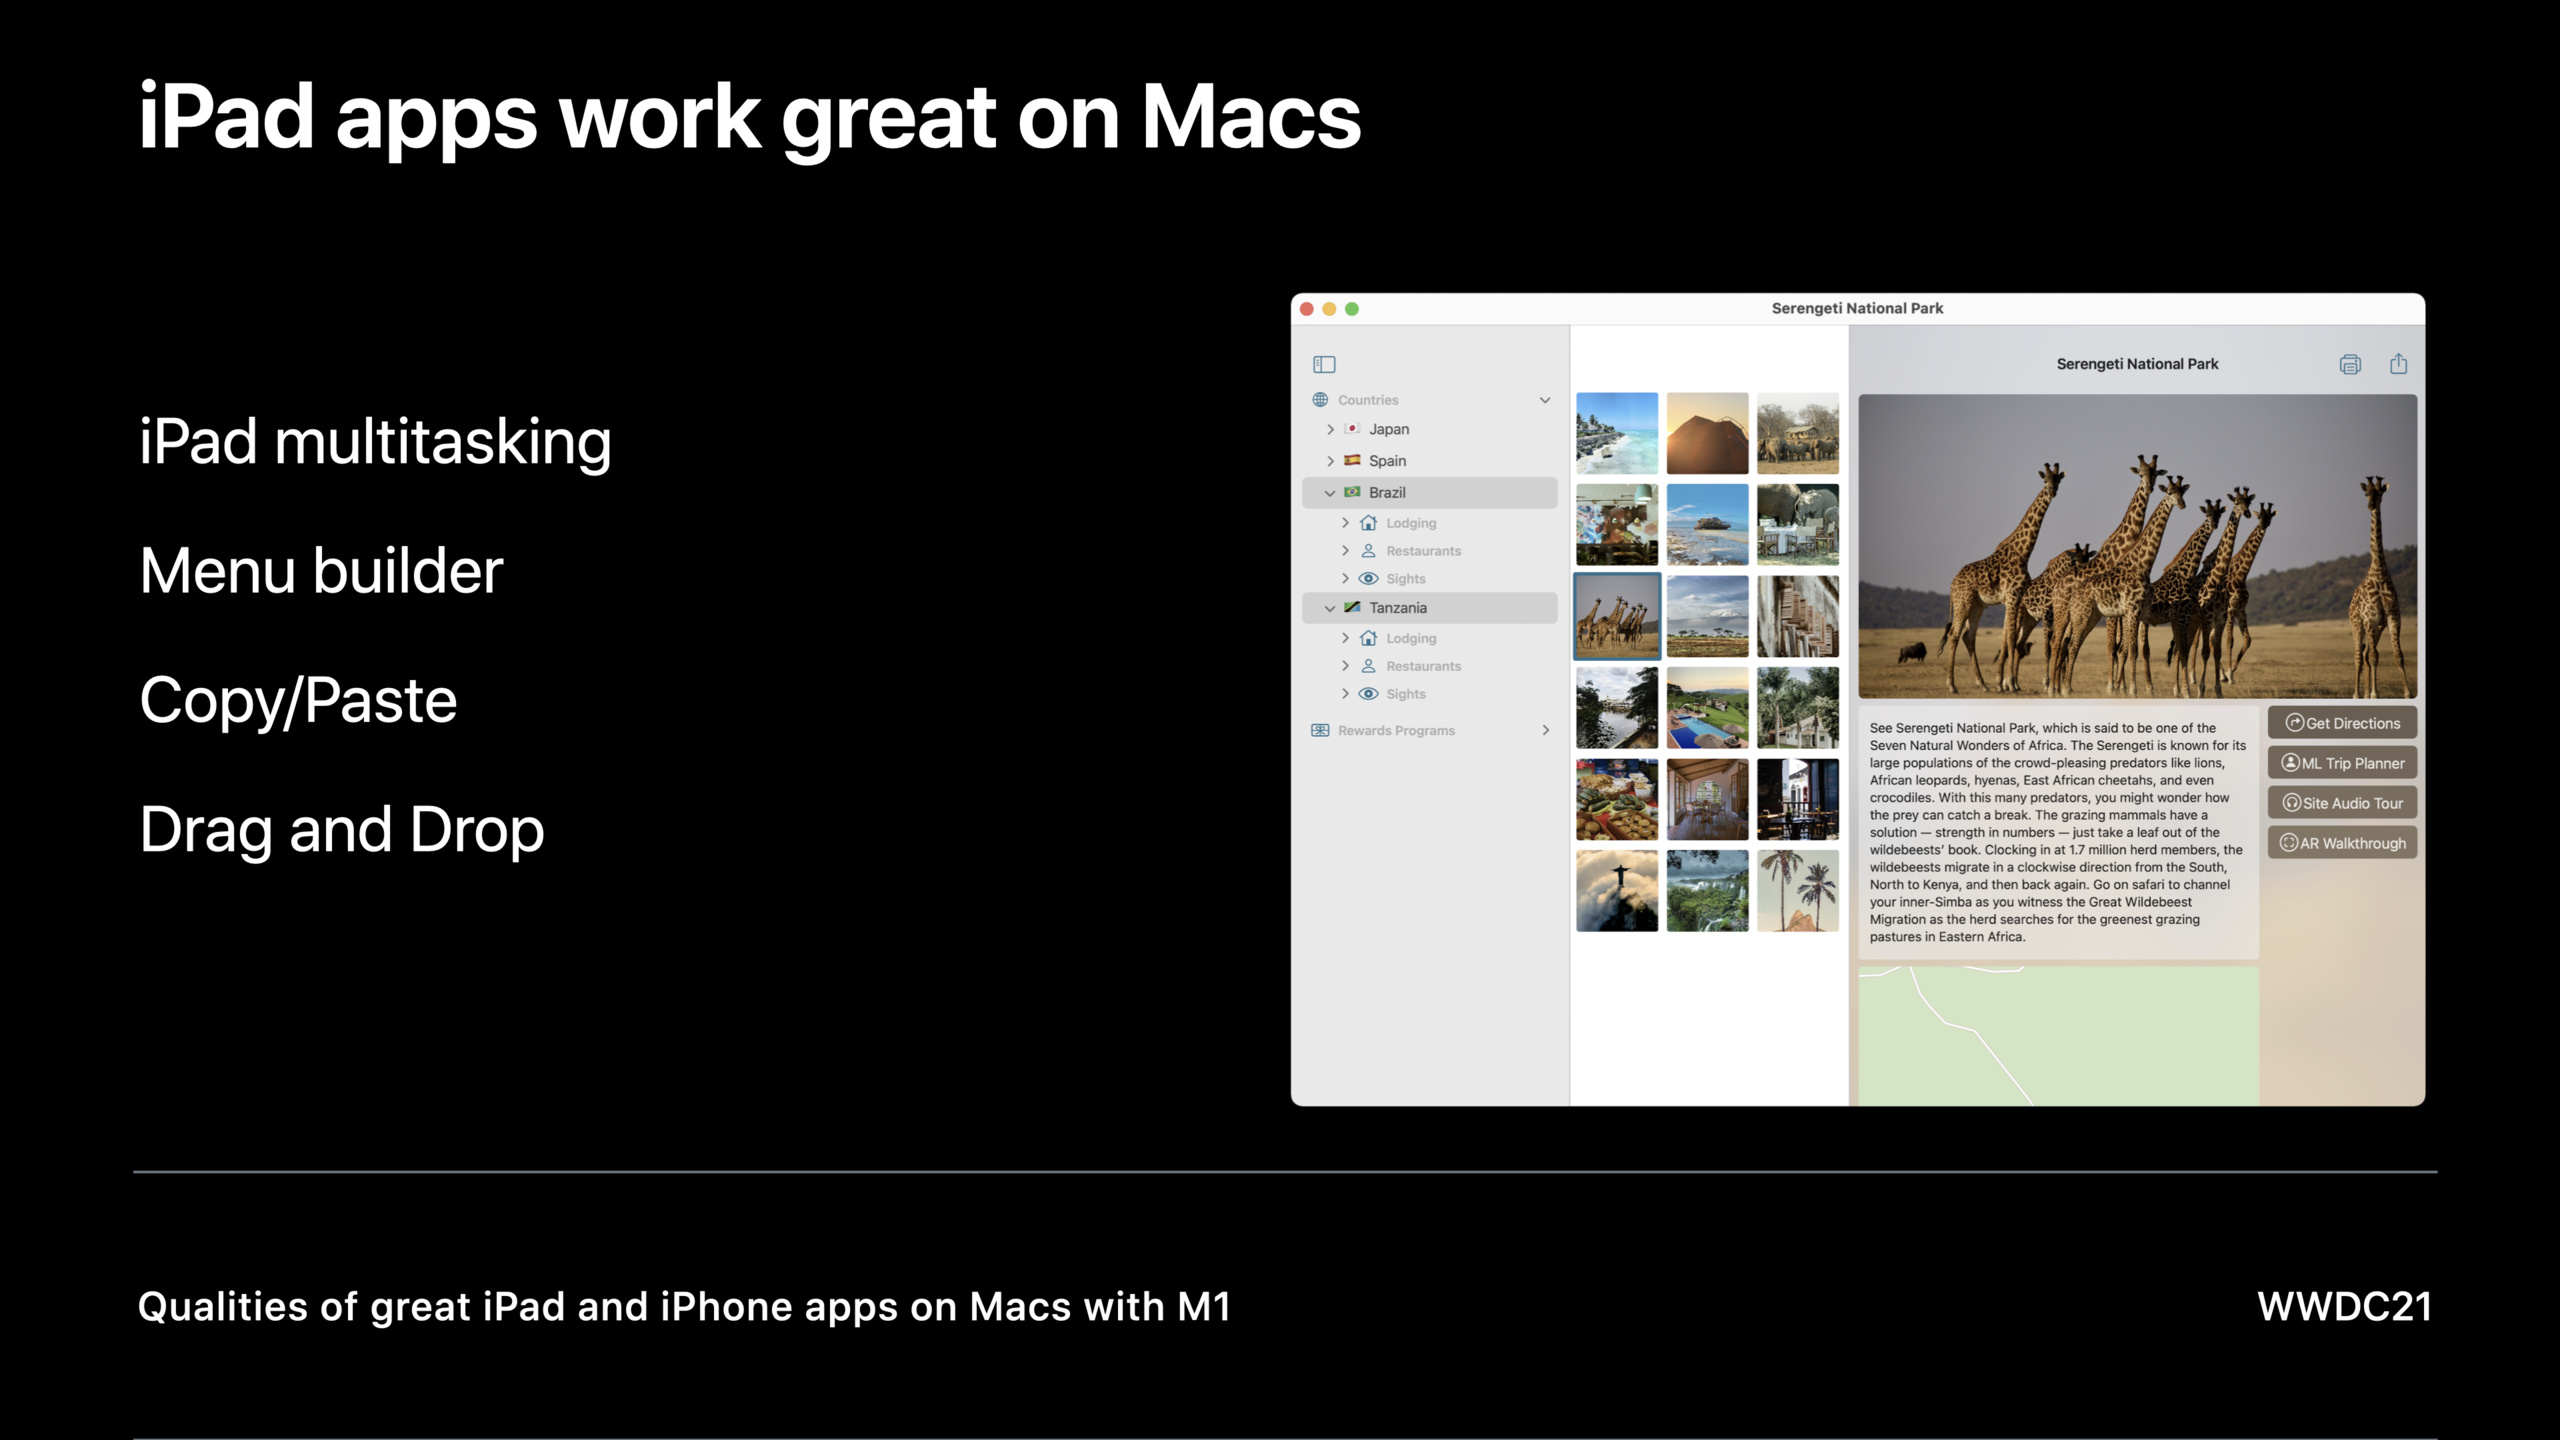
Highlight
Excellent Mac Catalyst applications need to focus on three levels: architectural decisions during migration (Mac idiom vs Scaled), runtime experience optimization (multi-window/menu/response chain), and distribution strategy during release to make iPad applications truly “native-like” on Mac.
Core Content
Migration decision: Scaled or Mac Optimized?
The first key decision when bringing an iPad app to the Mac is choosing an interface mode.After checking Mac support in Xcode, two options will appear:
- Scaled iPad interface: The iPad interface is directly enlarged, the controls maintain the iPad style, and the development workload is minimal.
- Mac optimized interface: Use Mac idiom, 100% scaling, native AppKit controls, additional adaptation required
Mac idiom is the recommended choice.It brings pixel-clear text and images, the appearance of native Mac controls, and interactions that are more in line with Mac users’ habits.The cost is that the layout needs to be adjusted to accommodate the new control size, and custom controls may need to be rescaled or provided with new materials.
Life cycle differences
The life cycle of Mac Catalyst apps is different from iPad.An application may remain running in the foreground after all windows are closed (the application name still appears in the menu bar).sceneDidEnterBackgroundOnly triggered when the window is minimized or closed, much less frequently than on iPad.
If used beforesceneDidEnterBackgroundFor automatic saving, you need to use a timer to ensure regular execution.
Multi-window and scene configuration
Mac apps often have multiple windows open at the same time.By defining different scene configurations, independent configurations can be created for document windows, details windows, editing windows, etc.Double-clicking to open a new window is a standard expectation among Mac users.
Detailed Content
Native button control (06:50)
Under Mac idiom, UIButton automatically becomes a Mac-style border button.Four standard buttons can be obtained by combining two attributes:
// Push Button — default style
let pushButton = UIButton(type: .system)
pushButton.setTitle("Button", for: .normal)

// Pull-down Button — click to expand the menu
let pullDownButton = UIButton(type: .system)
pullDownButton.menu = UIMenu(title: "", children: actions)
pullDownButton.showsMenuAsPrimaryAction = true

// Pop-up Button — the title changes after selection
let popupButton = UIButton(type: .system)
popupButton.menu = UIMenu(title: "", children: actions)
popupButton.showsMenuAsPrimaryAction = true
popupButton.changesSelectionAsPrimaryAction = true
Key points:
showsMenuAsPrimaryAction = true: Left-click to directly expand the menu, in line with Mac habitschangesSelectionAsPrimaryAction = true: Button title automatically reflects the currently selected item- Pop-up Button’s double-arrow indicator is different from Pull-down’s single arrow and is used for mutually exclusive option selections
- UISwitch automatically changes to Checkbox style after setting title
Response chain delegation (13:20)
Mac apps rely on responsive links to operate from menus.Don’t overwritenextResponder, but throughtarget(forAction:withSender:)Delegate operations to objects outside the response chain:
final class MyView: UIView {
    var myModel: Model!

    override func target(forAction action: Selector, withSender sender: Any?) -> Any? {
        if action == #selector(Model.setAsFavorite(_:)) {
            return myModel
        }
        return super.target(forAction: action, withSender: sender)
    }
}
Key points:
- coverage
nextResponderWill break the response chain, causing menu routing to fail target(forAction:withSender:)It is a safe way to delegate- Make the view support
canBecomeFirstResponderandcanBecomeFocused, make sure keyboard navigation and menus operate properly
Multi-window scene configuration (14:43)
Double-click to open a new window and you need to configure the scene:
let viewDetailActivityType = "viewDetail"
let itemIDKey = "itemID"

// 1. Request a new scene on double-click
final class MyView: UIView {
    @objc func viewDoubleClicked(_ sender: Any?) {
        let userActivity = NSUserActivity(activityType: viewDetailActivityType)
        userActivity.userInfo = [itemIDKey: selectedItem.itemID]

        UIApplication.shared.requestSceneSessionActivation(
            nil,
            userActivity: userActivity,
            options: nil,
            errorHandler: { error in
                print("Failed to activate scene: \(error)")
            }
        )
    }
}

// 2. Select the configuration in AppDelegate based on the activity
final class AppDelegate: UIApplicationDelegate {
    func application(_ application: UIApplication,
                     configurationForConnecting session: UISceneSession,
                     options: UIScene.ConnectionOptions) -> UISceneConfiguration {
        if let activity = options.userActivities.first,
           activity.activityType == viewDetailActivityType {
            return UISceneConfiguration(name: "DetailViewer", sessionRole: session.role)
        }
        return UISceneConfiguration(name: "Default Configuration", sessionRole: session.role)
    }
}

// 3. Set data in SceneDelegate
final class SceneDelegate: UIWindowSceneDelegate {
    func scene(_ scene: UIScene, willConnectTo session: UISceneSession,
               options connectionOptions: UIScene.ConnectionOptions) {
        let activity = connectionOptions.userActivities.first ?? session.stateRestorationActivity
        if let userActivity = activity,
           let itemId = userActivity.userInfo?[itemIDKey] as? ItemIDType {
            // Set it on the root view controller
            (scene as? UIWindowScene)?.rootViewController?.setItemID(itemId)
        }
    }
}
Key points:
- Define multiple scene configurations in the Application Scene Manifest of Info.plist
requestSceneSessionActivationTrigger the system to create a new windowconfigurationForConnectingReturn the corresponding scene configuration according to user activity- Process simultaneously
connectionOptions.userActivitiesandsession.stateRestorationActivitySupport state recovery
Sharing function integration (20:20)
// Scene-level sharing configuration
final class RootViewController: UIViewController {
    override var activityItemsConfiguration: UIActivityItemsConfigurationReading? {
        UIActivityItemsConfiguration(objects: [image])
    }
}

// View-level sharing (context menu)
final class MyView: UIView {
    override var activityItemsConfiguration: UIActivityItemsConfigurationReading? {
        UIActivityItemsConfiguration(objects: images)
    }

    func setupContextMenu() {
        let contextMenuInteraction = UIContextMenuInteraction(delegate: self)
        addInteraction(contextMenuInteraction)
    }
}
Key points:
activityItemsConfigurationServes both the Mac toolbar sharing button and iOS Siri sharing- in the Mac Catalyst toolbar
NSSharingServicePickerToolbarItemAutomatically read the configuration - After adding context menu interaction, the system will automatically add Copy and Share options
Continuous Camera (22:08)
final class MyView: UIView {
    override var pasteConfiguration: UIPasteConfiguration? {
        UIPasteConfiguration(forAcceptingClass: UIImage.self)
    }

    override func willMove(toWindow newWindow: UIWindow?) {
        super.willMove(toWindow: newWindow)
        let contextMenuInteraction = UIContextMenuInteraction(delegate: self)
        addInteraction(contextMenuInteraction)
    }

    override func paste(itemProviders: [NSItemProvider]) {
        Task {
            for itemProvider in itemProviders {
                if itemProvider.canLoadObject(ofClass: UIImage.self) {
                    if let image = try? await itemProvider.loadObject(ofClass: UIImage.self) {
                        insertImage(image)
                    }
                }
            }
        }
    }
}
Key points:
UIPasteConfigurationDeclare the paste types acceptable to the view- After configuring to accept images, the right-click menu automatically displays the “Import from iPhone” option
- Enable Paste menu item and drag-and-drop reception at the same time
- UITextView automatically supports Continuity Camera on macOS Monterey
Core Takeaways
- What to do: Add Mac Catalyst support to existing iPad document editors for multi-window editing
- Why it’s worth doing: Mac users are accustomed to opening multiple document windows at the same time. Through scene configuration and
requestSceneSessionActivationJust a few lines of code - How to start: Define two scene configurations, Document and DetailViewer, and request a new scene when a document list item is double-clicked.
- What it does: Add a full menu bar and keyboard shortcuts to the photo management app for Mac
- Why it’s worth doing: Mac users discover functions through the menu bar. UIMenuBuilder serves both the Mac menu bar and the iPad shortcut key floating layer.
- How to start: Use
UIMenuBuilderBuild a menu structure and bind each menu itemUIKeyCommand, make sure the view supportscanBecomeFirstResponder
- What to do: Add Continuity camera support to the Notes app for Mac
- Why it’s worth doing: Mac users can directly use iPhone to take photos and insert notes without transferring them to the computer first.
- How to start: Settings in the note editing view
pasteConfigurationAccept UIImage, implementpaste(itemProviders:)
- What to do: Use Pop-up Button instead of Segmented Control to switch views in the Mac version of the file manager
- Why it’s worth doing: Pop-up Button is a standard Mac control that saves space and is consistent with user habits.
- How to start: Use
UIButton+changesSelectionAsPrimaryAction+showsMenuAsPrimaryActionCreate, menu items corresponding to different view modes
Related Sessions
- What’s new in Mac Catalyst — Detailed introduction to the new API of Mac Catalyst
- Optimize the interface of your Mac Catalyst app — In-depth guide to Mac Catalyst interface optimization
- Focus on iPad keyboard navigation — Basics of keyboard navigation and focus management
Comments
GitHub Issues · utterances