
Highlight
SwiftUI is new in iOS 15
Canvas、TimelineViewAPIs such as , Materials and foreground styles allow developers to use declarative syntax to implement high-performance custom graphics, particle animations and immersive visual effects.
Core Content
When making graphics apps, developers often face a contradiction: they want a full-screen immersive visual experience, but they are worried that the content will be blocked by bangs, home indicator bars or keyboards.
The previous approach was to manually calculate various insets, usingGeometryReaderRead the safe area and adjust the layout.The code is verbose and the performance on different devices is inconsistent.
WWDC2021’s SwiftUI brings several key improvements to solve this pain point.
Fine control of Safe Area
ignoresSafeArea()Modifiers can now specify which safe areas are ignored.For example, you want the background image to fill the entire screen, but the content still needs to avoid the keyboard:
ContentView()
.ignoresSafeArea(.keyboard)(03:52)
More powerful issafeAreaInsetmodifier.It allows you to add auxiliary content (such as a bottom toolbar) at a certain edge, while automatically shrinking the safe area of the main content to avoid being blocked.
List {
    // Main content
}
.safeAreaInset(edge: .bottom) {
    // Bottom toolbar
    HStack {
        Button("Cancel") {}
        Spacer()
        Button("Save") {}
    }
    .padding()
    .background(.thinMaterial)
}(09:03)
Materials and Vibrancy
iOS 15 introduces the Material blur effect, starting fromultraThinarriveultraThickThere are 6 levels in total.Cooperate.foregroundStyle(.secondary)When using hierarchical styles, the text will automatically get the Vibrancy effect - dynamically adjust the contrast according to the background color.
Text("Hello")
    .foregroundStyle(.secondary)
.background(.ultraThinMaterial)(06:13)
Canvas and TimelineView
For scenes that require drawing a large number of graphic elements (such as particle systems, data visualization),CanvasProvides the ability to draw directly, and the performance far exceeds the combinationView。
TimelineViewto make animation updates controllable - you can use.animationschedule gets a frame-by-frame callback similar to CADisplayLink.
Detailed Content
New system for foreground styles
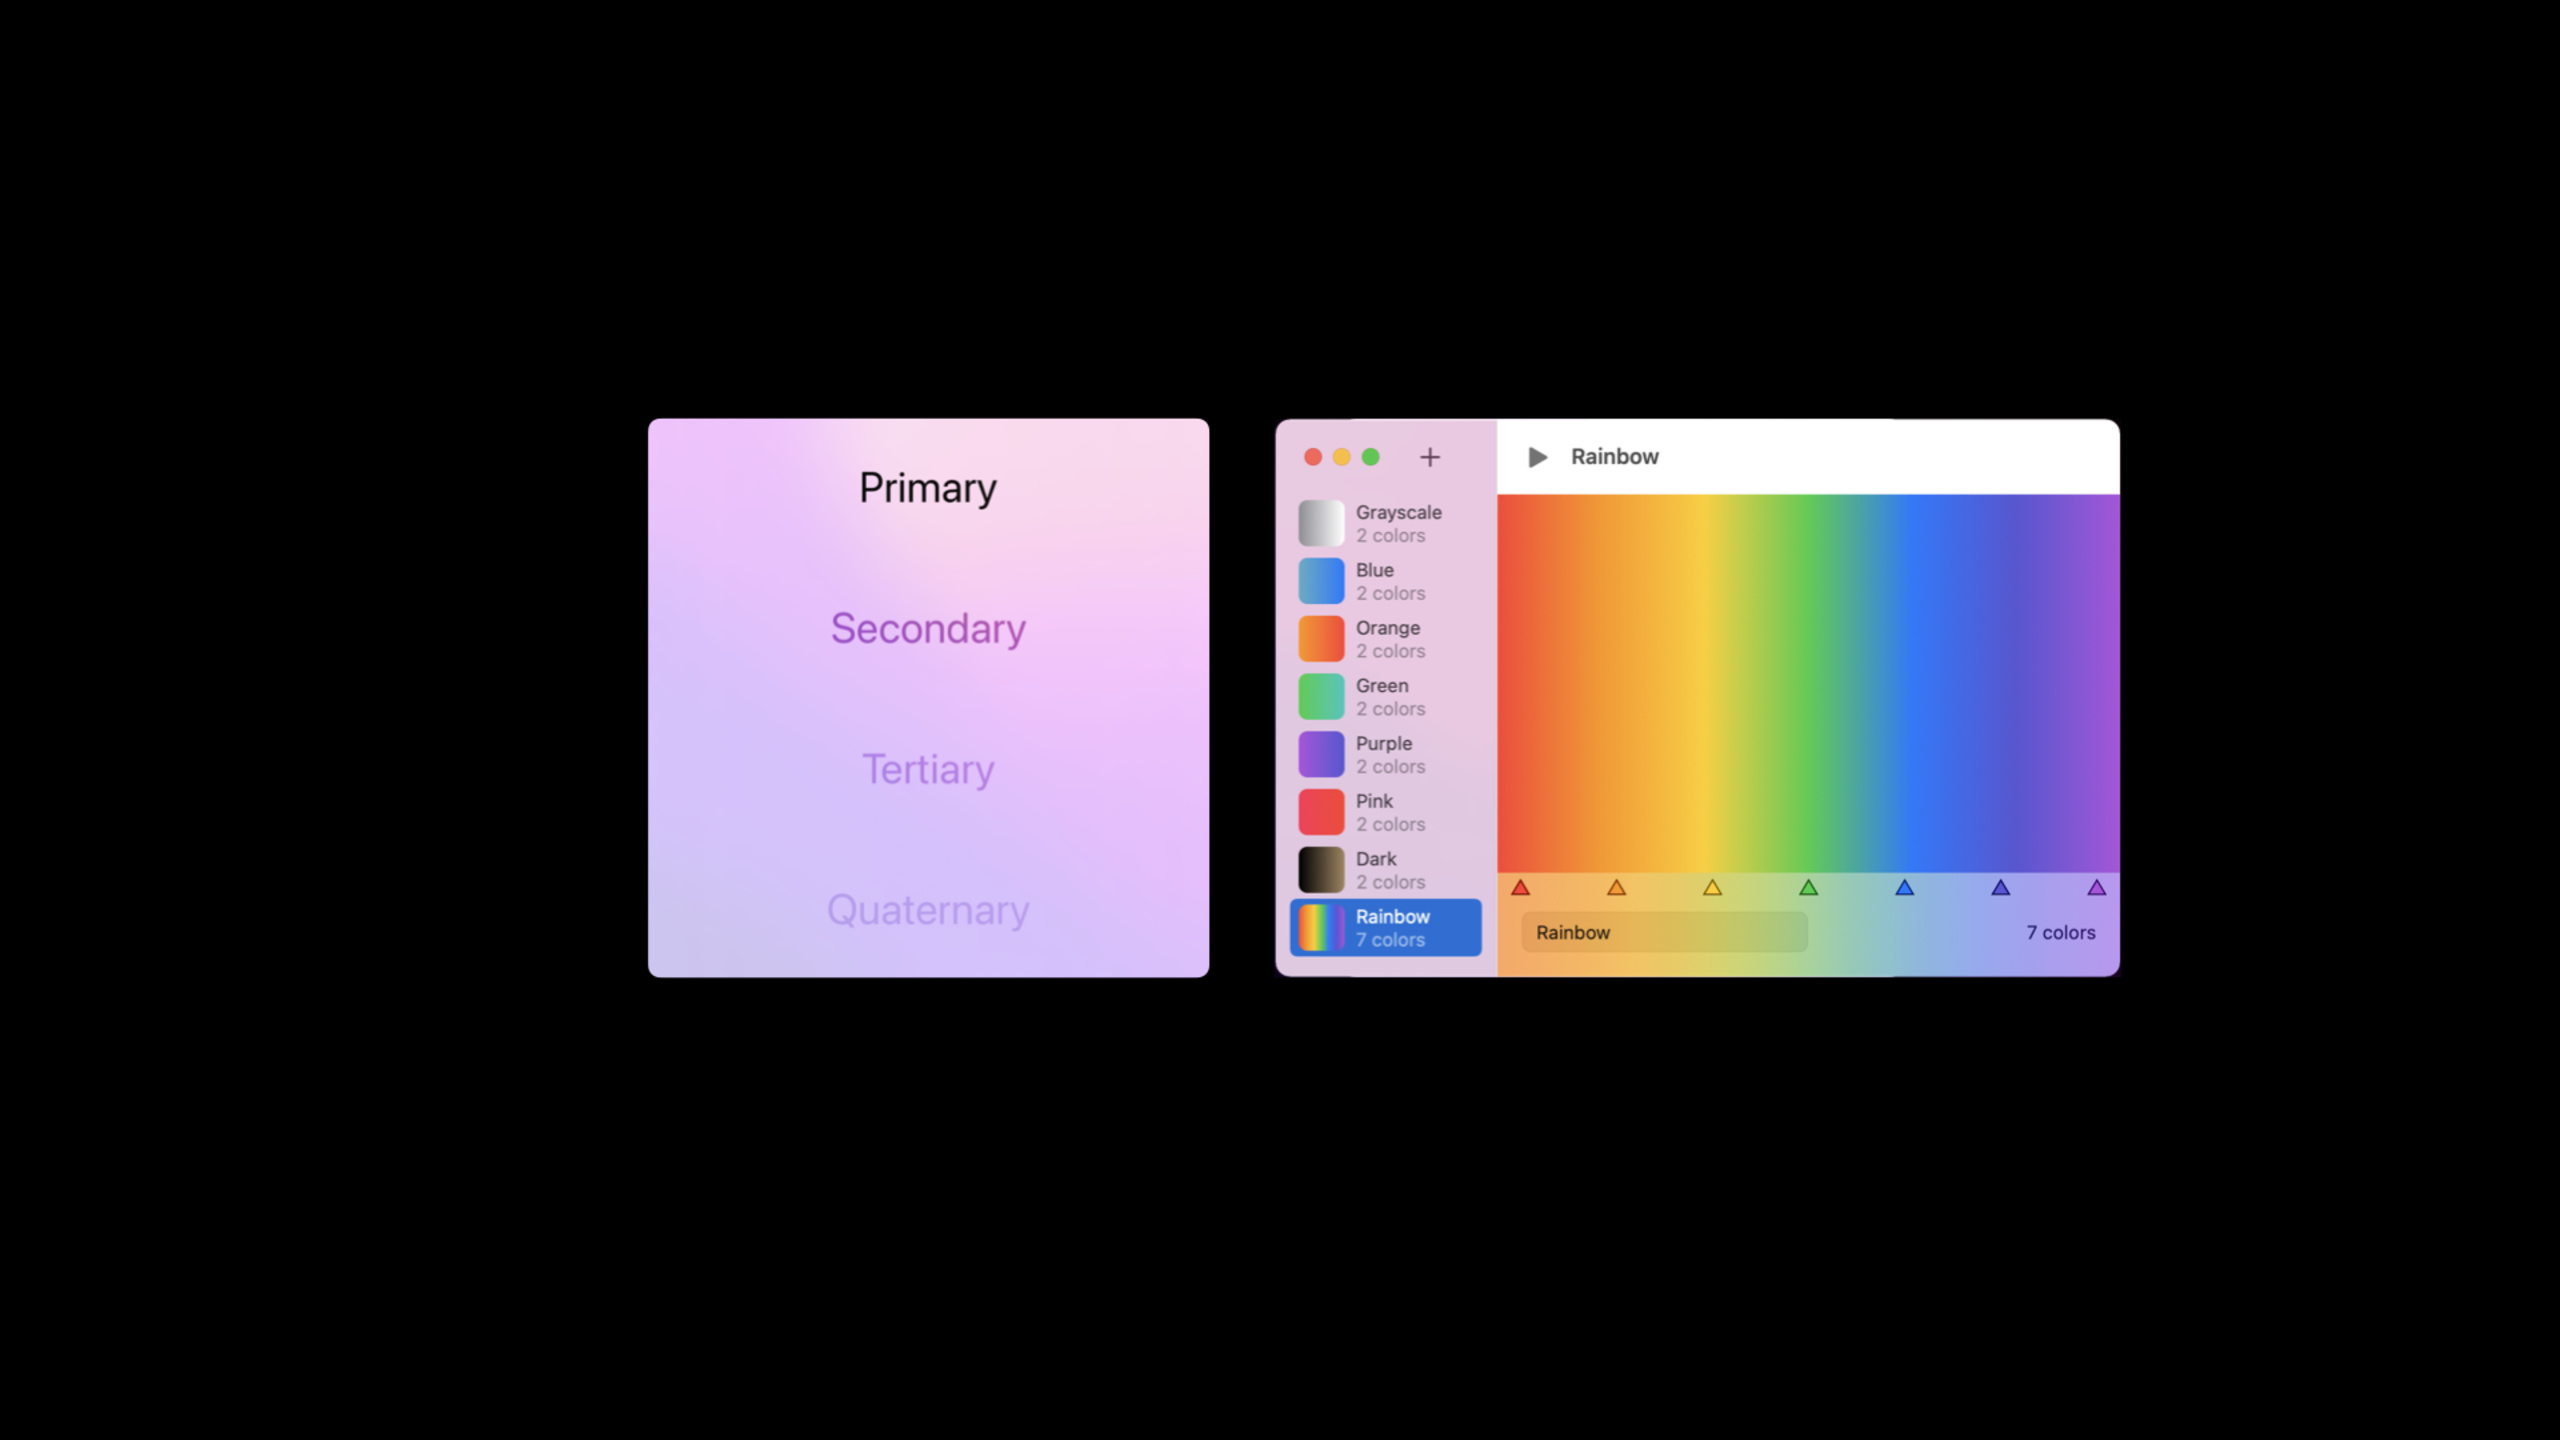
foregroundStylereplaced the oldforegroundColor, supports a richer semantic level:
VStack {
    Text("Primary")
        .foregroundStyle(.primary)
    Text("Secondary")
        .foregroundStyle(.secondary)
    Text("Tertiary")
        .foregroundStyle(.tertiary)
    Text("Quaternary")
        .foregroundStyle(.quaternary)
}
.foregroundStyle(.purple)(07:08)
Key points:
.primaryarrive.quaternaryIt is a semantic level and automatically obtains the Vibrancy effect in the Material context.- Outer layer
.foregroundStyle(.purple)Will unify the foreground color of all subviews to purple - You can also pass in
LinearGradientand other complex styles
let blueGradient = LinearGradient(
    colors: [.blue, .teal],
    startPoint: .leading,
    endPoint: .trailing
)

VStack {
    Text("Primary").foregroundStyle(.primary)
    Text("Secondary").foregroundStyle(.secondary)
}
.foregroundStyle(blueGradient)(07:41)
Canvas drawing basics
CanvasIs a specialized drawing view, suitable for scenes that require direct control of pixels:
Canvas { context, size in
    // Resolve the image to avoid resolving it again on every draw
    let resolvedImage = context.resolve(Image("sparkle"))

    // Get the image size
    let imageSize = resolvedImage.size

    // Draw in the center
    let rect = CGRect(
        x: size.width / 2 - imageSize.width / 2,
        y: size.height / 2 - imageSize.height / 2,
        width: imageSize.width,
        height: imageSize.height
    )

    context.draw(resolvedImage, in: rect)
}(13:12)
Key points:
context.resolve()Parse image resources in advance to improve performance- Closures are not
ViewBuilder, you can use a normal for loop - All drawings are performed in order, and those drawn later overwrite those drawn earlier.
Use TimelineView to create animations
TimelineView(.animation) { timeline in
    Canvas { context, size in
        let time = timeline.date.timeIntervalSinceReferenceDate
        let angle = Angle(radians: time.remainder(dividingBy: 3) * 2 * .pi / 3 * 2)
        let offsetX = cos(angle.radians) * 50

        let resolvedImage = context.resolve(Image("sparkle"))
        let imageSize = resolvedImage.size

        for i in 0..<particleCount {
            var contextCopy = context
            contextCopy.opacity = 0.7
            contextCopy.blendMode = .screen

            let rect = CGRect(
                x: size.width / 2 + offsetX - imageSize.width / 2,
                y: size.height / 2 + CGFloat(i) * 10 - imageSize.height / 2,
                width: imageSize.width,
                height: imageSize.height
            )
            contextCopy.draw(resolvedImage, in: rect)
        }
    }
}
.gesture(
    TapGesture()
        .onEnded { _ in
            particleCount += 1
        }
)(18:38)
Key points:
TimelineView(.animation)Trigger updates at screen refresh ratecontextIt is a value type. Modification after copying will not affect the original context..blendMode(.screen)Make the overlapping parts brighter, suitable for glowing effects- Gestures can be added to the outer layer of Canvas, but gestures cannot be added to individual elements inside.
Accessibility support
Canvas is a single bitmap, and internal elements are not visible to Accessibility.Need to add description manually:
Canvas { context, size in
    // Drawing code
}
.accessibilityLabel("Particle animation showing \(particleCount) sparkles")
.accessibilityAddTraits(.isImage)(21:22)
Core Takeaways
1. Add real-time filter preview to photo/video editing apps
Use Canvas to draw the filtered image, and use TimelineView to achieve 60fps real-time preview.Entrance API:Canvas + context.draw() + context.filter。
2. Build custom charts and data visualizations
For scenarios where hundreds of data points need to be plotted, Canvas performs better than combined Shapes.Can be combinedTimelineViewMake dynamic data flow display.Entrance API:Canvas + context.fill(path, with: .color(...))。
3. Implement gamified particle effects
Fireworks, snowflakes, starlight and other effects use Canvas +blendMode(.screen)Easy to implement.Encapsulate particle state into ObservableObject, and TimelineView drives updates.Entrance API:TimelineView(.animation) + @StateObject。
4. Design an immersive reading/creation interface
useignoresSafeArea(.keyboard)Let the background image extend full screen, and use thesafeAreaInsetPlace the floating toolbar and use Material as a frosted glass background.Entrance API:.background(Image(...).ignoresSafeArea()) + .safeAreaInset。
5. Add Vibrancy sidebar to macOS App
SwiftUI’s Material automatically adapts to native Vibrancy effects on macOS.use.listStyle(.sidebar)Cooperate.foregroundStyle(.secondary)You can get system-level visual quality.Entrance API:.background(.ultraThinMaterial)。
Related Sessions
- Demystify SwiftUI — In-depth understanding of SwiftUI’s Identity, Lifetime and Dependencies
- Direct and reflect focus in SwiftUI — Learn focus management and cooperate with graphic interaction
- SwiftUI on the Mac: Build the fundamentals — SwiftUI graphics adaptation on macOS
- Discover concurrency in SwiftUI — Background data loading and UI update
Comments
GitHub Issues · utterances