
Highlight
Apple opens Face ID and Touch ID to Safari websites as WebAuthn platform authenticators, allowing users to complete subsequent logins using their device private key and biometrics after completing a traditional login.
Core Content
Many high-security websites require users to log in again after a period of time. Banking, payment, and backend management systems are all common. The traditional process usually consists of username, password, and SMS verification code. AutoFill for iOS has reduced some input, but users still have to judge fields, wait for verification codes, and switch attention.
This session uses a demo website called Shiny to illustrate Safari’s new path: the user first logs in once with their original credentials, and the website then asks whether to turn on Face ID or Touch ID. After it is turned on, Safari will pop up a confirmation interface when logging in again next time. The user completes biometric identification, and the website gets the credentials returned by the Web Authentication API (WebAuthn), and then verifies it on the server side.
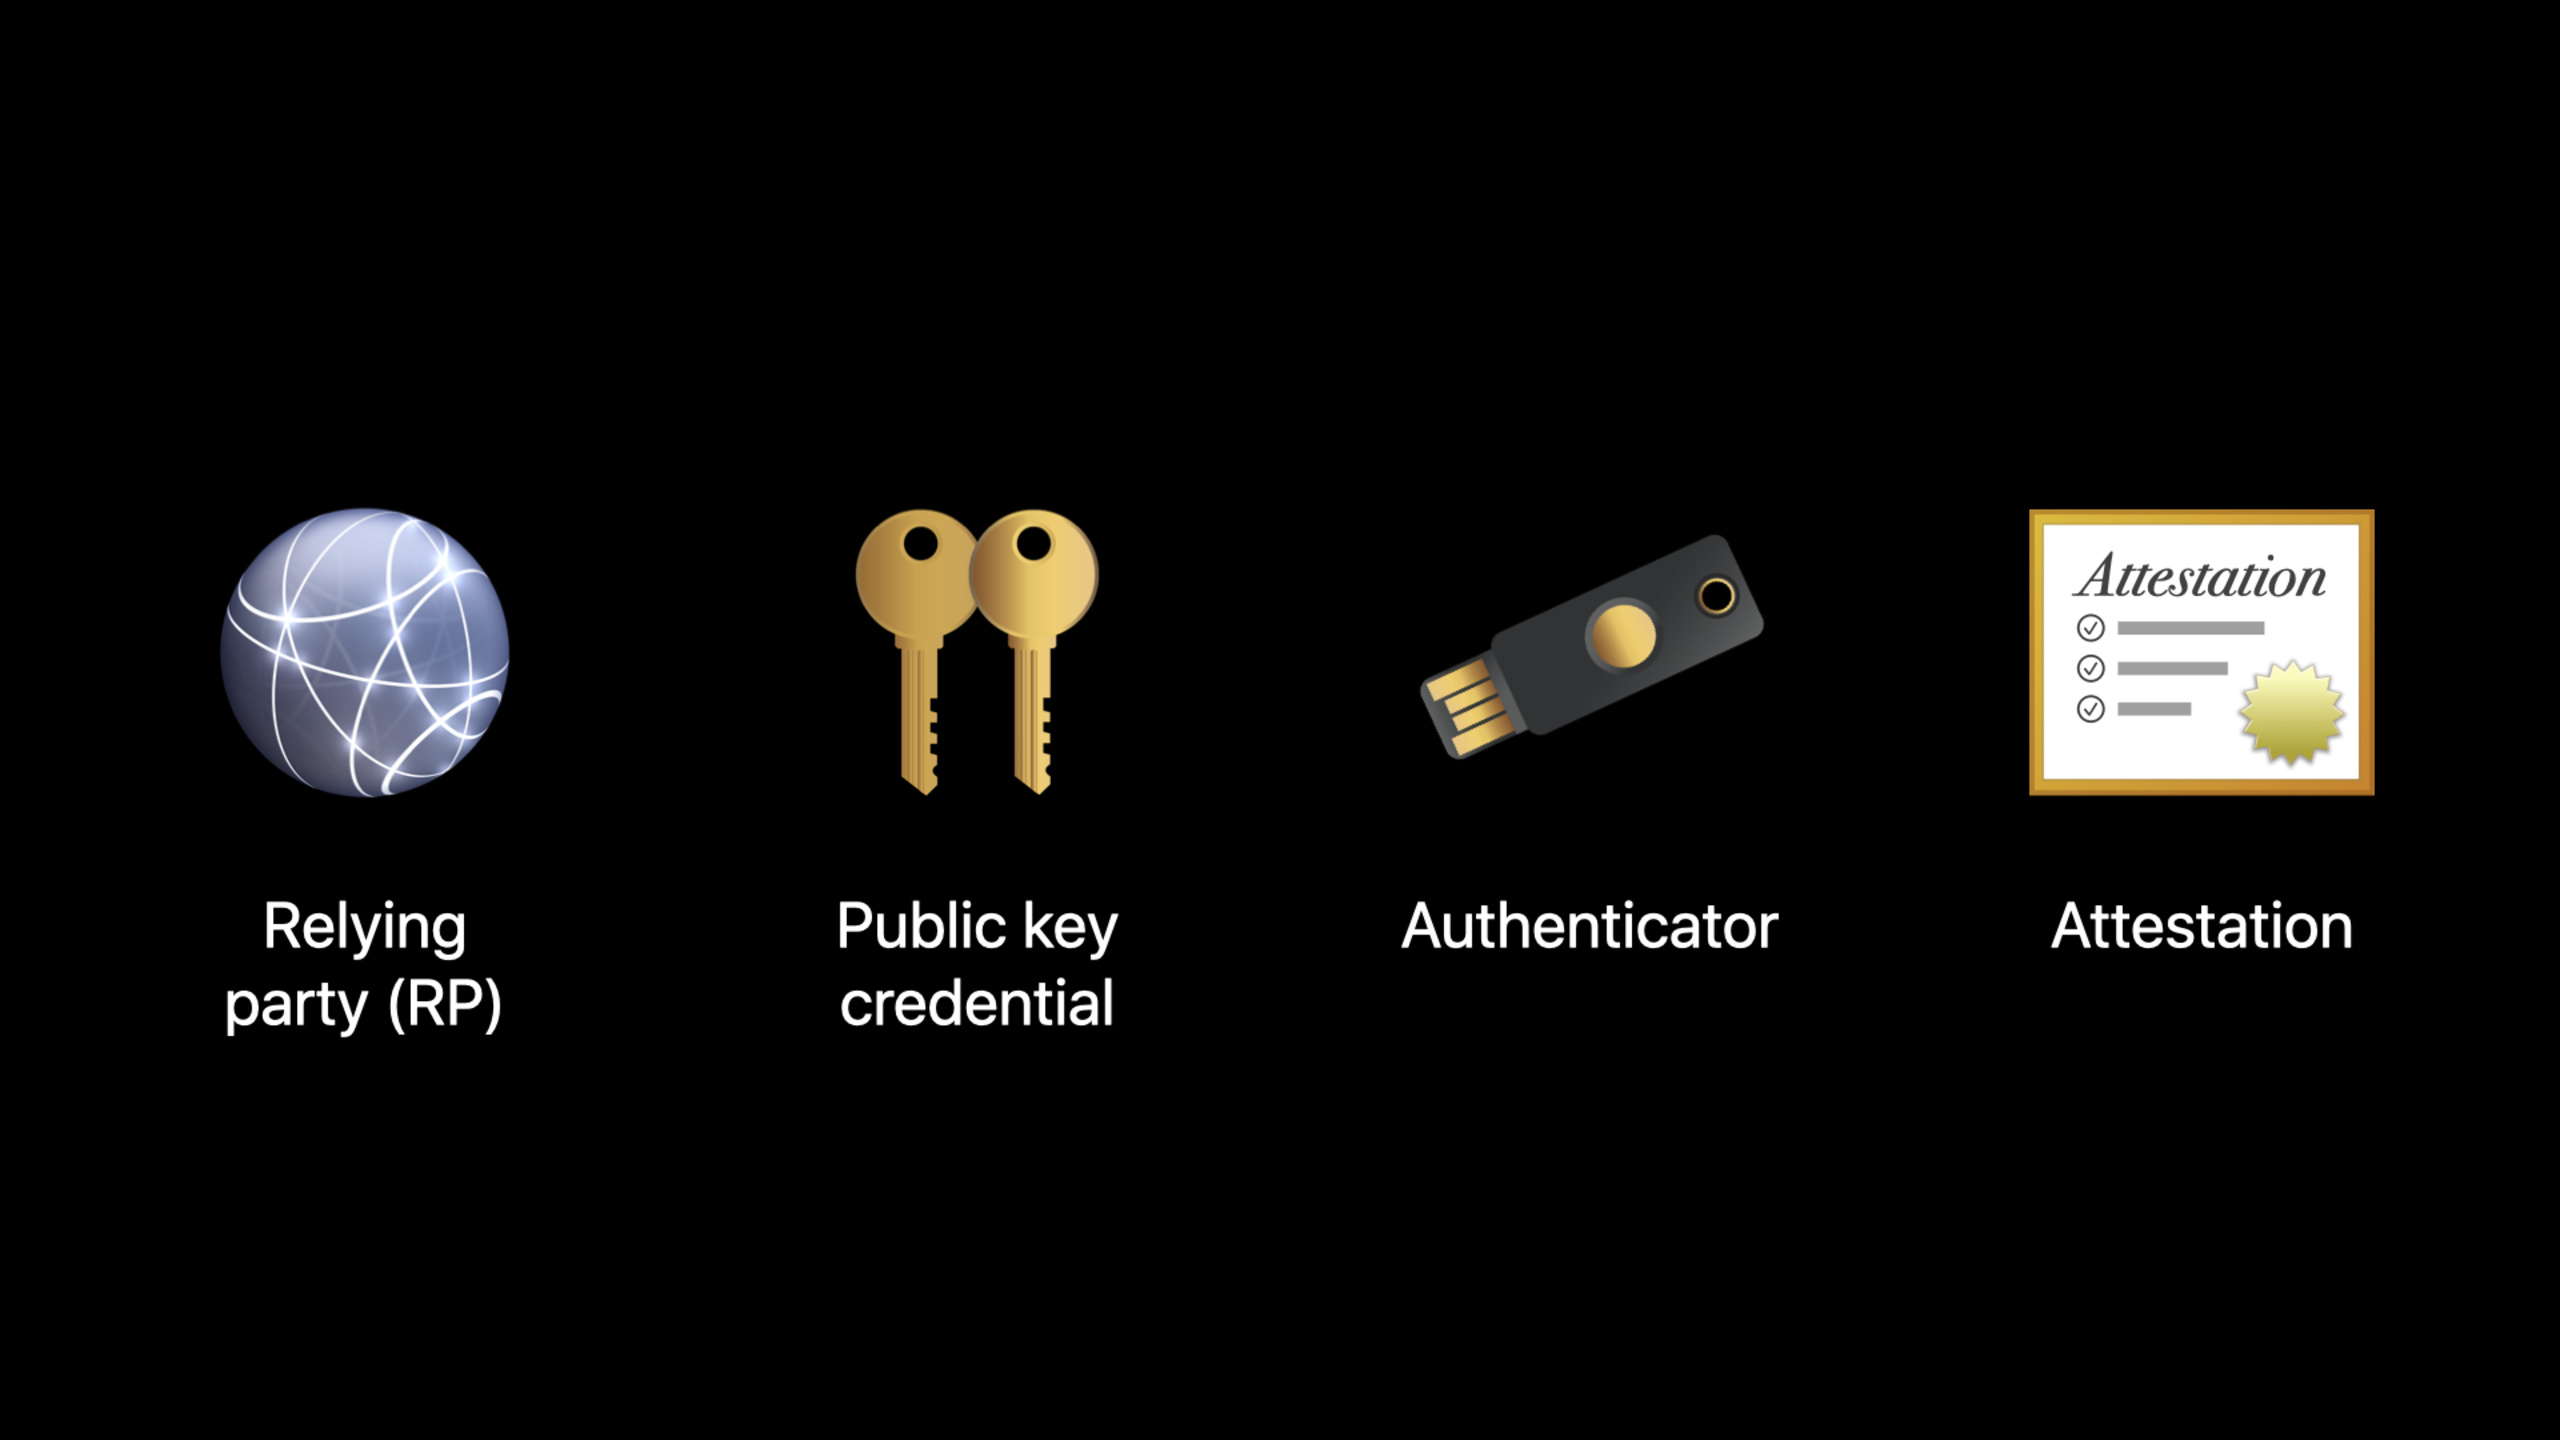
The key change to WebAuthn is that the authentication material is no longer a reusable password. The website is a relying party, the browser creates a PublicKeyCredential, and the private key is managed by the authenticator. Apple’s Platform Authenticator combines Face ID or Touch ID with a Secure Enclave: the user owns the device and simultaneously verifies their identity via biometrics.
This also explains why it is suitable for the fast lane of “subsequent login”. The credential can only be used by the website that created it, the private key cannot be exported from the authenticator, and the reusable secret cannot be obtained by phishing sites. Websites still need to keep passwords, verification codes, or other recovery methods because the private key is bound to the device and cannot be locked out when the user loses the device.
Detailed Content
Do the ability test first
(06:49) Access starts with three promise-based API entries. The first entrance isPublicKeyCredential.isUserVerifyingPlatformAuthenticatorAvailable. It returns a Boolean value that tells the page whether the current device can use a platform authenticator with user authentication capabilities.
// Feature detection

const isAvailable = await PublicKeyCredential.isUserVerifyingPlatformAuthenticatorAvailable();

if (isAvailable) {
    // Continue to enrollment or sign in
    // ...
}
Key points:
PublicKeyCredentialIs the browser API that represents public key credentials in WebAuthn. -isUserVerifyingPlatformAuthenticatorAvailable()Detects authenticators built into the platform, such as devices with Face ID or Touch ID. -isAvailableWhen true, the page will enter the registration or login prompt.- Session clearly recommends using feature detection instead of user-agent string judgment.
Create PublicKeyCredential when registering
(07:56) Users should first log in using the traditional method. After the website confirms the user’s identity, it then displays a notification to enable Face ID or Touch ID. After the user agrees, the page callsnavigator.credentials.create, letting Safari handle the confirmation UI and return aPublicKeyCredential。
// Enrollment

const options = {
    publicKey: {
        rp: { name: "example.com" },
        user: {
            name: "[email protected]",
            id: userIdBuffer,
            displayName: "John Appleseed"
        },
        pubKeyCredParams: [ { type: "public-key", alg: -7 } ],
        challenge: challengeBuffer,
        authenticatorSelection: { authenticatorAttachment: "platform" },
        attestation: "direct"
    }
};

const publicKeyCredential = await navigator.credentials.create(options);
Key points:
rpTells the browser who the current website is. WebAuthn refers to this website as the relying party. -userPut in the user information, and the server needs to be able to associate the returned credentials with this account. -pubKeyCredParamsDeclare the type of public key credentials and encryption algorithm the website wishes to use. -challengeIs a server-generated challenge value used to prevent replays. -authenticatorAttachment: "platform"is the core of this code and requires the use of the platform authenticator. -attestation: "direct"A safe choice for Shiny demo sites. Transcript Description attestation is an optional capability, suitable for scenarios where device attributes need to be proven.
(10:00) What the front end gets is the registration response, and real trust is built on the back end. The server needs to save the credential ID and public key data. It also verifies client data, authenticator data, and, if attestation is enabled, the attestation statement.
Get assertion when logging in
(11:24) After registration is completed, the website can use Touch ID or Face ID as a quick login portal. Session recommends setting a server-side, secure, and HttpOnly cookie during registration to mark that this account has enabled this capability on this device. Once the login page sees this mark, it can display the quick path.
// Sign in

const options = {
    publicKey: {
        challenge: challengeBuffer,
        allowCredentials: [{
             type: "public-key",
             id: credentialIdBuffer,
             transports: ["internal"]
        }]
    }
};

const publicKeyCredential = await navigator.credentials.get(options);
Key points:
- Logins are still issued from the server
challengestart. -allowCredentialsBy specifying the credential ID to be used this time, Safari can give the user a more direct interface. -transports: ["internal"]The corresponding platform has a built-in authenticator. -navigator.credentials.get(options)Trigger Safari’s confirmation screen and return the newPublicKeyCredential. - Like registration, this call should occur in an event actively triggered by the user.
(12:38) The core content in the login response is signature. The server needs to confirm that the user ID belongs to the site user, that the credential ID is associated with that user, that the metadata is valid, and then it verifies the signature. After the verification is passed, the login session is established.
Handling attestation and recovery paths
(05:39) Attestation is used to allow the website to confirm that the device has the security attributes it declares. Transcript also reminds that poor attestation design can become a cross-site tracking vector. Apple’s Anonymous Attestation generates a unique certificate for each credential to prevent websites from using the same attestation certificate to connect user accounts.
(14:02) The most important product rule is: Face ID and Touch ID should be alternative login methods, not the only login method. The private key is bound to the device. After the device is lost, the user must be able to recover the account through other mechanisms. Websites that already support security keys should also consider the experience differences between platform authenticators and external security keys.
Core Takeaways
- Add a Face ID fast lane to the high-frequency re-login process
What: After the user completes a login with a password and verification code, prompt him to turn on Face ID or Touch ID for the current device.
Why it’s worth doing: Session’s Shiny demo shows that subsequent logins can be shortened from a password and SMS verification code to a Safari confirmation and a biometric.
How to start: Connect firstisUserVerifyingPlatformAuthenticatorAvailable(), the opening portal will only be displayed on devices that support the platform authenticator.
- Incorporate WebAuthn registration results into the account security background
What to do: Save the credential ID and public key data, and let the user view and remove enabled devices on the account security page.
Why it’s worth doing: Transcript requires the server to save this data during registration, and subsequent logins also rely on the association between the credential ID and the user.
How to start: Complete the server-side verification list starting from the registration callback: client data, authenticator data, optional attestation statement, credential ID, public key data.
- Design a separate recovery path for WebAuthn login
What to do: Put Face ID or Touch ID in a quick login location, while keeping your password, verification code, or other recovery entry.
Why it’s worth doing: Apple clearly reminds you that the private key is bound to the device, and the user cannot be permanently locked out of the account when the device is lost.
How to get started: Check the account recovery process before enabling WebAuthn to ensure that users can complete traditional login and registration again on the new device.
- Only enable attestation when attestation of device attributes is required
What to do: Ordinary websites do not request attestation by default. In high compliance scenarios, re-evaluate whether device manufacturer certification is required.
Why it’s worth doing: Transcript positions attestation as an optional security capability and explains that it can create privacy risks if not designed properly.
How to start: First, complete the online registration response without attestation; if there are indeed compliance requirements, then verify the attestation statement and pay attention to Apple Anonymous Attestation.
- Use secure cookies for device-level prompts and do not treat them as credentials
What to do: After successful registration, set server-side, secure, and HttpOnly cookies, which are only used to prompt that this device has a quick login entrance.
Why it’s worth doing: Session recommends using this cookie to get a longer-lasting device token, but the actual login still comes from WebAuthn signature verification.
How to start: Connect the cookie only to the login page display logic; the server still completes authentication based on user ID, credential ID, metadata and signature.
Related Sessions
- One-tap account security upgrades — Continue to talk about account security upgrades, covering Sign in with Apple, strong passwords, and iCloud Keychain password managers.
- Get the most out of Sign in with Apple — Talk about login requests, credential status, server notifications, and existing account migration.
- AutoFill everywhere — Complete the automatic filling experience of account number, password and verification code in the traditional login form.
- What’s new for web developers — See overall updates to the Safari and WebKit platform APIs from the same year.
Comments
GitHub Issues · utterances