
Highlight
ReplayKit launched on macOS at WWDC 2020, allowing Mac apps to record within the app, obtain audio and video samples, initiate third-party live broadcasts, and trigger recording through gamepad buttons.
Core Content
In the past, Mac games and graphics applications had to provide a screen recording experience, and often had to hand over users to system screen recording or external streaming tools. It is difficult for the application itself to control the recording entrance, and there is no unified preview, saving, and sharing process. Live streaming is more fragmented. Users have to leave the application to choose third-party services, and developers have to coordinate the screen, application audio, microphone and privacy prompts themselves.
ReplayKit originally already provided recording, capture, and live streaming capabilities on iOS and tvOS. Johnny Trenh explained at the beginning that the change at WWDC 2020 is to bring these capabilities to the Mac. Mac apps can now record app screens, app audio, and microphones, and can also send audio and video samples back to the app process, or send app content to third-party live streaming services.
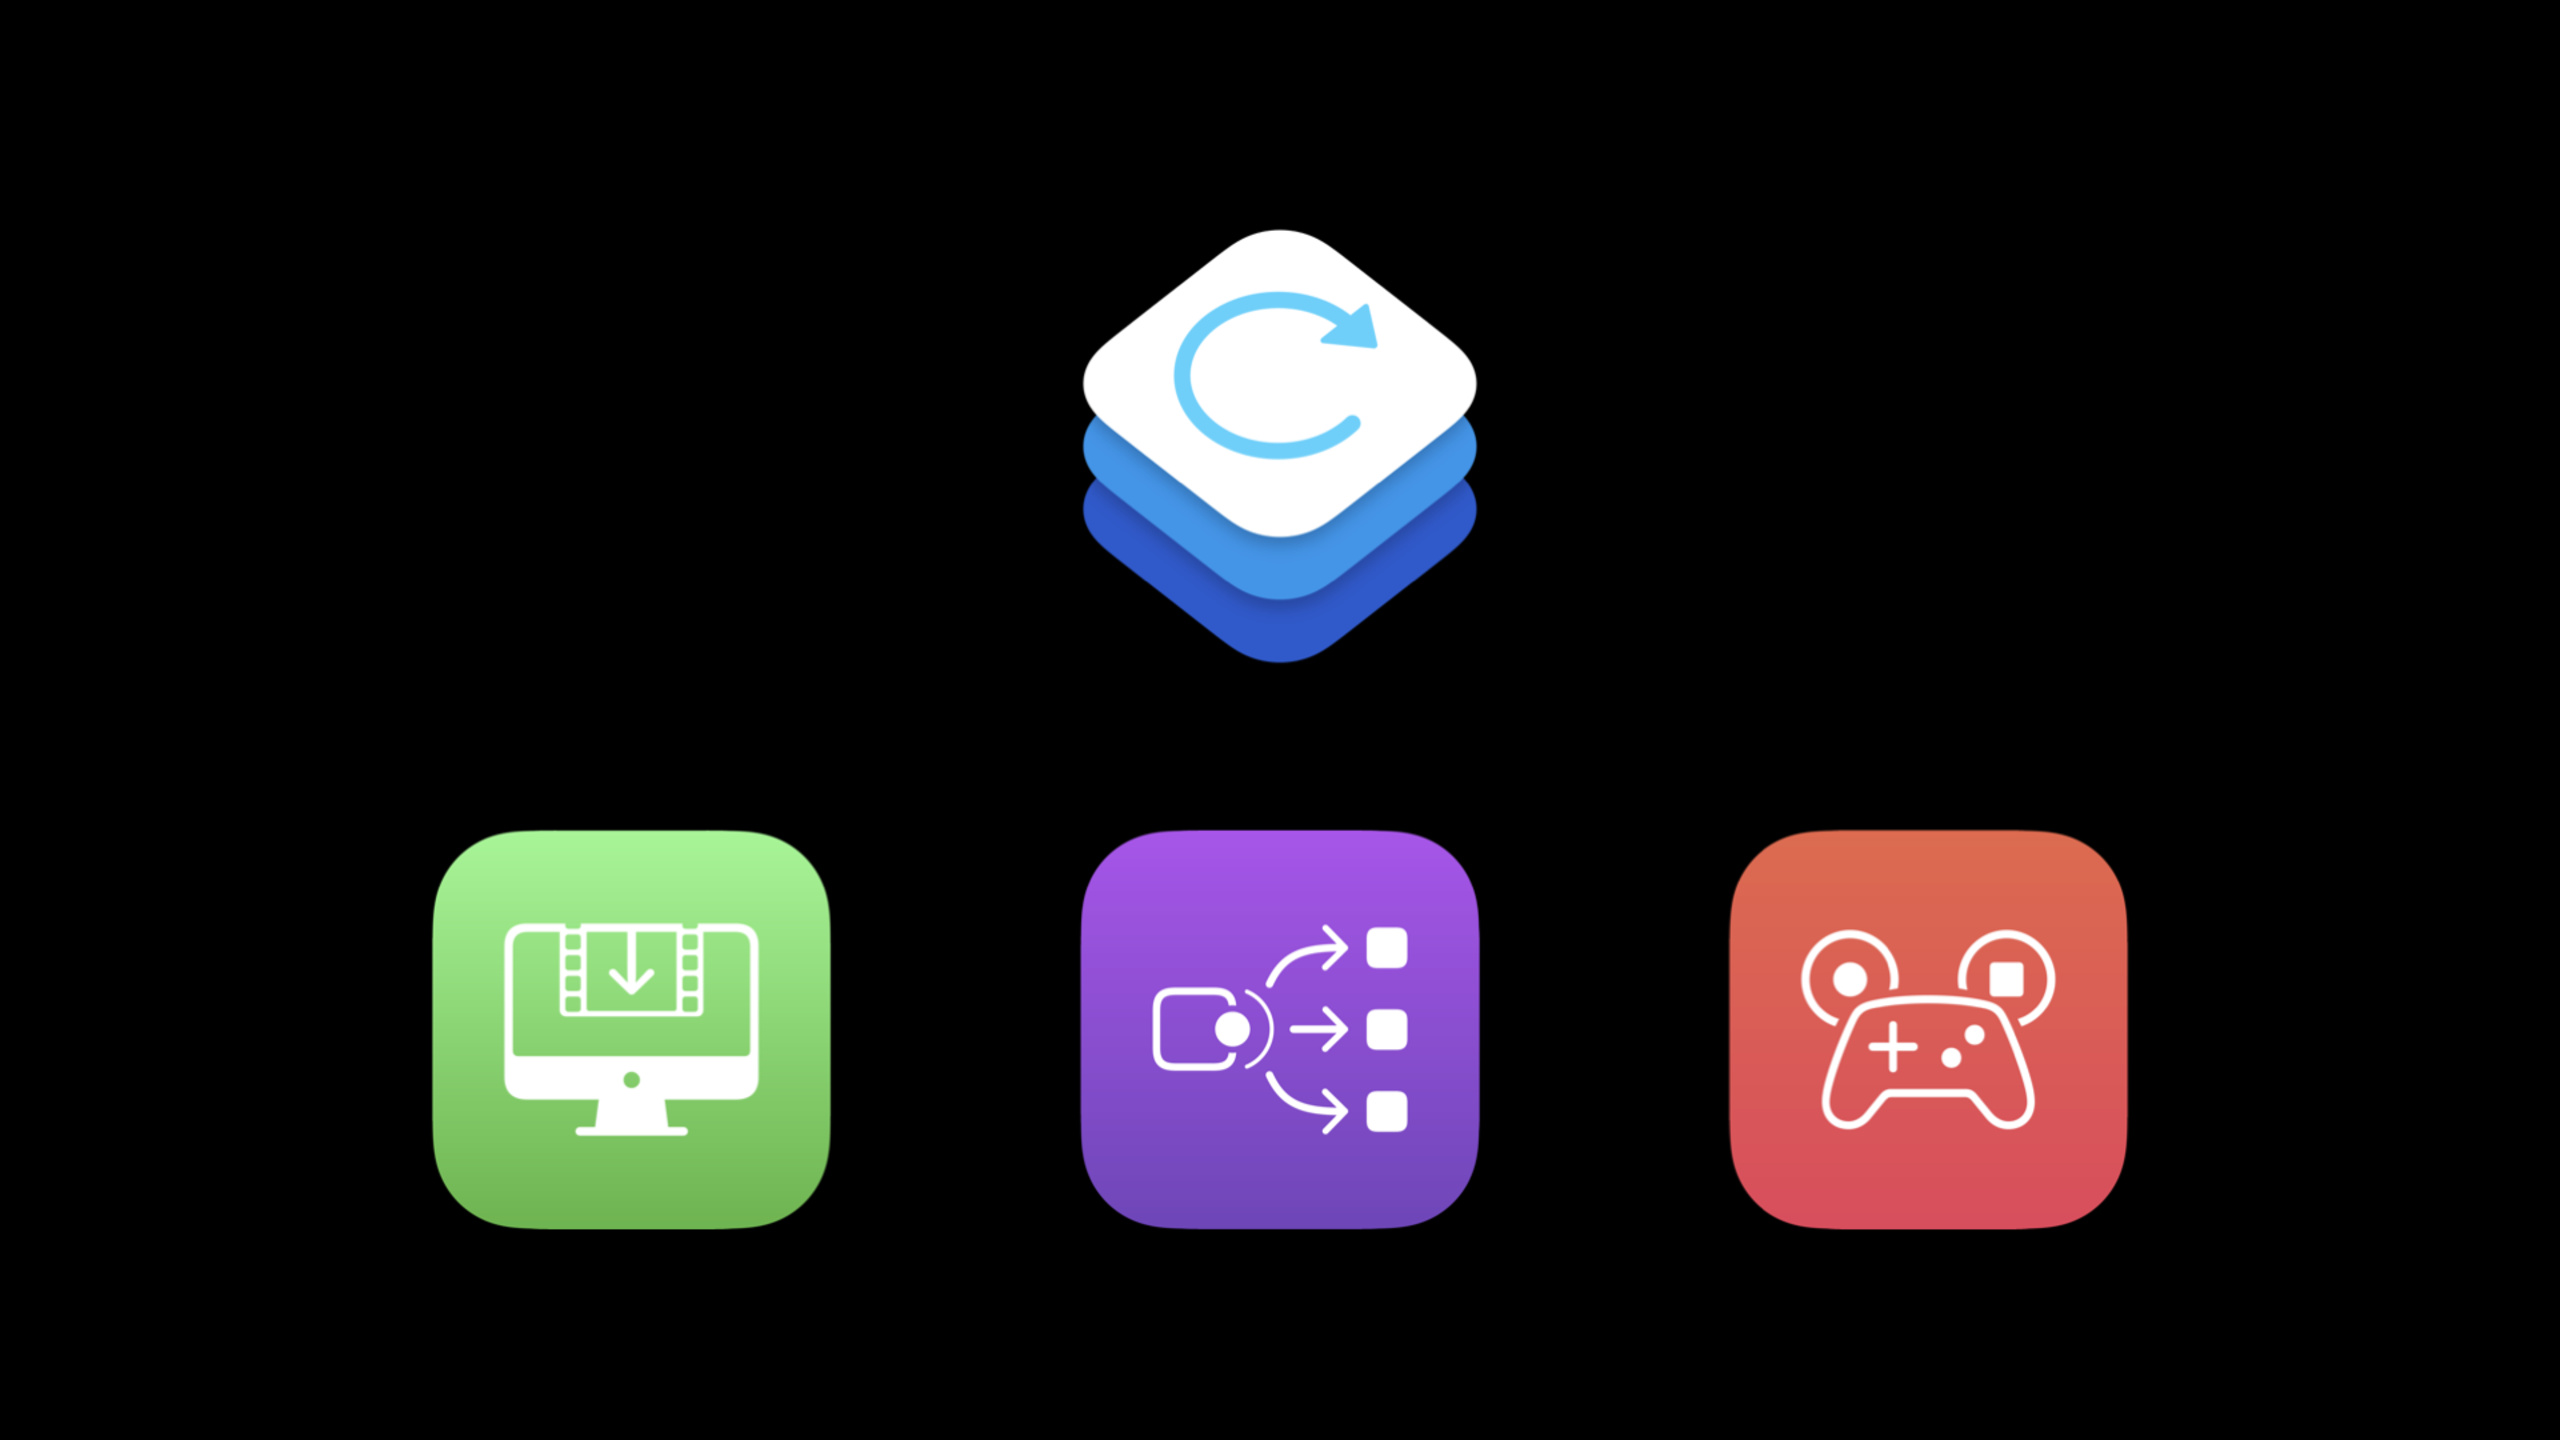
This session talks about the complete process according to three entrances. Record entry callRPScreenRecorderStart and stop recording, and useRPPreviewViewControllerLeave it to the user to edit, save or share. Capture entry callstartCapture, continuously receiving video, application audio, and microphone samples. For live broadcast entranceRPBroadcastActivityControllerDisplay the third-party service selector and use the returnedRPBroadcastControllerControl the live broadcast.
The macOS version also adds two external entrances that require application cooperation. ReplayKit displays an active session icon in the menu bar, and users can stop recording, capturing, or live streaming from there. The Game Controller framework is also connected to ReplayKit. Double-click Share on the PS4 controller and Select on the Xbox controller to start or stop in-app recording.
Detailed Content
In-app recording: from shared recorder to preview controller
(01:41) ReplayKit’s in-app recording captures the app screen, app audio, and microphone and writes them to a movie file. Apply firstRPScreenRecordershared recorder, and then callstartRecording. After recording starts, the sample app only updates the internalrecordingStateand button title to allow the next click of the same button to enter the stop process.
Key points:
RPScreenRecorderIt is a unified entrance to the recording and capture process. -startRecordingResponsible for initiating in-app recording, ReplayKit begins collecting footage, app audio, and microphone.- The startup callback will return error information, and the application should only update the recording status when there are no errors.
- The demo project uses one button to assume two states: start and stop, so state synchronization is the basic work.
(04:35) When stopping recording, the application callsstopRecording. ReplayKit saves the recording content and then passesRPPreviewViewControllerLeave the preview interface to the application. A window sheet can be used on Mac to display this preview interface, and users can edit, crop, save or share videos.
Key points:
stopRecordingEnd the recording and return to the preview controller in the completion callback.- Application to be saved
RPPreviewViewControllerreference to prevent the user from being able to close it after completing the operation. - The application needs to become a preview controller proxy, because after the user clicks save or close, the proxy method will notify the application to collapse the interface.
- The saving experience of macOS will follow the standard file saving process, and the user still knows the final saving location.
New URL stopping method: let the application read the recording file
(07:07) Traditional in-app recording does not hand the video file directly to the application. ReplayKit creates videos, and users decide to save or share them through the preview interface. The speech mentioned that many developers hope that the application can read the recording results, so this year a stop recording method with a target URL was added.
Key points:
- new
stopRecordingWithURLAllows the app to provide a target URL. - ReplayKit will write the recorded video to this location and give the application read permission.
- This capability is suitable for use as an in-app playback library, material manager or custom video editor.
- The important thing here is the file ownership change: the user still knows that the recording is taking place, and the application can incorporate the results into its own workflow.
In-application capture: hand the sample back to the application process
(08:44) If your app doesn’t want ReplayKit to generate the movie, it can use in-app capture instead. callstartCaptureFinally, ReplayKit sends audio, video, and microphone samples back to the application process, and the developer decides what to do with these samples.
Key points:
startCaptureInitiate from the shared recorder like recording.- It contains two processing entries: the sample processor receives data repeatedly, and the completion processor is executed only once when the capture is started.
- Each sample callback will bring back the sample, sample type and error information.
- Sample type is used to differentiate between video, application audio, and microphone audio.
(12:00) After the demo project receives the sample, it only prints logs by type. Real-world applications can use video samples for screenshots, game overlays, or custom HUDs, or they can feed audio samples into their own processing pipelines. The value here is not in generating the video, but in the application having direct access to the original content.
Key points:
- Video samples can drive screenshots, screen overlays and pre-playback processing.
- Application audio and microphone audio are returned separately to facilitate separate processing of game sounds and user sounds.
- Once capture is started, apps should typically disable the record and live buttons to avoid ReplayKit sessions from conflicting with each other.
- The camera picture-in-picture during the lecture is also part of the status update and is shown only after the capture has started.
Live broadcast: Connect to third-party services using broadcast selectors
(14:21) ReplayKit’s live broadcast process is divided into three steps. The app displays the third-party service selector first. After the user selects a service, ReplayKit establishes a connection to the broadcast extension. Get the applicationRPBroadcastController, and then use it to start, pause, and stop the live broadcast.
Key points:
RPBroadcastActivityControllerResponsible for displaying the broadcast service selector on macOS.- After the user selects a service, ReplayKit will connect the application to the corresponding broadcast extension.
- returned
RPBroadcastControllerIt is the live broadcast control entrance, and the subsequent start and end depend on it. - The application needs to save this controller reference because the same object will be used when stopping the live broadcast.
(19:51) The live broadcast entrance of macOS is different from that of iOS. iOS useRPBroadcastActivityViewController, macOS changed toRPBroadcastActivityController. Since Mac supports multiple screens and windows, the app callsshowBroadcastPickerto be given whenCGPointand window reference; if you want to guide the user directly to a service, you can also pass in the preferred extension identifier.
Key points:
CGPointIndicates the starting point of the broadcast selector in the lower left corner of the window.- A window reference lets ReplayKit know which window on your Mac the selector should appear on.
- The preferred extension identifier can specify a broadcast service.
- When passing in an empty service ID, the user will see a list of available third-party services.
Menu bar privacy entrance: synchronize status even when stopped externally
(20:48) The ReplayKit icon appears in the menu bar on macOS whenever there is an active recording, capture, or live broadcast session. This icon indicates to the user that a ReplayKit session is in progress and also allows the user to stop the session from outside the application.
Key points:
- Apps cannot assume that all stop actions come from their own buttons.
- ReplayKit calls when the user stops the session from the menu bar
didStopRecordingWithPreviewViewController. - For in-app capture and live streaming, the incoming
RPPreviewViewControllerwill be null. - The application should uniformly clean up the recording, capture, and live broadcast status in this callback, and restore related buttons.
Game controller entrance: recording can be started from the controller
(21:42) The Game Controller framework has built-in ReplayKit functionality on iOS, tvOS, and macOS. Double-click the Share button on a PS4 controller, or double-click the Select button on an Xbox controller to start in-app recording. Double-clicking again will stop recording and save to Photos on iOS or to the desktop on macOS.
Key points:
- The controller entrance is suitable for recording highlight clips in games without players having to leave the controller.
- For apps that already use ReplayKit, the controller may start or stop recording outside of the app’s buttons.
- Speech suggestions for
RPScreenRecorderThe availability and recording properties do key-value observing. - The application needs to be implemented
RPScreenRecorderDelegateStop callback to ensure that the UI state is consistent with the actual recording state.
Core Takeaways
-
What to do: Make a Mac game highlight replay library. Why it’s worth doing:
stopRecordingWithURLEnables applications to read videos generated by ReplayKit. How to start: UseRPScreenRecorderInitiate recording, write the results to the directory managed by the application when stopped, and then record the level, time and player notes for each video. -
What to do: Make tutorial recordings with real-time HUD. Why it’s worth doing:
startCaptureVideo, application audio, and microphone samples are sent back to the application process. How to start: First split the video and audio by sample type, then feed the video samples into the overlay process, adding mouse position, shortcut keys and step numbers. -
What to do: Add a live broadcast start button to the creation tool. Why it’s worth doing:
RPBroadcastActivityControllerAllows users to directly choose third-party live streaming services. How to start: Display the broadcast selector from the main window button. The user selects the service and saves it.RPBroadcastController, and then use it to control the start and end. -
What to do: Make a controller-driven recording status HUD. Why it’s worth doing: The Game Controller framework can trigger ReplayKit recording outside of app buttons. How to start: Observe
RPScreenRecorderThe availability and recording attributes simultaneously display the recording red dot, duration and saving results in the HUD. -
What to do: Make unified ReplayKit session recovery logic. Why it’s worth it: The macOS menu bar icon allows users to stop recording, capturing, or live streaming from outside the app. How to start: Put button status, camera picture-in-picture, live controller and preview controller cleanup into the same stop callback path.
Related Sessions
- What’s new in Low-Latency HLS — ReplayKit is responsible for collecting and initiating live broadcasts, and low-latency HLS is suitable for continuing to understand the live broadcast links.
- Advancements in Game Controllers — This section mentions that double-clicking the controller triggers recording, which complements the new capabilities of the controller framework in 2020.
- Design for Game Center — Suitable for designing recording highlights, player profiles, and game social experiences together.
- Bring your Metal app to Apple silicon Macs — If ReplayKit is used in a Mac game or graphics application, this helps understand the context of graphics performance on Apple silicon.
Comments
GitHub Issues · utterances