
Highlight
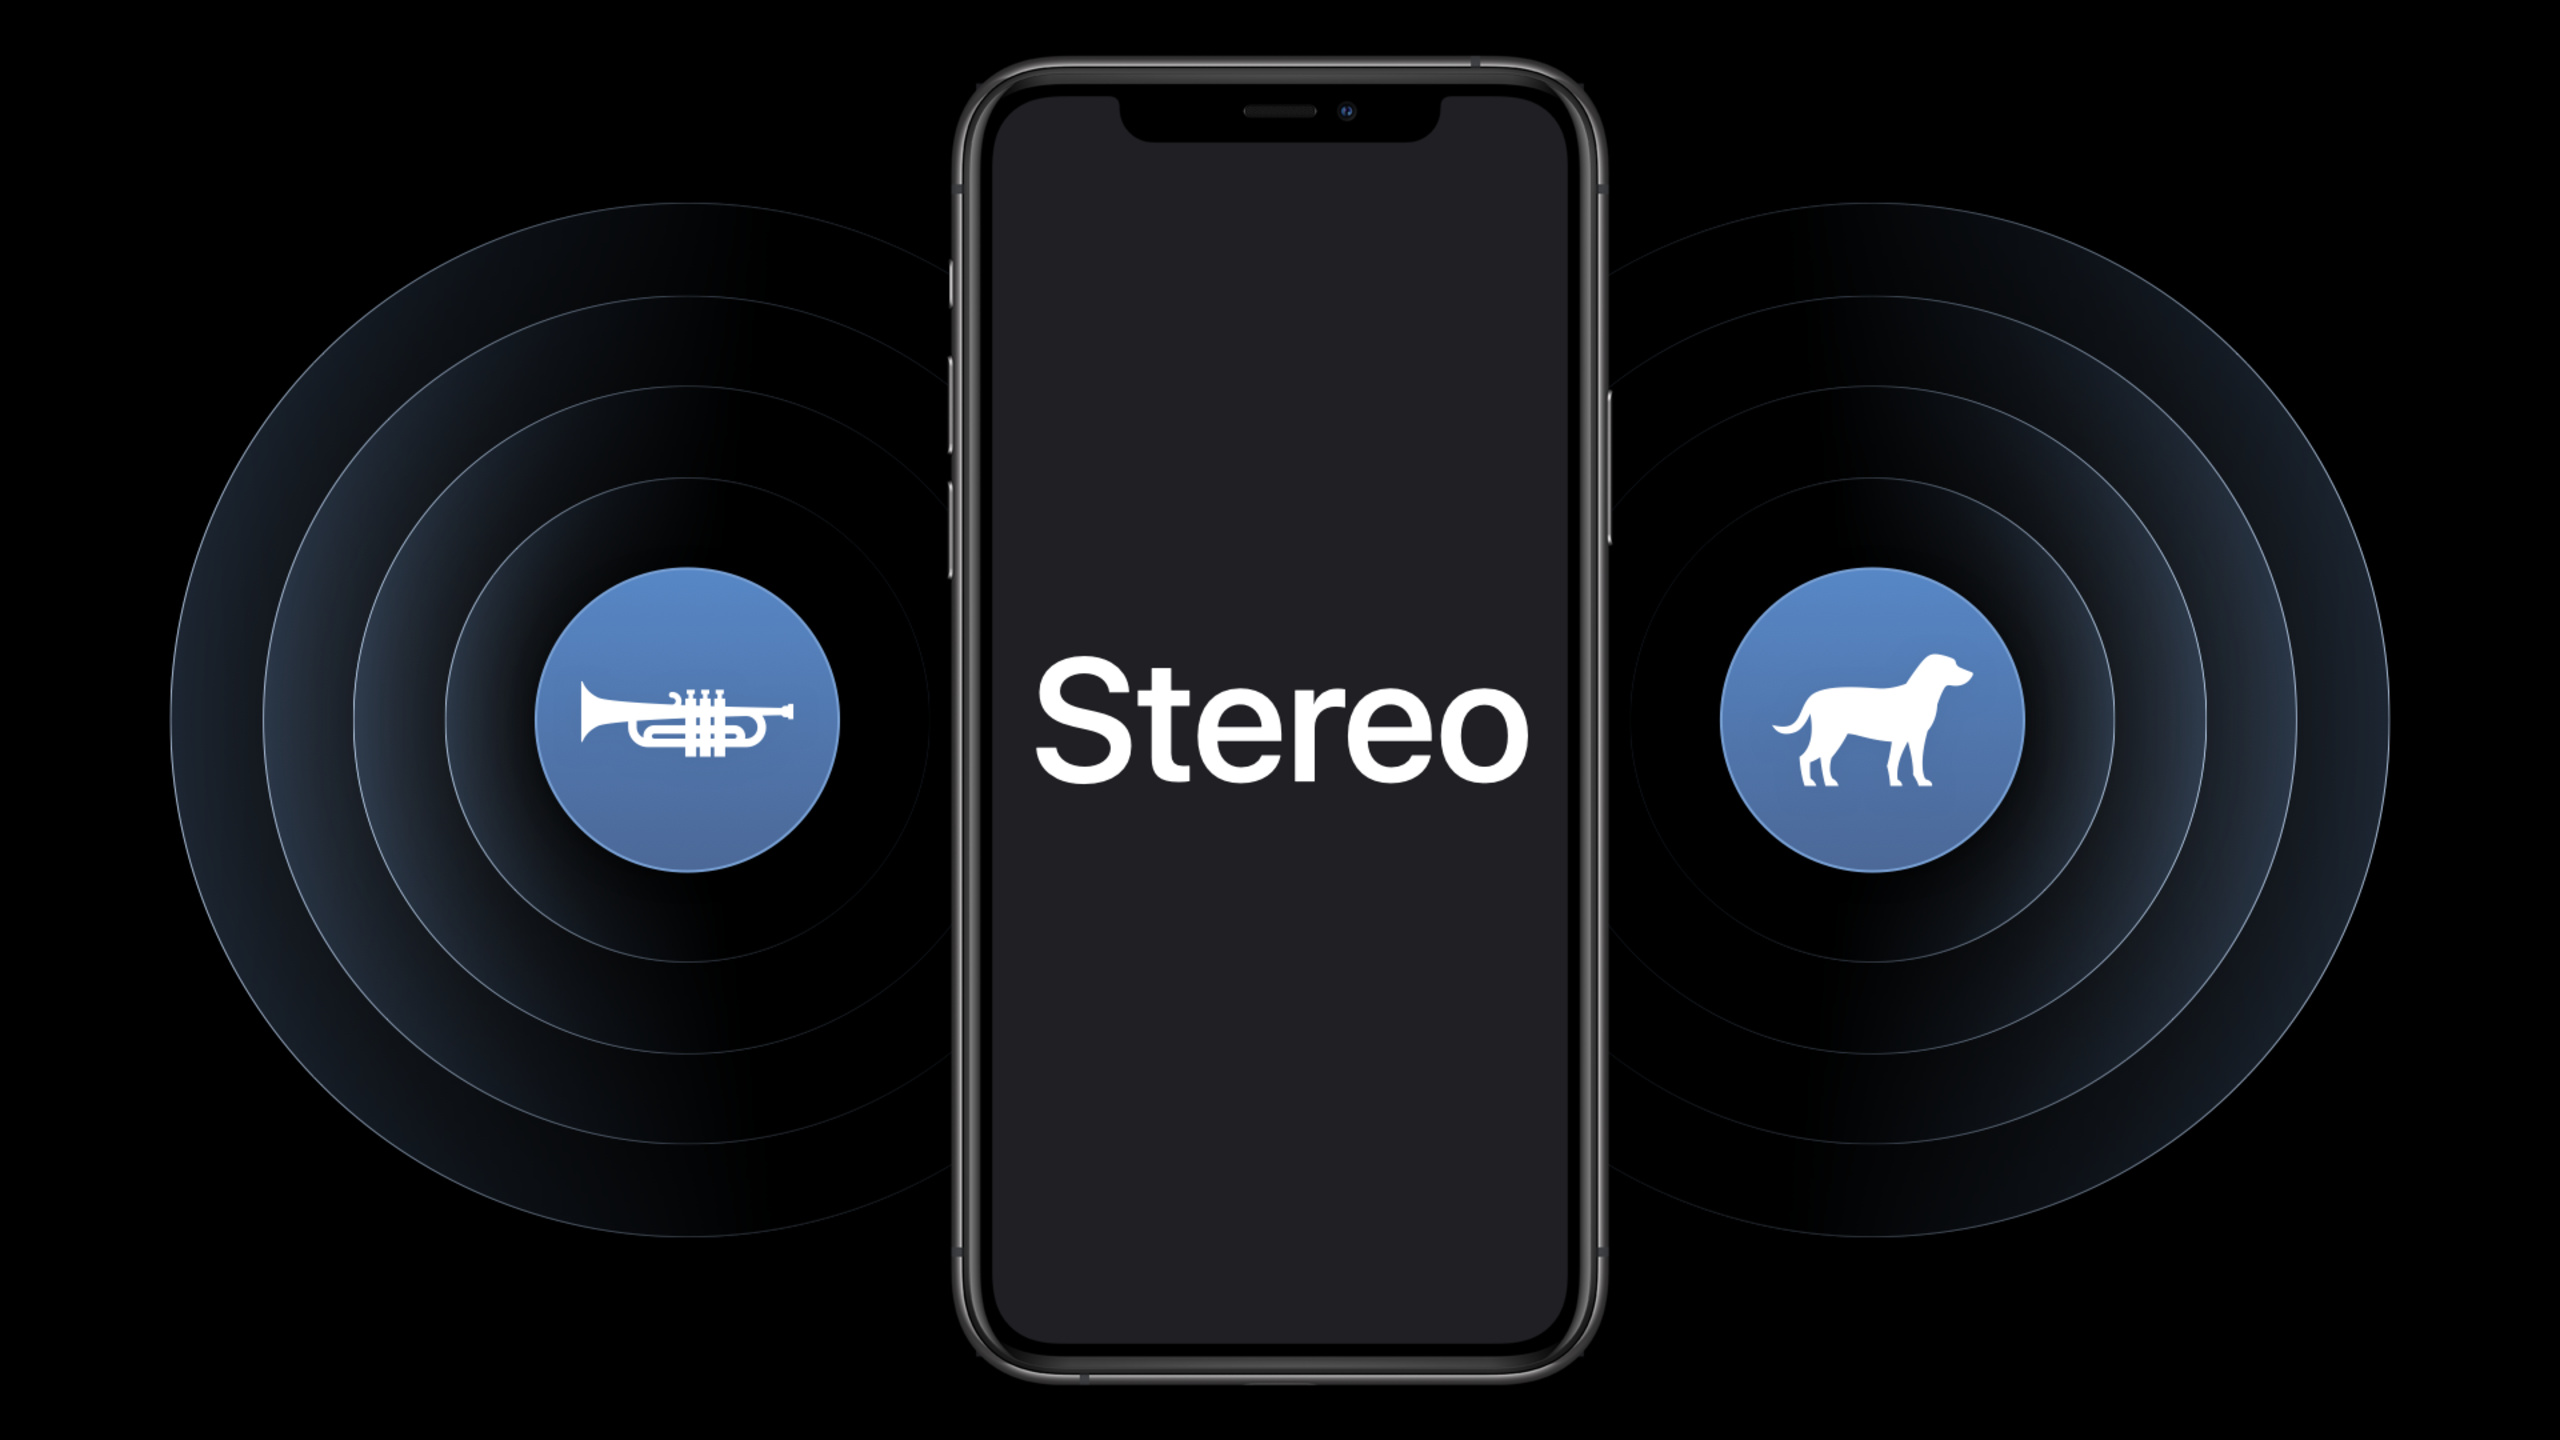
iOS 14 and iPadOS 14 enable AVAudioSession to record stereo from the built-in microphone on supported iPhones and iPads, and keep the left and right channels as expected by data source, stereo polar pattern, and preferredInputOrientation.
Core Content
In the past, cell phone recordings often lacked a sense of space. There are clearly multiple microphones on the device, but the results recorded by the app are often processed as mono. When recording a performance, interview, home video, or selfie video, the listener only knows that the sound is present, and it is difficult to tell whether the sound is coming from the left or the right.
iOS 14 and iPadOS 14 giveAVAudioSessionAdded built-in microphone stereo recording capability. The system uses both the microphone on the device and models it to generate a binaural stereo experience. Developers do not need to directly control each microphone, but need to select the appropriate input port, data source (data source), polar pattern (directional pattern) and input direction.
The key point of this session is “direction”. The same iPhone can be held vertically or horizontally; it can be taken with the rear camera or the front camera. If the recording direction is not aligned with the video or interface direction, and the person on the left side of the screen speaks, the sound may come from the right during playback. Apple therefore introducedinputOrientation, let the App explicitly tell the system how the current recording should map the left and right channels.
Stereo recording isn’t a fixed switch that can be turned on for all devices, either. Session requires developers to first select the built-in microphone and then check whether the data source supports it..stereopolar pattern; after activating the session, the actual input channel count must be read. In this way, devices that support stereo can record two channels, and devices that don’t support it can stably downgrade to mono.
Detailed Content
1. First select the built-in microphone input
(06:57) Before configuring stereo, the App must first point the input route to the built-in microphone. The code for the speech is fromavailableInputsSearch here.builtInMic, then callsetPreferredInput。
// How to set up recording from the built-in mic

private func enableBuiltInMic() {
    ...
    // Find the built-in microphone.
    guard let availableInputs = session.availableInputs,
          let builtInMic = availableInputs.first(where: { $0.portType == .builtInMic })
    else {
        print("The device must have a built-in microphone.")
        return
    }
    ...
    do {
        try session.setPreferredInput(builtInMic)
        ...
    } catch {
        ...
    }
}
Key points:
session.availableInputsIt is the entrance to the currently available input port. For speech requirements, you must first find the built-in microphone here..builtInMicFilter out the device’s built-in microphone, and the external input will not enter this stereo recording configuration.guardThe branch handles devices without built-in microphones, and the official snippet directly prints the prompt and returns.setPreferredInput(builtInMic)Corresponds to the steps of “set that as our preferred input port” in transcript.
2. Select stereo polar pattern for data source
(07:16) Stereo recording uses the new.stereopolar pattern. Lecture reminder: This pattern will only appear on devices that support stereo recording, so the buffer size cannot be hard-coded. You must check the actual number of input channels after activating the audio session.
// Configure stereo recording
func selectDataSource(...) {
    ...
    // Set the preferred polar pattern to stereo.
    try newDataSource.setPreferredPolarPattern(.stereo)

    // Set the preferred data source and polar pattern.
    try preferredInput.setPreferredDataSource(newDataSource)

    // Update the input orientation to match the current user interface orientation.
    try session.setPreferredInputOrientation(orientation.inputOrientation)
    ...
}
Key points:
newDataSource.setPreferredPolarPattern(.stereo)Requests a stereo polar pattern. Only supported data sources can satisfy this request.preferredInput.setPreferredDataSource(newDataSource)Determine the forward focus direction. Different data sources should be selected for rear shooting and front shooting.session.setPreferredInputOrientation(...)Determines how the left and right channels are mapped with device orientation.- The speech suggested checking the input channel count after activating the session, and then dynamically adjusting the buffer accordingly.
3. Use preferredInputOrientation to align left and right channels
(04:06、05:06)inputOrientationThere are four values: portrait, portrait upside-down, landscape left, landscape right. Together with the forward and backward stereo data sources, a total of eight direction combinations are formed.
This corresponds to the inline call in the previous official snippet:try session.setPreferredInputOrientation(orientation.inputOrientation)。
Key points:
- The data source is responsible for selecting where the “front” is, such as the rear camera direction or the front camera direction.
preferredInputOrientationResponsible for choosing how “left” and “right” correspond to the edges of the device.- When recording video, the left and right sides of the audio should match the left and right sides of the video screen.
- When not recording video, the lecture recommends that the stereo input orientation match the UI orientation, because users will understand the device according to the interface orientation.
- The direction should be kept fixed during file recording to avoid sudden changes in the left and right channels in the same recording.
4. Update the data source when the user changes the interface or focus
(08:22) The sample App does not record video, so it updates the data source when the interface rotates or the user switches focus direction. A clear reminder for the lecture: Do not switch data source or input orientation while recording.
// When to select a data source & updated the stereo input orientation
override func traitCollectionDidChange(_ previousTraitCollection: UITraitCollection?) {
    updateDataSource()
}

@IBAction func updateDataSourceSelection(_ sender: Any) {
    updateDataSource()
}

private func updateDataSource() {
    // Don't update the data source if the app is currently recording.
    guard controller.state != .recording else { return }

    let dataSourceName = dataSources[dataSourceChooser.selectedSegmentIndex]
    controller.selectDataSource( named: dataSourceName,
        orientation:Orientation(windowOrientation)) { layout in
        self.layoutView.layout = layout
    }
}
Key points:
traitCollectionDidChangeCovers interface orientation changes, suitable for recording apps that do not record video.updateDataSourceSelectionCovers scenarios where the user actively selects forward focus, such as selecting front or rear orientation.guard controller.state != .recording else { return }Ensure that the direction of the sound field does not change during the recording process.Orientation(windowOrientation)Convert the current window orientation to the audio input orientation.- After completing the configuration, you can continue to use it
AVAudioRecorderorAVAudioEngineDo the actual recording.
Core Takeaways
1. Add stereo sound with the correct direction to the selfie video
What to do: Select the corresponding stereo data source according to the front or rear camera in the camera app, and set the input orientation before starting recording.
Why it’s worth doing: The session clearly states that when recording a video, the left and right sides of the audio should match the left and right sides of the picture, otherwise the playback will cause the audience to misjudge the direction of the sound source.
How to start: Before the user presses the record button, calculate the data source and video based on the current camera position and video rotation.preferredInputOrientation, these two values are locked during recording.
2. Add the “horizontal and vertical screen sound field” option to the audio-only interview app
What to do: Let the interview app switch the stereo input orientation between portrait, landscape left, and landscape right, and prompt the user to place the device according to the current interface orientation.
Why it’s worth doing: When not recording video, Apple recommends that the stereo input orientation match the UI orientation so that users have the most stable understanding of the left and right channels.
How to start: Monitor the direction change of the interface, and call the data source to update the logic when the recording is not in progress; freeze the direction after the recording starts, and allow switching after the recording ends.
3. Test the stereo capability of the music practice app
What to do: Check whether the built-in microphone data source is supported before starting recording.stereo, record dual-channel when supported, and display mono status when not supported.
Why It’s Worth Doing: Speech Reminders.stereoWill only appear on supported hardware, and it is recommended to read the actual input channel count after activating the session.
How to start: FromavailableInputstry to find.builtInMic, set preferred input and preferred data source;setActiveThen configure the buffer and recording file format according to the actual number of channels.
4. Make a left and right channel self-test wizard
What to do: Before recording, guide the user to speak on the left side of the device first, and then on the right side. After playback, confirm whether the left and right directions are correct.
Why it’s worth doing: Session recommends comprehensive testing of each orientation and data source combination to confirm that the recorded direction meets expectations.
How to start: List the direction combinations supported by the App into a test matrix; record a few seconds for each test, save the channel peaks or let the user listen, and adjust the mapping logic if any abnormalities are found.
5. Add forward focus selection to the field recording app
What it does: Allows the user to choose between “stage facing” and “self facing” recording focus, corresponding to backward and forward stereo data sources respectively.
Why it’s worth doing: Speech description data source determines the forward focus direction, and the sound from the front will be enhanced, suitable for different shooting or recording postures.
How to start: Provide focus selector before recording, call after selectionsetPreferredDataSourceandsetPreferredInputOrientation;Disable selector during recording.
Related Sessions
- Deliver a better HLS audio experience — Stay tuned for 2020 Apple updates to the audio playback codec and HLS audio ladder.
- What’s new in streaming audio for Apple Watch — Understand the trade-offs of audio streaming, network constraints, and playback experience on mobile devices.
- Meet Audio Workgroups — Learn how real-time audio workloads are co-scheduled on Apple silicon Macs.
- Author fragmented MPEG-4 content with AVAssetWriter — Understand the media encapsulation process of AVFoundation from the perspective of recorded file output.
Comments
GitHub Issues · utterances