
Highlight
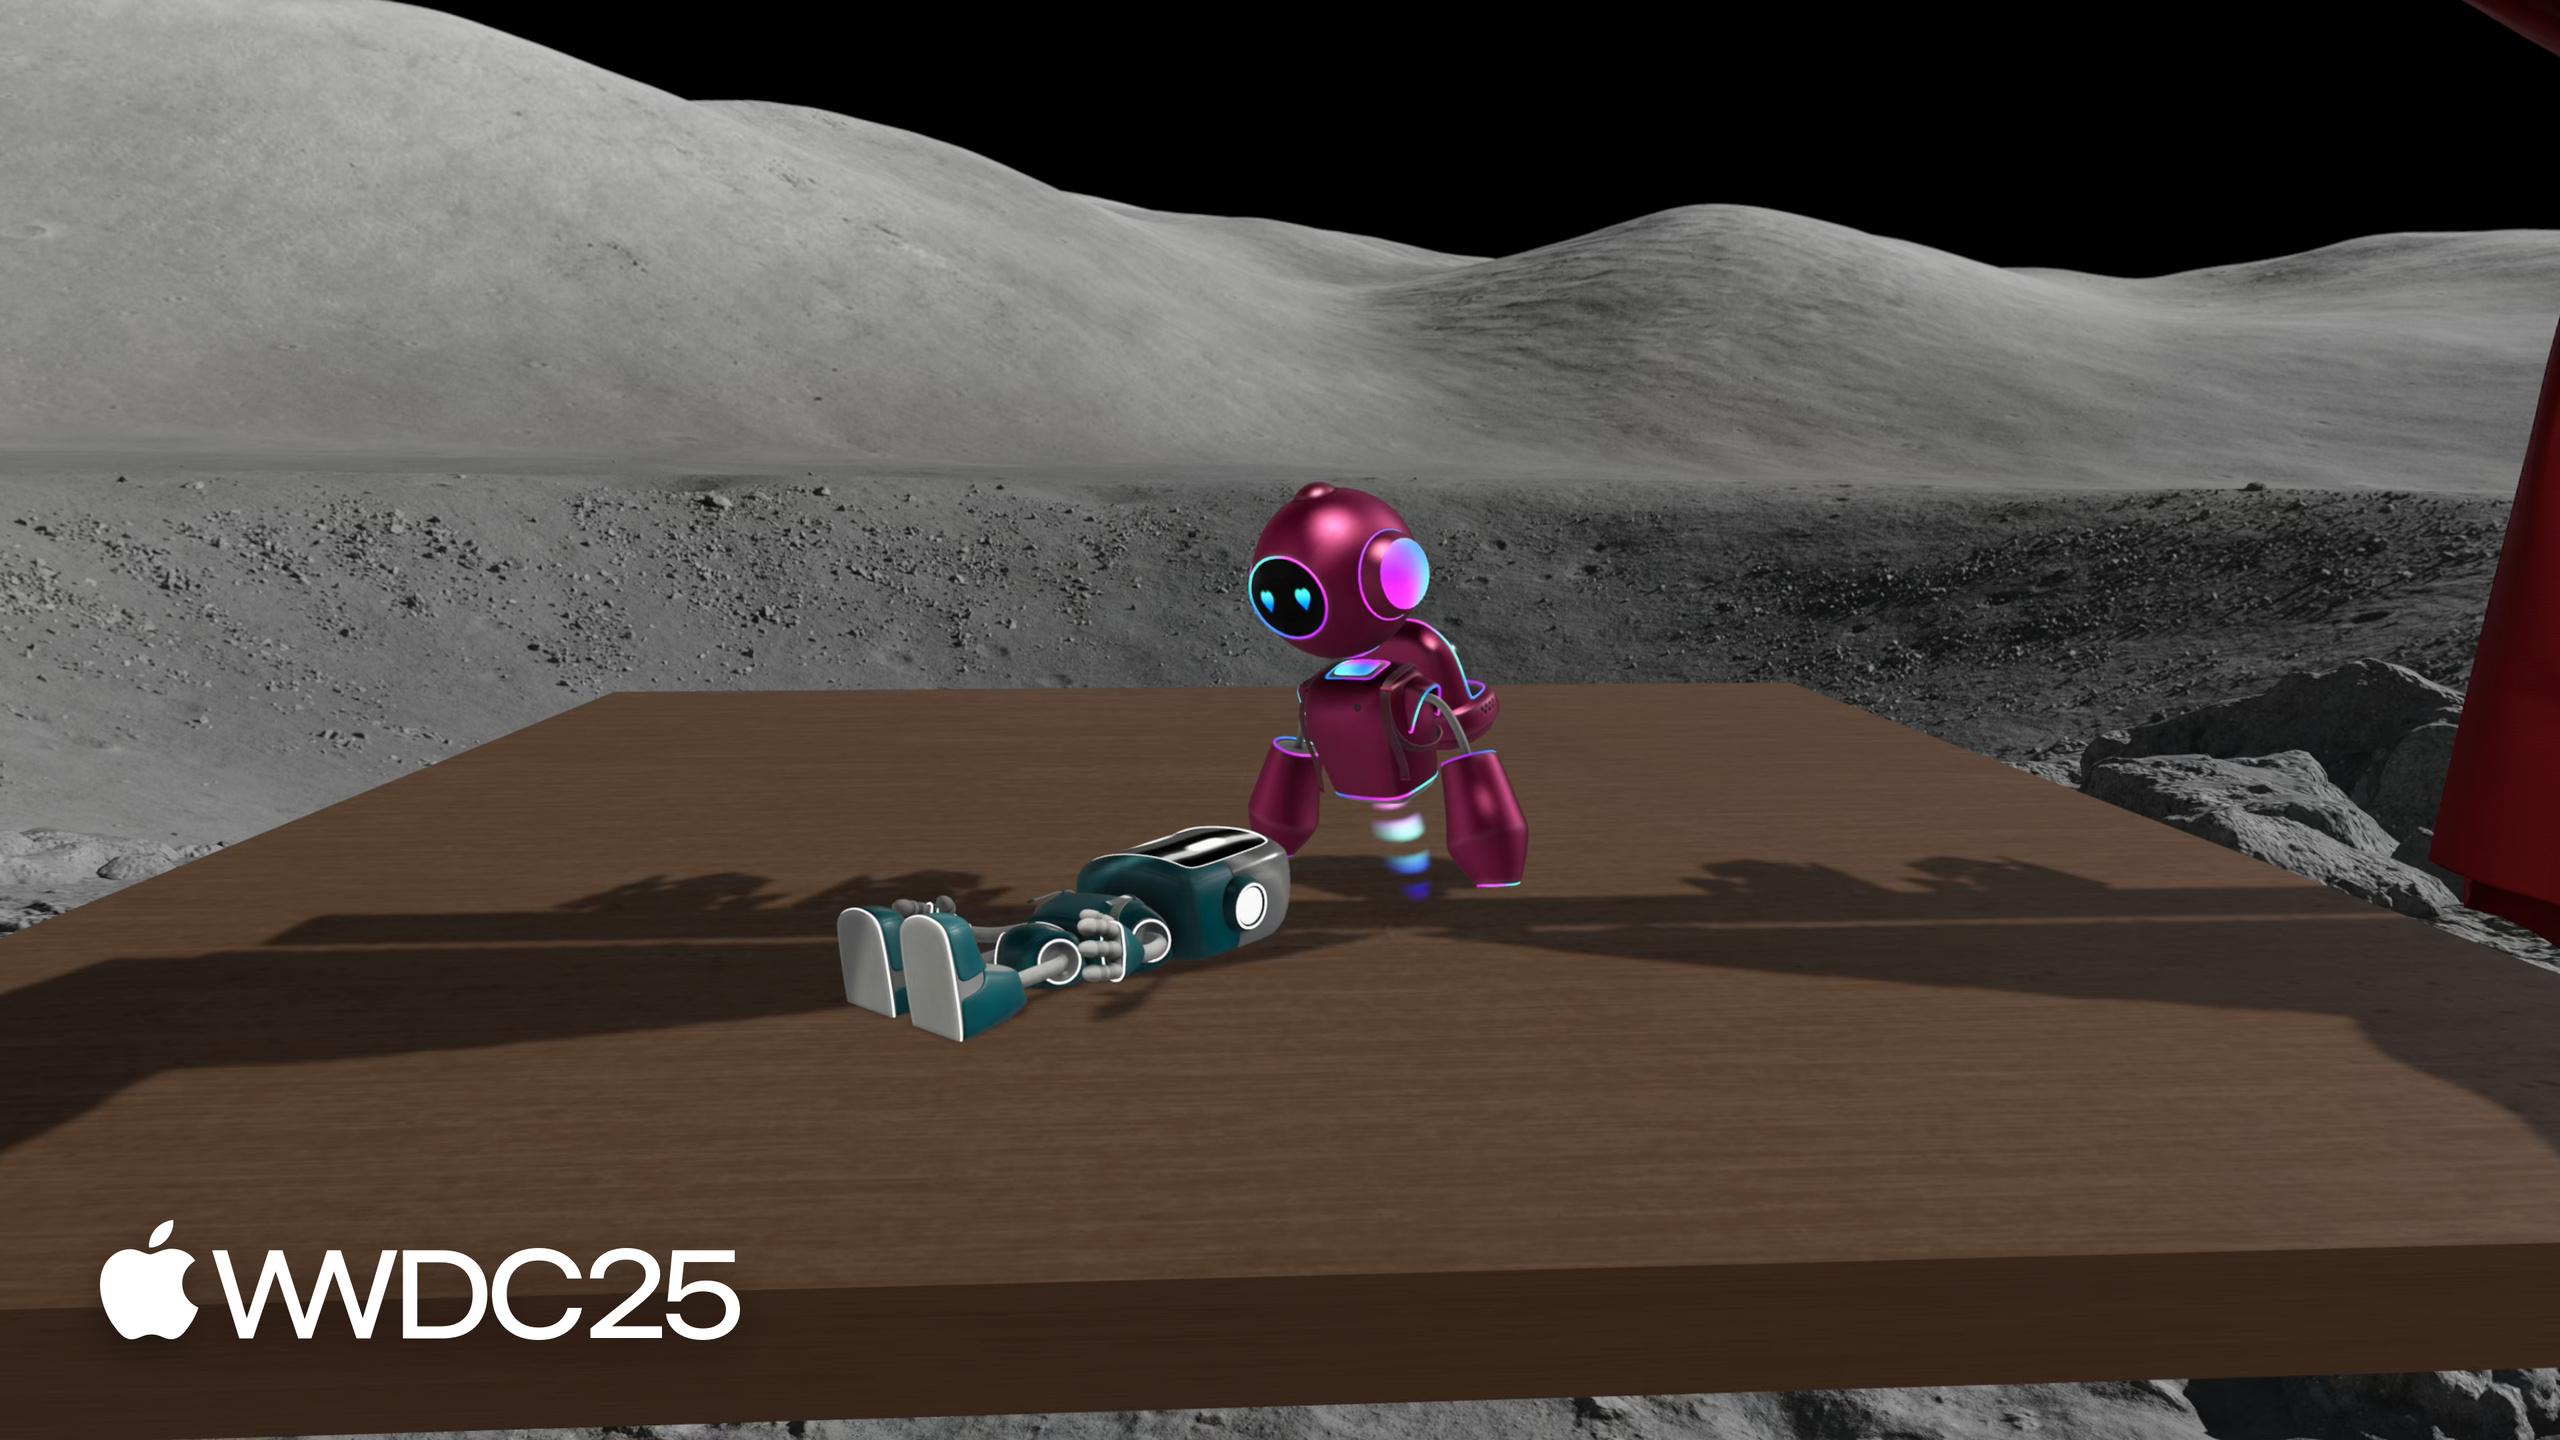
Miguel 用一个机器人演话剧的 app(BOTanist 搭配 Shakespeare 舞台)串起了 visionOS 26 的所有新 scene API。
核心内容
visionOS 26 之前,用户每次戴上 Vision Pro 都要重新摆一遍窗口:把工具面板拖到沙发左边,把主舞台挪到桌面,关掉头显再戴上,一切归零。开发者也只能眼睁睁看着用户重复劳动,没有 API 可以介入这个过程。更糟糕的是,如果 app 有沉浸空间,长按数字表冠重置坐标系后,所有内容都会偏移到错误的位置。
visionOS 26 把窗口、Volume、widget 都变成了可以”锁”在房间里的虚拟物件。用户走进客厅,上次锁在桌面上的舞台自动浮现;走到书房,锁在墙上的工具面板回到原位。Miguel 的演示 app 里,BOTanist 机器人能直接站在用户家的桌面上演 Robo and Juliet,台底下的虚拟平台在吸附到桌面时自动隐藏。这套场景持久化能力配合新的 defaultLaunchBehavior、SurfaceSnappingInfo、onWorldRecenter、RemoteImmersiveSpace、UIHostingSceneDelegate 五组新 API,覆盖了从 app 启动、表面吸附、沉浸空间共存到 Mac 远程渲染、UIKit 桥接 SwiftUI 的完整生命周期。
详细内容
禁用恢复:临时窗口不该被锁住(04:10)
系统默认会让所有窗口都支持锁定。但欢迎页、依赖 app 状态的工具面板、一次性登录提示这类场景不应该被持久化,否则用户回到房间会看到一个孤零零的工具栏,找不到主舞台。
// Disabling restoration

WindowGroup("Tools", id: "tools") {
    ToolsView()
}
.restorationBehavior(.disabled)
关键点:
.restorationBehavior(.disabled)显式声明这个 WindowGroup 不参与锁定与恢复。- 默认值是恢复,所以只在临时场景上加。
- UIKit 等价写法是给
windowScene.destructionConditions加上.systemDisconnection。
指定启动窗口:首次启动显示欢迎页(05:02)
// Specifying launch window

@AppStorage("isFirstLaunch") private var isFirstLaunch = true

var body: some Scene {
    WindowGroup("Stage Selection", id: "selection") {
        SelectionView()
    }

    WindowGroup("Welcome", id: "welcome") {
        WelcomeView()
            .onAppear {
                isFirstLaunch = false
            }
    }
    .defaultLaunchBehavior(isFirstLaunch ? .presented : .automatic)
}
关键点:
defaultLaunchBehavior(.presented)把这个窗口推到启动队首。.automatic让系统按默认规则决定,常用于读取过@AppStorage后的后续启动。- 启动窗口的 role 必须匹配 Info.plist 里的
Preferred Default Scene Session Role,否则系统会忽略这个 modifier。
.suppressed 配合次要窗口(06:39)
// "suppressed" behavior

WindowGroup("Tools", id: "tools") {
    ToolsView()
}
.restorationBehavior(.disabled)
.defaultLaunchBehavior(.suppressed)
关键点:
.suppressed比.restorationBehavior(.disabled)更进一步:从 Home 重新启动 app 时,这个窗口也不会出来。- 适合工具面板、辅助控制器这类不应主动出现的窗口。
- 官方建议:所有次要场景都加上
.suppressed,避免用户陷入只剩工具栏的尴尬状态。
Surface snapping:吸附到桌面时隐藏底座(10:24)
// Surface snapping

@Environment(\.surfaceSnappingInfo) private var snappingInfo
@State private var hidePlatform = false

var body: some View {
    RealityView { /* ... */ }
    .onChange(of: snappingInfo) {
        if snappingInfo.isSnapped &&
            SurfaceSnappingInfo.authorizationStatus == .authorized
        {
            switch snappingInfo.classification {
                case .table:
                    hidePlatform = true
                default:
                    hidePlatform = false
            }
        }
    }
}
关键点:
surfaceSnappingInfo是新的 environment value,吸附状态变化时通知 SwiftUI。isSnapped是免授权信息,可以直接用。classification(识别桌面、地面、墙等)需要 ARKit 权限:在 Info.plist 加Application Wants Detailed Surface Info=YES与Privacy World-Sensing Usage-Description。- 第一次访问
authorizationStatus会自动弹出权限请求。
Clipping Margins:让瀑布溢出 Volume 边界(14:41)
// Clipping margins

@Environment(\.windowClippingMargins) private var windowMargins
@PhysicalMetric(from: .meters) private var pointsPerMeter = 1

var body: some View {
    RealityView { content in
        waterfall = createWaterfallEntity()
        content.add(waterfall)
    } update: { content in
        waterfall.scale.y = Float(min(
            windowMargins.bottom / pointsPerMeter,
            maxWaterfallHeight))
    }
    .preferredWindowClippingMargins(.bottom, maxWaterfallHeight * pointsPerMeter)
}
关键点:
preferredWindowClippingMargins(.bottom, ...)申请在 Volume 底部之外多渲染若干点。- 系统返回的
windowClippingMargins是实际授予的余量(受空间和系统限制可能小于申请值)。 - 边界外区域只用于视觉装饰,不响应交互。
@PhysicalMetric把米转成点,让 RealityKit 实体尺寸保持物理一致。
onWorldRecenter:长按表冠后重新计算位置(16:44)
// World recenter

var body: some View {
    RealityView { content in
        // ...
    }
    .onWorldRecenter {
        recomputePositions()
    }
}
关键点:
- 用户长按数字表冠会触发坐标系重置。
- 之前 RealityKit 实体的世界坐标会瞬间偏移,app 必须自己重新放置。
- 这个 modifier 是唯一的通知入口。
Mixed immersion 与系统环境共存(18:37)
// Mixed immersion style

@State private var selectedStyle: ImmersionStyle = .progressive

var body: some Scene {
    ImmersiveSpace(id: "space") {
        ImmersiveView()
    }
    .immersionStyle(selection: $selectedStyle, in: .mixed)
    .immersiveEnvironmentBehavior(.coexist)
}
关键点:
.coexist让 mixed immersive space 在 macOS 风格的系统沉浸环境里也能显示,用户可以一边在 Mt. Hood 环境里散步一边看你的虚拟内容。- 默认值是
.suppressed,进入系统环境时会隐藏 app 内容。
RemoteImmersiveSpace:Mac 把 immersive 推到 Vision Pro(20:14)
// Remote immersive space

// Presented on visionOS
RemoteImmersiveSpace(id: "preview-space") {
    CompositorLayer(configuration: config) { /* ... */ }
}

// Presented on macOS
WindowGroup("Main Stage", id: "main") {
    StageView()
}
关键点:
- macOS app 在自己的窗口里跑业务逻辑,把 CompositorLayer 渲染的内容流式推到 Vision Pro。
RemoteDeviceIdentifier传给ARKitSession用来连接远端设备。- 适合内容创作工具:编辑器在 Mac 上,预览在头显里。
Scene bridging:UIKit app 调出 SwiftUI Volume(23:00)
// Scene bridging

import UIKit
import SwiftUI

class MyHostingSceneDelegate: NSObject, UIHostingSceneDelegate {
    static var rootScene: some Scene {
        WindowGroup(id: "my-volume") {
            ContentView()
        }
        .windowStyle(.volumetric)
    }
}

let requestWithId = UISceneSessionActivationRequest(
    hostingDelegateClass: MyHostingSceneDelegate.self, id: "my-volume")!

UIApplication.shared.activateSceneSession(for: requestWithId)
关键点:
UIHostingSceneDelegate让 UIKit app 在不重写主代码的前提下,按需弹出 SwiftUI 写的 Volume 或 ImmersiveSpace。- Safari 的 Spatial Browsing 就是通过这套 API 实现的。
- AppKit 上有对应的
NSHostingSceneRepresentation系列 API。
核心启发
1. 给 visionOS app 做一次”恢复审计”
为什么值得做:visionOS 26 默认所有窗口都参与锁定恢复,老 app 升级后会出现”用户回到房间只看到一个工具面板”的退化体验。
怎么开始:把所有 WindowGroup 列出来,按角色分类——主场景留默认;欢迎页、登录页加 .restorationBehavior(.disabled);工具面板、辅助控制器再加 .defaultLaunchBehavior(.suppressed)。
2. 用 surface snapping 做”环境感知装饰”
为什么值得做:用户把 Volume 吸到桌面时,平台底座、阴影、环境光照都应该响应真实表面。这是把虚拟内容做得”像真的”的关键一步。
怎么开始:先只用免授权的 isSnapped 切换一个布尔状态(吸附时隐藏底座)。如果效果好再申请世界感知权限,根据 classification 区分桌面/地面/墙面渲染不同细节。Info.plist 别忘了加 Application Wants Detailed Surface Info 和 Privacy World-Sensing Usage-Description。
3. 用 Clipping Margins 让 Volume 视觉破框
为什么值得做:默认 Volume 是硬边界,瀑布、火焰、烟雾这类装饰元素一旦被切就显得很假。preferredWindowClippingMargins 让你在边界外多渲染一点,视觉上像穿出了 Volume。
怎么开始:找一个站在 Volume 边缘的装饰实体,给它的容器加 .preferredWindowClippingMargins(.bottom, 0.3 * pointsPerMeter),再用 @Environment(\.windowClippingMargins) 拿到实际给到的余量去缩放实体。注意只能放装饰,不能放交互元素。
4. UIKit app 用 Scene Bridging 渐进迁移
为什么值得做:把整个 UIKit app 重写成 SwiftUI 不现实,但用户期待 Volume 和沉浸体验。Scene Bridging 让你保留主代码,按需弹出 SwiftUI 子场景。
怎么开始:从一个独立的 3D 详情页入手——写个 UIHostingSceneDelegate,里面用 WindowGroup + .windowStyle(.volumetric) 包一个 SwiftUI View。用户点详情按钮时调 UIApplication.shared.activateSceneSession(for:) 唤起。先跑通一个,再决定其他场景要不要桥。
5. Mac 工具型 app 加一个 RemoteImmersiveSpace 预览模式
为什么值得做:3D 编辑器、CAD、视频后期类工具的最大痛点是”在 2D 屏幕上调 3D 内容”。RemoteImmersiveSpace 让用户戴上 Vision Pro 直接看到所见即所得的预览,主编辑界面仍然在 Mac 上。
怎么开始:先在 Mac app 里加一个 “Preview on Vision Pro” 按钮,调起一个最简的 CompositorLayer 渲染;然后用 RemoteDeviceIdentifier 把当前编辑的实体推过去。先做单向流,双向交互留到后面。
关联 Session
- Better together: SwiftUI and RealityKit — SwiftUI 与 RealityKit 在 visionOS 26 的深度融合。
- Build a SwiftUI app with the new design — Liquid Glass 设计语言在 SwiftUI 中的实现。
- Build a UIKit app with the new design — UIKit app 适配新设计系统的迁移路径。
- What’s new in widgets — visionOS 26 引入的可吸附 widget 与跨平台 widget 更新。
- Dive into RealityKit 4 — 与 Volume、Immersive Space 配合的 RealityKit 渲染管线进展。
评论
GitHub Issues · utterances