
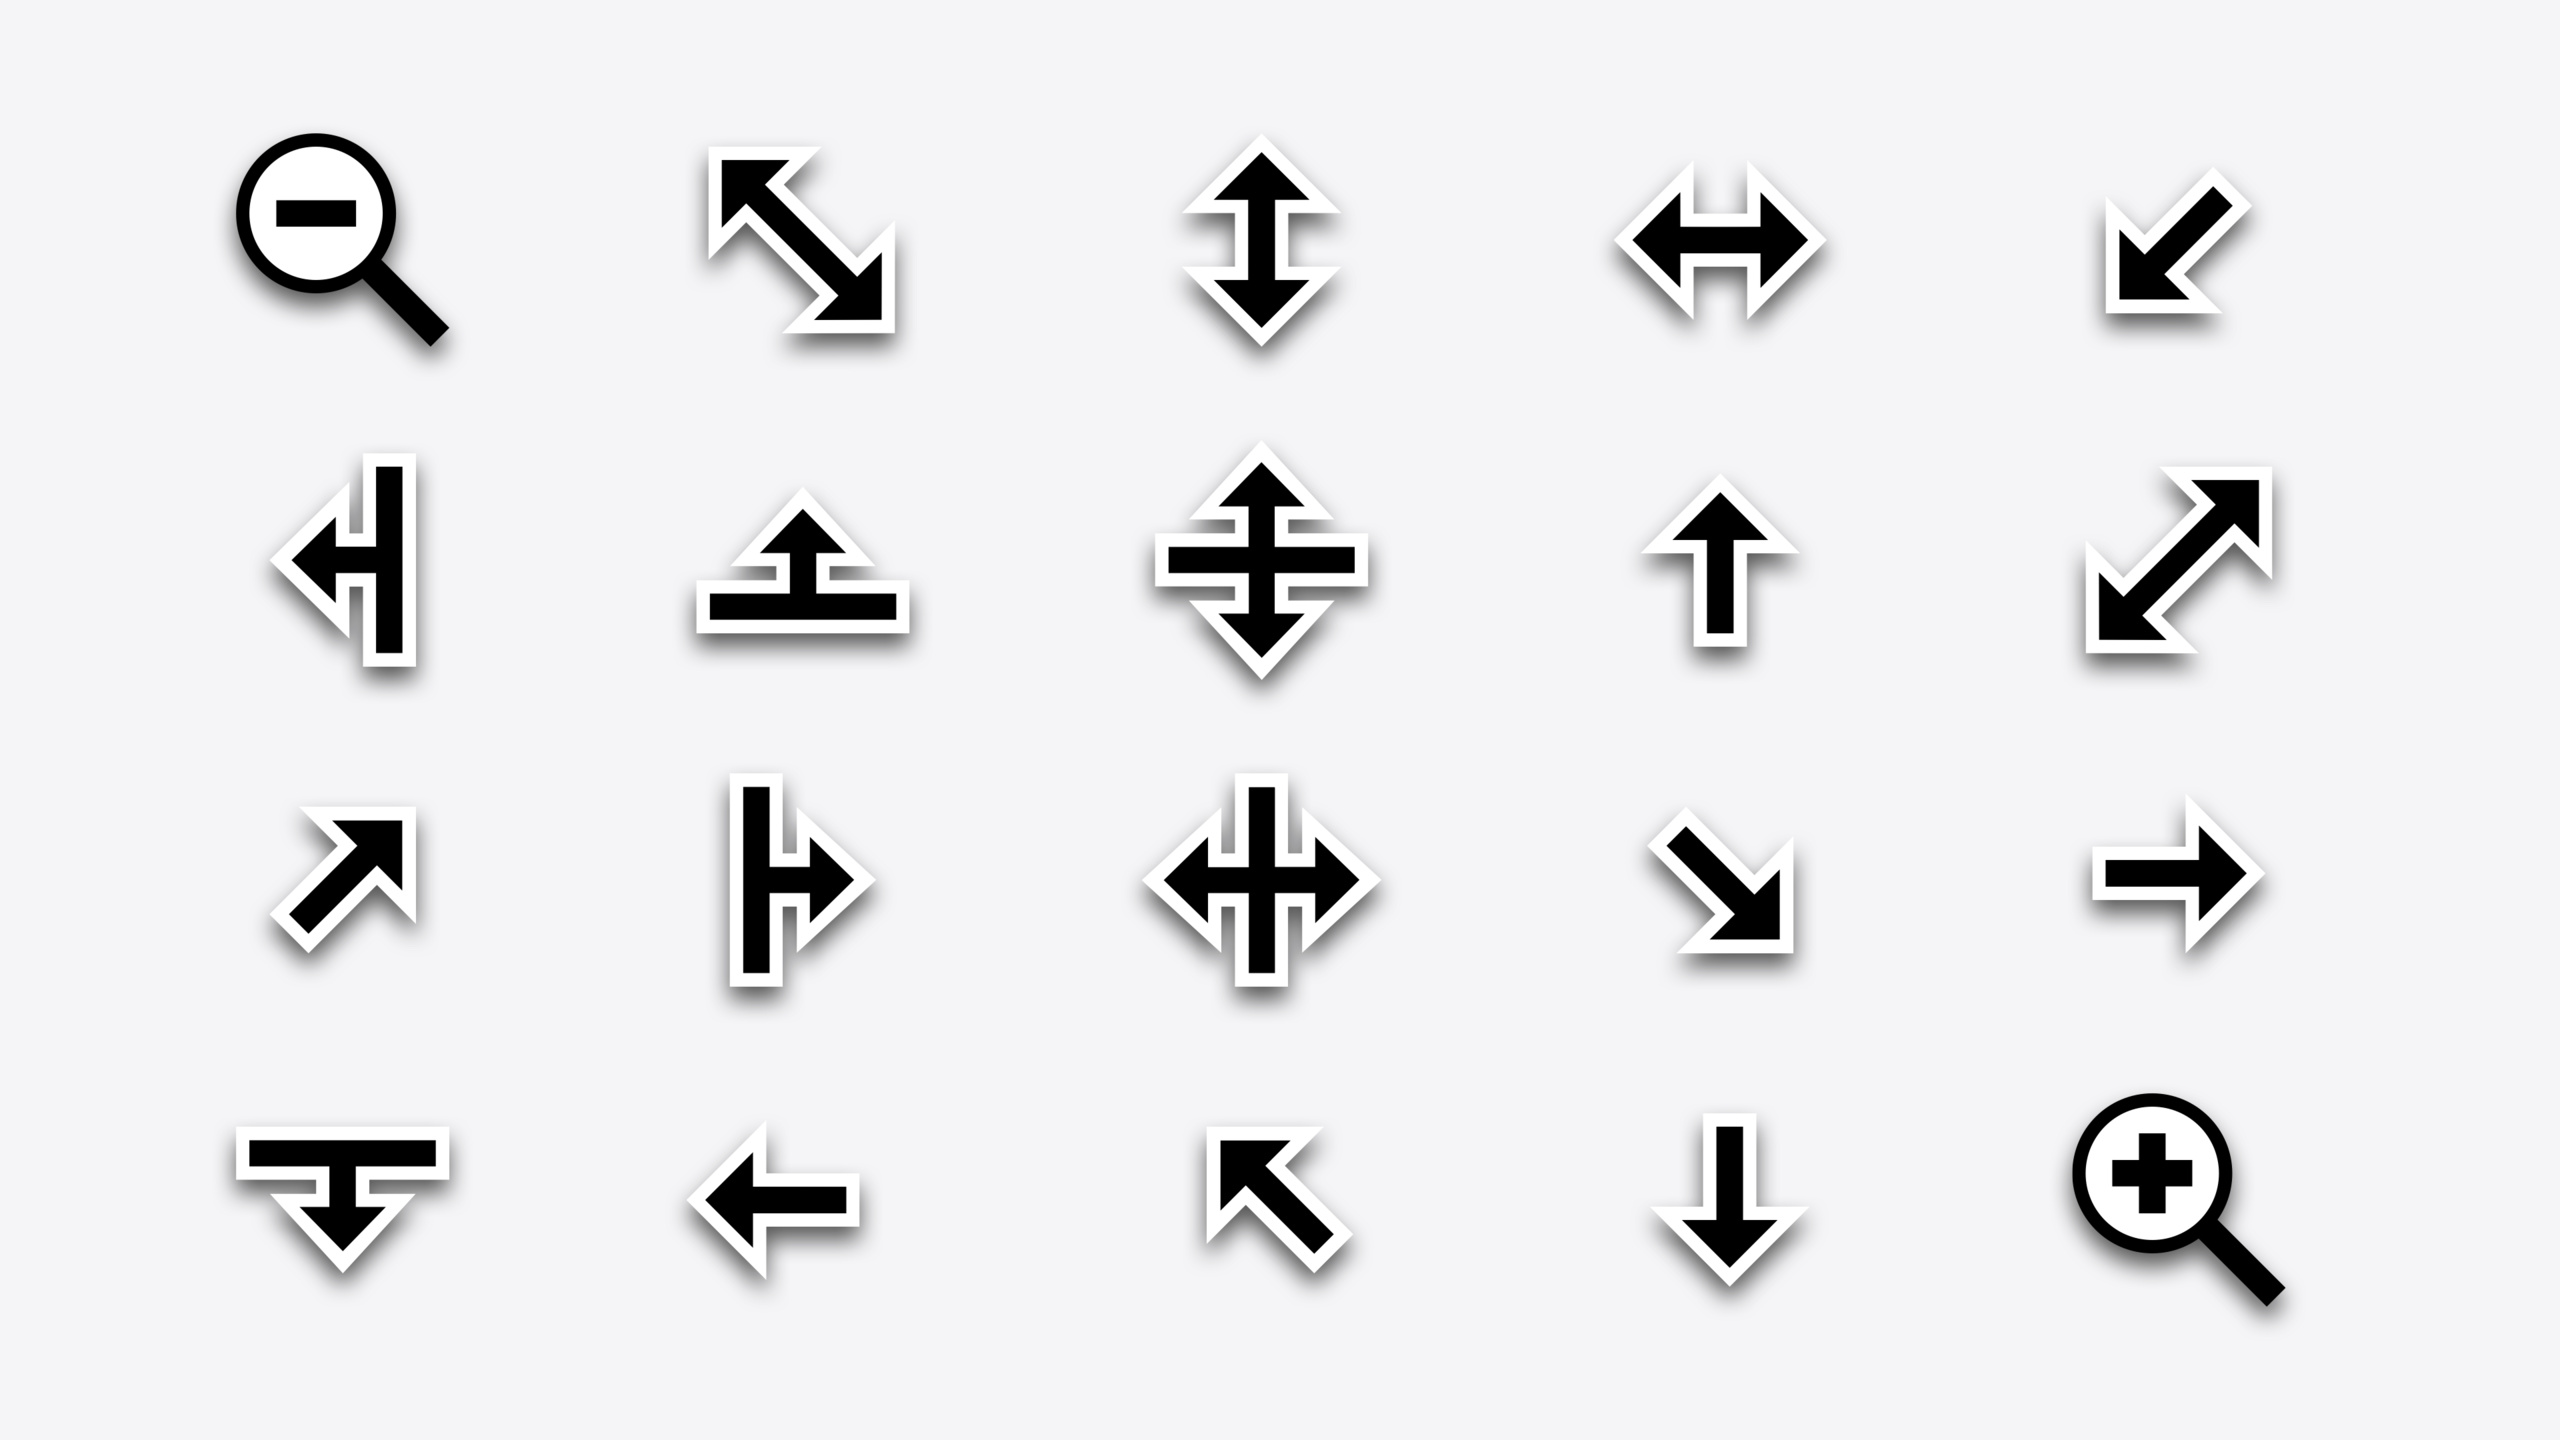
Highlight
macOS Sequoia 让 AppKit 的 SwiftUI 集成更进一步:NSHostingMenu 共享菜单定义、NSView 支持 SwiftUI Animation 类型做可中断动画,同时新增 Text Entry Suggestions、系统光标、Save Panel 文件格式选择器等标准组件。
核心内容
macOS 上的 app 长期面临一个矛盾:AppKit 提供完整的系统级控制力,SwiftUI 带来声明式开发的效率,但两者之间的边界一直不够顺畅。菜单要用 NSMenu 手写,动画要靠 NSAnimationContext 的旧式 API,文本输入建议每个 app 各自实现一套——这些缝隙拖慢了开发速度,也增加了维护成本。
Sequoia 针对这些缝隙逐一填补。NSHostingMenu 让你用 SwiftUI View 定义菜单内容,同一个菜单定义在 AppKit 和 SwiftUI 之间共享。NSAnimationContext.animate(with:) 现在接受 SwiftUI Animation 类型,包括自定义动画,而且动画天然支持中断和重定向。NSTextField 新增 suggestionsDelegate,用一套标准协议就能提供自定义输入建议,搜索框、文本框都能用。系统光标(frame resize、column/row resize、zoom in/out)终于公开到 SDK,不用再自己画了。
系统级功能方面,Writing Tools 自动作用于标准 NSTextView,Genmoji 以内联图片形式进入文本流,Image Playground 通过 ImagePlaygroundViewController 几行代码就能集成。Window Tiling 对所有现有 app 自动生效,但开发者需要检查窗口的最小/最大尺寸约束是否合理。
详细内容
Image Playground 集成(02:09)
extension DocumentCanvasViewController {

    @IBAction
    func importFromImagePlayground(_ sender: Any?) {
        let playground = ImagePlaygroundViewController()
        playground.delegate = self

        playground.concepts = [.text("birthday card")]
        playground.sourceImage = NSImage(named: "balloons")

        presentAsSheet(playground)
    }

}

extension DocumentCanvasViewController: ImagePlaygroundViewController.Delegate {

    func imagePlaygroundViewController(
        _ imagePlaygroundViewController: ImagePlaygroundViewController,
        didCreateImageAt resultingImageURL: URL
    ) {
        if let image = NSImage(contentsOf: resultingImageURL) {
            imageView.image = image
        }
        dismiss(imagePlaygroundViewController)
    }

}
关键点:
ImagePlaygroundViewController是整个体验的入口,设置 delegate 监听生命周期事件concepts接受文本概念描述,sourceImage提供图形参考——两个都是可选的,用来给用户一个起点- 生成完成后回调返回的是沙盒临时目录中的文件 URL,需要你自己读取并持久化
- 用
presentAsSheet(_:)弹出,创建完成后在 delegate 回调中 dismiss
Window Tiling 与窗口尺寸(05:50)
Window Tiling 把窗口拖到屏幕边缘自动填充半屏或四分之一屏,Option + 拖动预览最近边缘吸附效果。两个并排窗口同步调整大小。新窗口通过 cascadingReferenceFrame 获取已有窗口的非吸附 frame 来计算级联偏移。对于终端类 app,resizeIncrements 限制窗口按字符宽高步进:
window.resizeIncrements = NSSize(width: characterWidth, height: characterHeight)NSHostingMenu:SwiftUI 菜单用于 AppKit(07:05)
struct ActionMenu: View {

    var body: some View {
        Toggle("Use Groups", isOn: $useGroups)
        Picker("Sort By", selection: $sortOrder) {
            ForEach(SortOrder.allCases) { Text($0.title) }
        }.pickerStyle(.inline)
        Button("Customize View…") { <#Action#> }
    }

}

let menu = NSHostingMenu(rootView: ActionMenu())

let pullDown = NSPopUpButton(image: image, pullDownMenu: menu)
关键点:
- 菜单内容用标准 SwiftUI 声明:
Toggle做开关、Picker做选择、Button做动作 NSHostingMenu是新的 NSMenu 子类,把 SwiftUI View 包装成 NSMenu- 包装后的 menu 可以用在任何接受 NSMenu 的 AppKit 上下文中,比如
NSPopUpButton的下拉菜单
NSView 的 SwiftUI 动画(07:43)
NSAnimationContext.animate(with: .spring(duration: 0.3)) {
    drawer.isExpanded.toggle()
}
搭配 @Invalidating 属性包装器,让属性变更自动触发重排:
class PaletteView: NSView {

    @Invalidating(.layout)
    var isExpanded: Bool = false

    private func onHover(_ isHovered: Bool) {
        NSAnimationContext.animate(with: .spring) {
            isExpanded = isHovered
            layoutSubtreeIfNeeded()
        }
    }

}
关键点:
NSAnimationContext.animate(with:)接受任意 SwiftUI Animation 类型,包括 CustomAnimation- 动画天然可中断、可重定向——用户中途改变方向不会卡顿
@Invalidating(.layout)标记属性变更后自动标记 view 需要重新布局
文本高亮(10:31)
let attributes: [NSAttributedString.Key: Any] = [
    .textHighlight: NSAttributedString.TextHighlightStyle.systemDefault,
    .textHighlightColorScheme: NSAttributedString.TextHighlightColorScheme.pink,
]
在支持富文本的 NSTextView 中自动可用,右键 Font 菜单的 Highlight 子菜单可选择颜色方案。
Text Entry Suggestions(17:49)
class MuseumTextSuggestionsController: NSTextSuggestionsDelegate {

    typealias SuggestionItemType = Museum

    func textField(
        _ textField: NSTextField,
        provideUpdatedSuggestions responseHandler: @escaping ((ItemResponse) -> Void)
    ) {
        let searchString = textField.stringValue

        func museumItem(_ museum: Museum) -> Item {
            var item = NSSuggestionItem(representedValue: museum, title: museum.name)
            item.secondaryTitle = museum.address
            return item
        }

        let favoriteMuseums = Museum.favorites.filter({
            $0.matches(searchString)
        })
        let favorites = NSSuggestionItemSection(
            title: NSLocalizedString("Favorites", comment: ""),
            items: favoriteMuseums.map(museumItem(_:))
        )
        var response = NSSuggestionItemResponse(itemSections: [favorites])
        response.phase = .intermediate
        responseHandler(response)

        Task {
            let otherMuseums = await Museum.allMatching(searchString)
            let nonFavorites = NSSuggestionItemSection(items: otherMuseums.map(museumItem(_:)))
            var response = NSSuggestionItemResponse(itemSections: [favorites, nonFavorites])
            response.phase = .final
            responseHandler(response)
        }
    }

}
关键点:
- 设置
textField.suggestionsDelegate即可启用,支持 NSTextField 及其子类(如 NSSearchField) - 可以分两阶段返回:先给
.intermediate同步结果,再异步补全.final结果 NSSuggestionItem支持secondaryTitle显示附加信息,NSSuggestionItemSection支持分组
核心启发
-
做什么:在 NSTextField 中接入 Text Entry Suggestions,提供搜索建议或自动补全。为什么值得做:用户期望输入时有即时反馈,这套 API 是系统标准方案,支持同步+异步分阶段返回,比自建弹窗更一致。怎么开始:实现
NSTextSuggestionsDelegate协议,设置textField.suggestionsDelegate,先返回.intermediate本地结果,再异步返回.final远程结果。 -
做什么:用 NSHostingMenu 把菜单定义迁移到 SwiftUI,跨 AppKit/SwiftUI 共享。为什么值得做:菜单逻辑只维护一份,Toggle、Picker、Button 的声明式写法比 NSMenuItem 手动构建更清晰。怎么开始:创建一个 SwiftUI View 作为菜单 body,用
NSHostingMenu(rootView:)包装,替换现有 NSMenu 构建代码。 -
做什么:用 SwiftUI Animation 替换 NSAnimationContext 的旧式动画。为什么值得做:Spring 动画、自定义动画一次声明即可使用,且天然支持中断和重定向,交互体验更好。怎么开始:把
NSAnimationContext.runAnimationGroup替换为NSAnimationContext.animate(with: .spring(duration:)),配合@Invalidating(.layout)标记需要动画的属性。 -
做什么:集成 Image Playground 作为图片输入源。为什么值得做:如果你的 app 已经支持从照片库或 Finder 插入图片,Image Playground 是零摩擦的第三条路径,
ImagePlaygroundViewController几行代码就能弹出生成界面。怎么开始:创建ImagePlaygroundViewController,设置 delegate 和可选的 concepts/sourceImage,以 sheet 方式弹出,在 delegate 回调中读取文件 URL。 -
做什么:用系统光标 API 替换自绘光标。为什么值得做:系统光标自动支持无障碍大尺寸和指针颜色自定义,自绘光标需要额外处理这些场景。怎么开始:用
NSCursor.frameResize(position:directions:)、NSCursor.columnResize(directions:)、NSCursor.zoomIn/.zoomOut替换自定义光标图片。
关联 Session
- Enhance your UI animations and transitions — 深入讲解 SwiftUI Animation 在 UIKit 和 AppKit 中的使用方法
- Get started with Writing Tools — Writing Tools 的工作原理及与 app 的交互行为
- Bring expression to your app with Genmoji — 如何在 app 中适配自定义表情的内联图片
- What’s new in SF Symbols 6 — SF Symbols 6 的新增符号、动画效果和自定义符号
- Animate symbols in your app — 如何在 app 中使用新的符号动画效果
评论
GitHub Issues · utterances