
Highlight
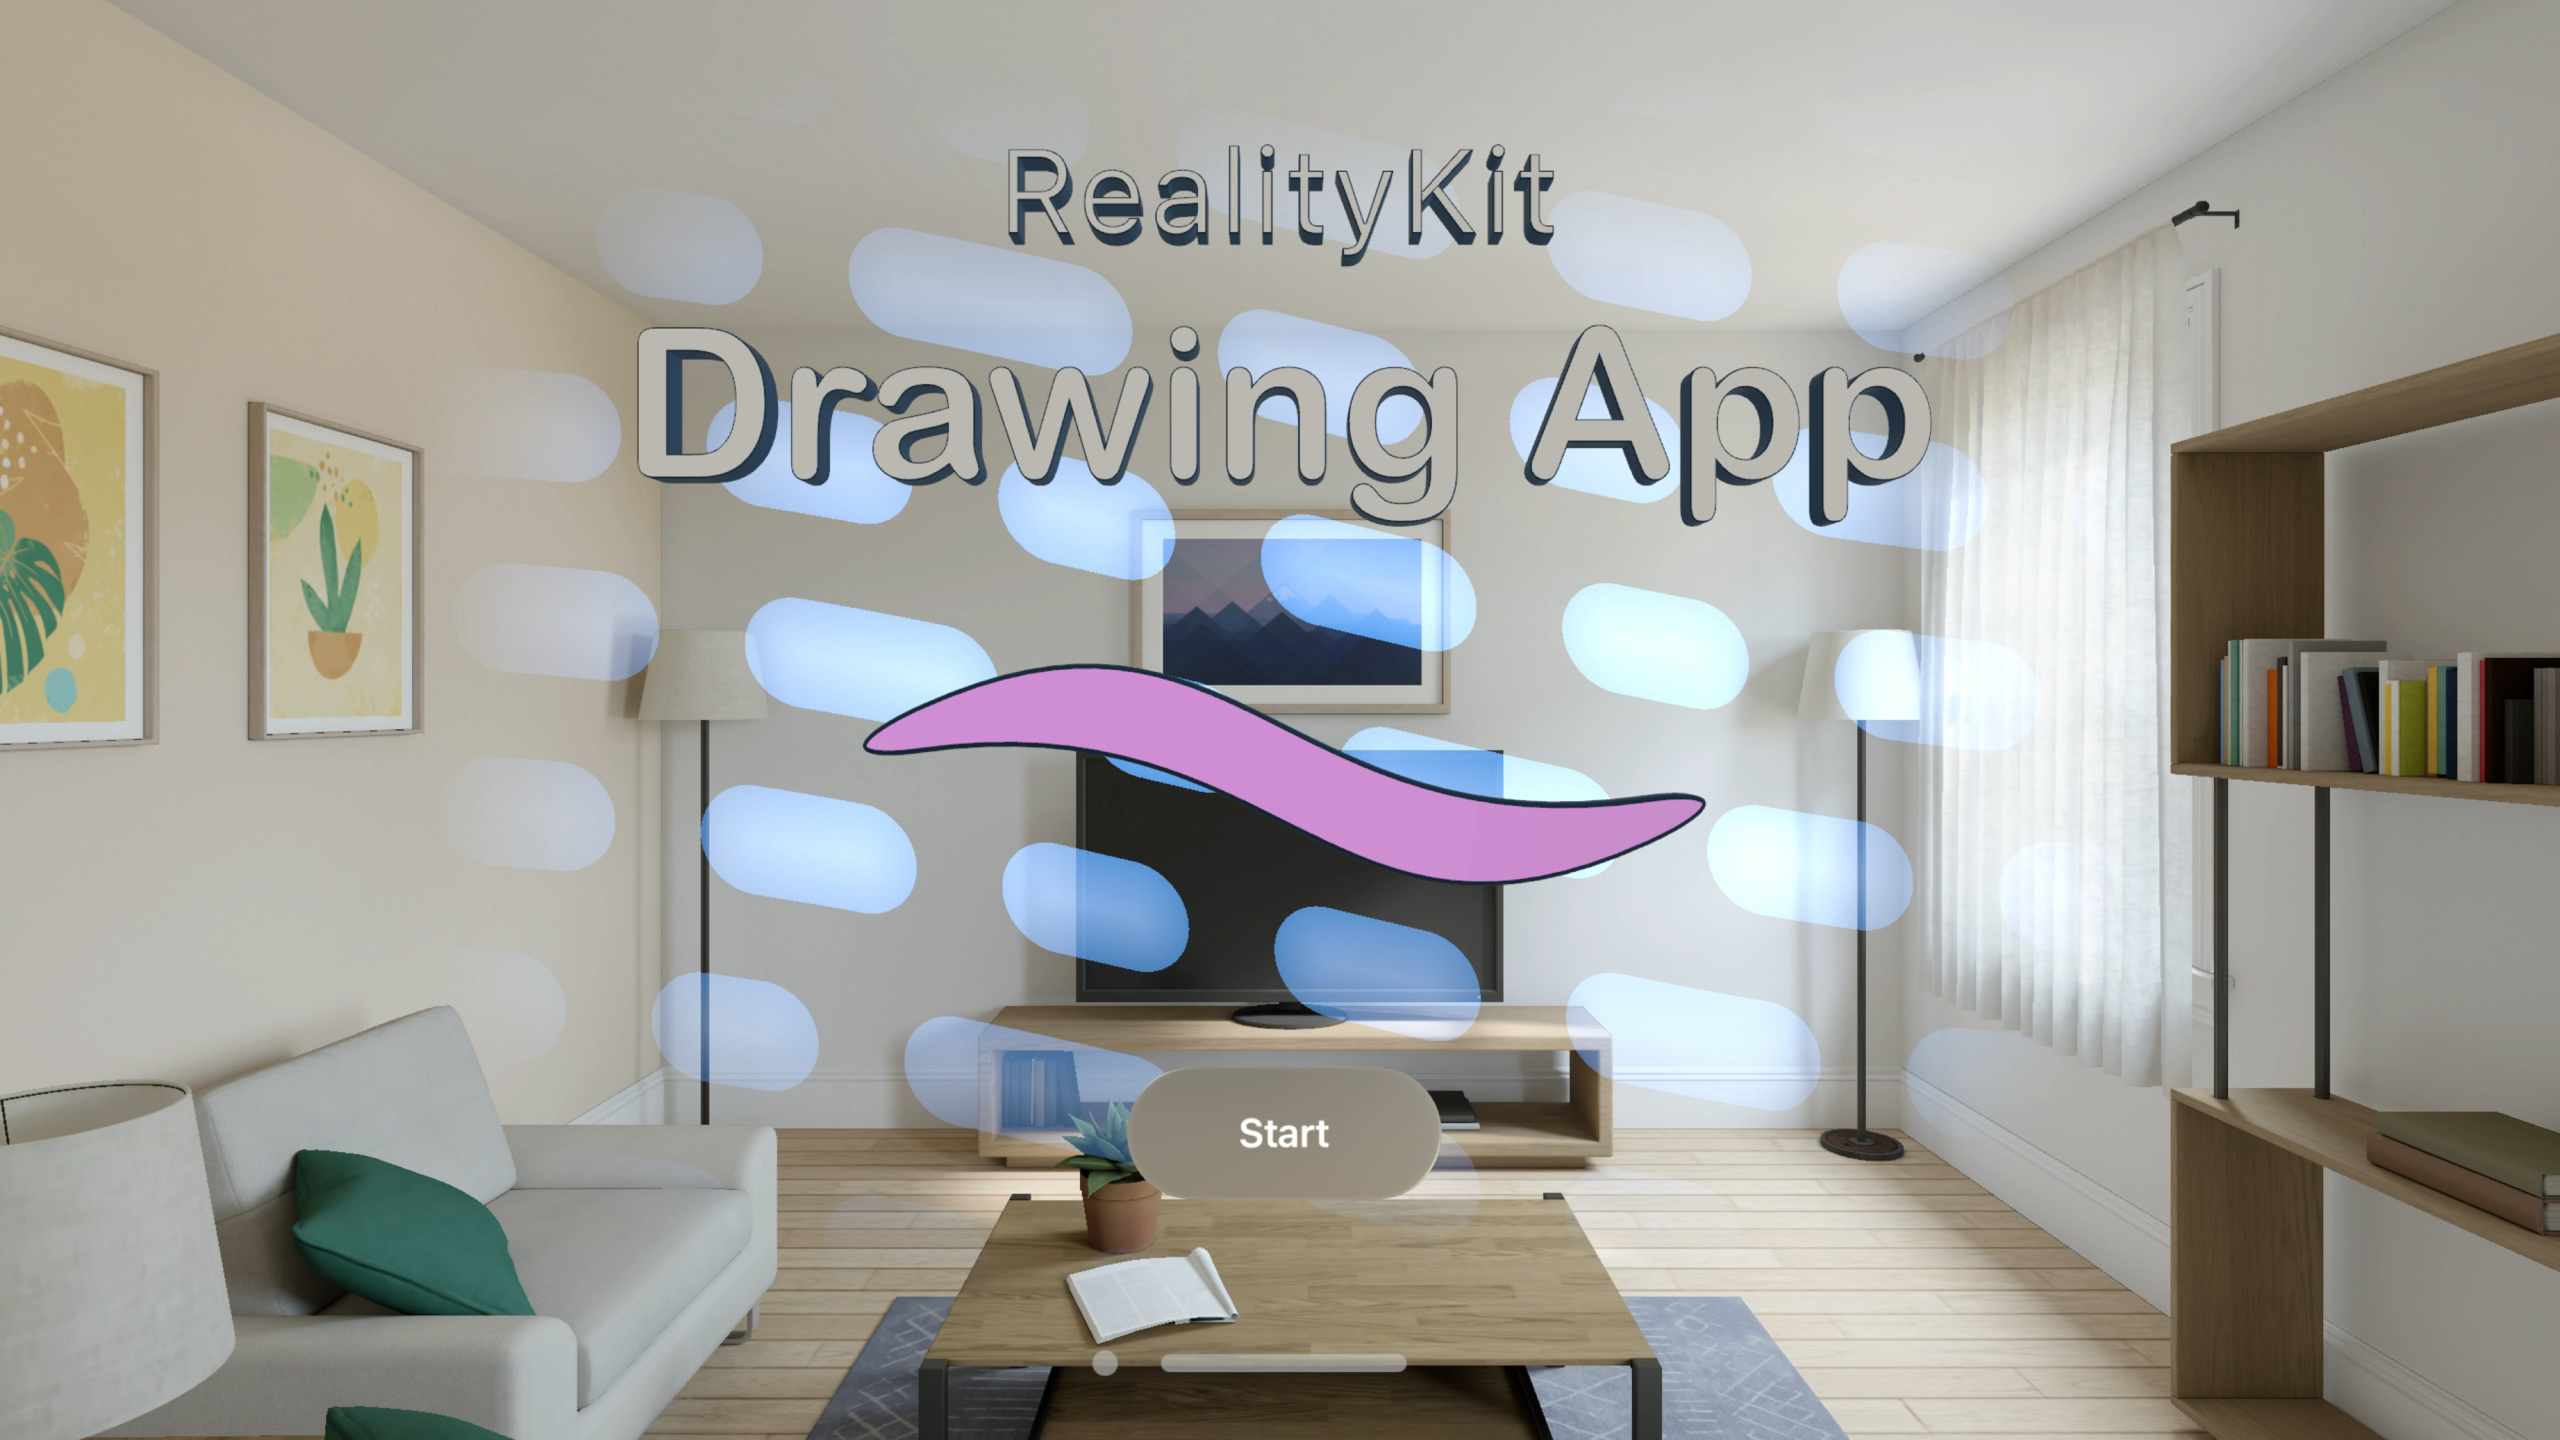
这场 Session 以构建一个空间绘画 App 为线索,系统介绍了 visionOS 2.0 中 RealityKit 的多项新能力。App 本身支持用户在空间中用手指捏合来绘画,提供实心笔刷和闪光笔刷两种类型,可以调整颜色和粗细。
核心内容
在 visionOS 上做一个空间绘画 App,第一件事就是拿到手指的位置。visionOS 1.0 的做法是通过 ARKit 间接获取手部锚点数据,步骤繁琐,而且 ARKit session 和 RealityKit 的沉浸空间是两套独立系统。visionOS 2.0 引入了 SpatialTrackingSession,直接在 RealityKit 层面请求追踪权限,AnchorEntity 的 transform 自动更新手部姿态,代码量减少,逻辑也更清晰。
拿到手部数据后,App 需要把用户的笔画实时渲染成 3D 几何体。传统的 RealityKit MeshResource 采用连续内存布局,所有顶点位置排在一起,所有法线排在一起——追加新顶点时需要大量数据搬移。对于每帧都在增长的笔画网格,这种布局是性能瓶颈。visionOS 2.0 新增的 LowLevelMesh API 允许你自定义顶点缓冲区布局,支持交错排列、多缓冲区、triangle strip 拓扑,甚至可以用 Metal compute shader 直接填充顶点数据。这意味着你现有的 GPU 几何处理管线可以零拷贝地接入 RealityKit。配合同样新增的 LowLevelTexture API,整个绘画 App 的网格生成和纹理更新全部走 GPU,帧率有保障。
详细内容
SpatialTrackingSession:替代 ARKit 的追踪入口
在 ImmersiveSpace 中,AnchorEntity 可以锚定到手部关节。但要让 AnchorEntity 的 transform 真正更新,你需要请求追踪权限。SpatialTrackingSession 就是 visionOS 2.0 提供的新 API(04:18):
// Retain the SpatialTrackingSession while your app needs access

let session = SpatialTrackingSession()

// Declare needed tracking capabilities
let configuration = SpatialTrackingSession.Configuration(tracking: [.hand])

// Request authorization for spatial tracking
let unapprovedCapabilities = await session.run(configuration)

if let unapprovedCapabilities, unapprovedCapabilities.anchor.contains(.hand) {
    // User has rejected hand data for your app.
    // AnchorEntities will continue to remain anchored and update visually
    // However, AnchorEntity.transform will not receive updates
} else {
    // User has approved hand data for your app.
    // AnchorEntity.transform will report hand anchor pose
}
关键点:
SpatialTrackingSession()创建会话实例,必须在 App 需要追踪期间保持引用Configuration(tracking: [.hand])声明需要手部追踪能力session.run(configuration)触发系统授权弹窗,返回未获批准的能力列表- 权限被拒绝时,AnchorEntity 仍会视觉更新,但 transform 不会收到数据——App 需要检查这个返回值做降级处理
- 使用 SpatialTrackingSession 后,AnchorEntity 还能与 RealityKit 物理系统交互
MeshResource extruding:2D 路径挤出为 3D 模型
App 的画布边缘是一个圆环,用 SwiftUI Path 定义两个同心圆,再挤出成 3D(07:07):
let path = SwiftUI.Path { path in
    path.addArc(center: .zero, radius: outerRadius,
        startAngle: .degrees(0), endAngle: .degrees(360),
        clockwise: true)
    path.addArc(center: .zero, radius: innerRadius,
        startAngle: .degrees(0), endAngle: .degrees(360),
        clockwise: true)
}.normalized(eoFill: true)
var options = MeshResource.ShapeExtrusionOptions()
options.boundaryResolution
    = .uniformSegmentsPerSpan(segmentCount: 64)
options.extrusionMethod = .linear(depth: extrusionDepth)

return try MeshResource(extruding: path,
                        extrusionOptions: extrusionOptions)
关键点:
normalized(eoFill: true)启用 even-odd 填充规则,两个同心圆之间形成环形区域boundaryResolution控制弧线的细分精度,64 段对圆环来说足够光滑extrusionMethod = .linear(depth:)沿 Z 轴挤出指定深度- 同一 API 还支持 AttributedString 挤出 3D 文字(27:01),可以指定不同面的材质索引和倒角半径
需要注意的是,visionOS 的 foveated rendering 机制会让细薄的高对比边缘产生闪烁。Session 明确建议:避免在 visionOS 场景中使用细线几何体,宁可加厚边缘来消除视觉伪影。
HoverEffectComponent:新的高亮和着色器悬停效果
visionOS 2.0 为 HoverEffectComponent 新增两种悬停效果(09:33):
let hover = HoverEffectComponent(
    .highlight(.init(
        color: UIColor(/* ... */),
        strength: 5.0)
    )
)
placementEntity.components.set(hover)
关键点:
.highlight对实体施加均匀高亮色,strength控制鲜艳度.shader(.default)则允许用 ShaderGraphMaterial 自定义悬停表现- ShaderGraph 中的 Hover State 节点提供
Time Since Hover Start和Intensity两个属性,可以做出沿笔画扫过的光晕效果(13:45)
LowLevelMesh:自定义顶点布局,零拷贝接入 GPU 管线
实心笔刷的顶点结构体定义如下(16:56):
struct SolidBrushVertex {
    packed_float3 position;
    packed_float3 normal;
    packed_float3 bitangent;
    packed_float3 materialProperties;
    float curveDistance;
    packed_half3 color;
};
然后用 LowLevelMesh.Attribute 描述每个字段的语义和偏移量(19:27):
extension SolidBrushVertex {
    static var vertexAttributes: [LowLevelMesh.Attribute] {
        typealias Attribute = LowLevelMesh.Attribute
        return [
            Attribute(semantic: .position, format: MTLVertexFormat.float3, layoutIndex: 0,
                      offset: MemoryLayout.offset(of: \Self.position)!),
            Attribute(semantic: .normal, format: MTLVertexFormat.float3, layoutIndex: 0,
                      offset: MemoryLayout.offset(of: \Self.normal)!),
            Attribute(semantic: .bitangent, format: MTLVertexFormat.float3, layoutIndex: 0,
                      offset: MemoryLayout.offset(of: \Self.bitangent)!),
            Attribute(semantic: .color, format: MTLVertexFormat.half3, layoutIndex: 0,
                      offset: MemoryLayout.offset(of: \Self.color)!),
            Attribute(semantic: .uv1, format: MTLVertexFormat.float, layoutIndex: 0,
                      offset: MemoryLayout.offset(of: \Self.curveDistance)!),
            Attribute(semantic: .uv3, format: MTLVertexFormat.float2, layoutIndex: 0,
                      offset: MemoryLayout.offset(of: \Self.materialProperties)!)
        ]
    }
}
关键点:
semantic告诉 RealityKit 如何解读这个属性,自定义属性映射到 UV 通道(最多 8 个)format对应 Metal 顶点格式,支持半精度和压缩格式offset用MemoryLayout.offset(of:)自动计算,避免手算出错layoutIndex指向顶点布局列表中的条目,决定数据在哪个缓冲区中
创建 LowLevelMesh 并指定缓冲区容量和布局(21:14):
private static func makeLowLevelMesh(vertexBufferSize: Int, indexBufferSize: Int,
                                     meshBounds: BoundingBox) throws -> LowLevelMesh
{
    var descriptor = LowLevelMesh.Descriptor()
    descriptor.vertexCapacity = vertexBufferSize
    descriptor.indexCapacity = indexBufferSize
    descriptor.vertexAttributes = SolidBrushVertex.vertexAttributes

    let stride = MemoryLayout<SolidBrushVertex>.stride
    descriptor.vertexLayouts = [LowLevelMesh.Layout(bufferIndex: 0,
                                                    bufferOffset: 0, bufferStride: stride)]

    let mesh = try LowLevelMesh(descriptor: descriptor)
    mesh.parts.append(LowLevelMesh.Part(indexOffset: 0, indexCount: indexBufferSize,
                                        topology: .triangleStrip, materialIndex: 0,
                                        bounds: meshBounds))
    return mesh
}
关键点:
vertexCapacity和indexCapacity预分配缓冲区大小vertexLayouts声明交错布局:所有属性在同一个缓冲区、按顶点依次排列topology: .triangleStrip比 triangle list 节省索引数,适合管状几何体- 每个Part 可以指定不同的 materialIndex,实现多材质
更新顶点和索引数据用 withUnsafeMutableBytes(22:37):
mesh.withUnsafeMutableBytes(bufferIndex: 0) { buffer in
    let vertices: UnsafeMutableBufferPointer<SolidBrushVertex>
        = buffer.bindMemory(to: SolidBrushVertex.self)
    // Write to vertex buffer `vertices`
}
GPU 驱动的粒子笔刷:LowLevelMesh + Metal Compute
闪光笔刷每帧更新粒子位置,用 Metal compute shader 直接写入 LowLevelMesh 缓冲区(25:28):
let inputParticleBuffer: MTLBuffer
let lowLevelMesh: LowLevelMesh

let commandBuffer: MTLCommandBuffer
let encoder: MTLComputeCommandEncoder
let populatePipeline: MTLComputePipelineState

commandBuffer.enqueue()
encoder.setComputePipelineState(populatePipeline)

let vertexBuffer: MTLBuffer = lowLevelMesh.replace(bufferIndex: 0, using: commandBuffer)

encoder.setBuffer(inputParticleBuffer, offset: 0, index: 0)
encoder.setBuffer(vertexBuffer, offset: 0, index: 1)
encoder.dispatchThreadgroups(/* ... */)

encoder.endEncoding()
commandBuffer.commit()
关键点:
lowLevelMesh.replace(bufferIndex:using:)返回一个 MTLBuffer,可以像普通 Metal 缓冲区一样绑定到 compute shader- 命令缓冲区提交后,RealityKit 自动使用更新后的顶点数据渲染,无需手动同步
- 输入是粒子模拟缓冲区,输出直接写入 LowLevelMesh 的顶点缓冲区,中间零拷贝
LowLevelTexture:GPU 动态纹理
启动画面的背景纹理用 LowLevelTexture 生成(29:44):
let descriptor = LowLevelTexture.Descriptor(pixelFormat: .rg16Float,
                                            width: textureResolution,
                                            height: textureResolution,
                                            textureUsage: [.shaderWrite, .shaderRead])

let lowLevelTexture = try LowLevelTexture(descriptor: descriptor)
var textureResource = try TextureResource(from: lowLevelTexture)

var material = UnlitMaterial()
material.color = .init(tint: .white, texture: .init(textureResource))
关键点:
pixelFormat支持 compressed 格式,这是 visionOS 2.0 新增的textureUsage声明 shader 读写权限- 创建 TextureResource 后直接赋给材质的 color.texture
- GPU 端更新用
lowLevelTexture.replace(using: commandBuffer)获取 MTLTexture,写入方式与 LowLevelMesh 完全对称
核心启发
-
做什么:用 LowLevelMesh 桥接现有的 Metal 几何处理管线到 RealityKit。为什么值得做:如果你已有基于 Metal 的网格生成代码(比如 CAD、游戏引擎导出器),零拷贝接入意味着不需要额外转换层,帧率直接受益。怎么开始:将你的顶点结构体用 LowLevelMesh.Attribute 描述,指定 layoutIndex 和 offset,创建 LowLevelMesh.Descriptor,再用
withUnsafeMutableBytes填充数据。 -
做什么:用 ShaderGraph Hover State 节点做沿路径扫过的悬停光效。为什么值得做:比静态高亮更有空间感,用户能直觉感知自己正在注视哪个 3D 元素,交互品质明显提升。怎么开始:在 Reality Composer Pro 中创建 ShaderGraphMaterial,加入 Hover State 节点,用
Time Since Hover Start驱动一个沿 curveDistance 的光晕位置,然后在代码中用HoverEffectComponent(.shader(.default))激活。 -
做什么:用 MeshResource extruding 将 SwiftUI Path 和 AttributedString 快速转化为 3D UI 元素。为什么值得做:2D 设计稿中的矢量图标和文字标题可以直接变成空间中的实体,省去建模环节,且支持动态参数(深度、倒角、材质分区)。怎么开始:定义 SwiftUI.Path 或 AttributedString,配置 ShapeExtrusionOptions(深度、倒角半径、材质分配),一行
MeshResource(extruding:)即可生成。
关联 Session
- Discover RealityKit APIs for iOS, macOS, and visionOS — 介绍 RealityKit 跨平台新 API 的全景概览
- Compose interactive 3D content in Reality Composer Pro — 用 Reality Composer Pro 的 Timeline 和 ShaderGraph 制作交互 3D 内容
- Enhance your spatial computing app with RealityKit audio — 为空间计算 App 添加沉浸式音频
- Explore rendering for spatial computing — 深入理解 visionOS 的 foveated rendering 机制和性能优化
评论
GitHub Issues · utterances