
Highlight
RealityKit 今年新增了 hover effects 自定义、SpatialTrackingSession 手部追踪、force effects 与 joints 物理模拟、动态光源与阴影、portal crossing 传送门穿透,以及跨平台支持,整套 API 用一个太空飞船游戏串联演示。
核心内容
在 visionOS 上展示 3D 模型时,用户注视一个物体却得不到任何视觉反馈——这是最常见的交互缺失。RealityKit 之前的 HoverEffectComponent 只有一种默认的 spotlight 效果,无法匹配应用的美术风格。今年新增了 highlight 和 shader 两种样式,前者给整个 mesh 均匀上色并可调 tint 和 strength,后者接入 Shader Graph 材质,可以实现”注视时舷窗亮起”这类精细化效果。
有了视觉反馈还不够,3D 交互应用还需要把手部动作映射为游戏输入。去年要追踪手部只能直接调 ARKit,代码量大且需要自己管理权限请求。今年 RealityKit 引入 SpatialTrackingSession,一行代码完成权限申请,之后用 anchor entity 追踪手指位置,几行代码就能实现”捏合手指控制油门”这样的交互。Force effects 和 joints 补上了物理模拟能力:内置四种力场(径向、漩涡、阻力、湍流)不够用时,可以实现 ForceEffectProtocol 自定义引力场;内置五种关节(固定、球铰、旋转、滑移、距离)不够用时,可以用 PhysicsCustomJoint 逐轴约束线性和角运动。动态光源和阴影帮助玩家判断距离,portal crossing 让飞船可以真正飞入传送门到达另一个场景,EnvironmentLightingConfigurationComponent 让穿越门的光照过渡平滑。最后,这些 API 在 iOS、macOS 上同样可用,只需替换输入方式和 RealityView 的 camera mode 就能移植。
详细内容
Hover Effects 自定义(04:23)
Highlight 样式是最快的接入方式。创建 HighlightHoverEffectStyle,设置 color 和 strength,再包装进 HoverEffectComponent 赋给 entity:
// Add a highlight HoverEffectComponent

let highlightStyle = HoverEffectComponent.HighlightHoverEffectStyle(color: .lightYellow,
                                                                    strength: 0.8)
let hoverEffect = HoverEffectComponent(.highlight(highlightStyle))
spaceship.components.set(hoverEffect)HighlightHoverEffectStyle接收color(色调)和strength(0~1,强度),控制整个 mesh 的均匀高亮.highlight(highlightStyle)枚举值指定使用 highlight 样式而非默认 spotlightcomponents.set()直接赋值,无需先检查是否已存在
Shader 样式更灵活,在 Reality Composer Pro 中用 HoverState 节点驱动 Shader Graph 材质,代码只需要一行:
// Add a shader effect

let hoverEffect = HoverEffectComponent(.shader(.default))
spaceship.components.set(hoverEffect).shader(.default)表示使用 Shader Graph 中已配置好的 HoverState 节点- HoverState 节点提供 intensity 值(0→1 动画),可以接到 Mix 节点控制 emissive color
SpatialTrackingSession 手部追踪(08:04)
创建两个 anchor entity 分别追踪食指尖和拇指尖,在自定义 System 的 update 中计算距离、映射为油门值,再沿飞船前进方向施加力:
// Control acceleration with left hand

class HandTrackingSystem: System {

    func update(context: SceneUpdateContext) {
        let indexTipPosition = indexTipEntity.position(relativeTo: nil)
        let thumbTipPosition = thumbTipEntity.position(relativeTo: nil)

        let distance = distance(indexTipPosition, thumbTipPosition)

        let throttle = computeThrottle(with: distance)

        let force = spaceship.transform.forward * throttle
        spaceship.addForce(force, relativeTo: nil)
    }
}
position(relativeTo: nil)获取 anchor entity 在世界空间中的位置distance()是 SIMD3 的全局函数,计算两个三维点之间的距离computeThrottle(with:)是自定义函数,距离越短油门越大addForce(_:relativeTo:)沿飞船局部坐标的 forward 方向施加力,物理引擎自动处理运动
Force Effects 自定义力场(10:50)
内置四种力场无法满足”引力随距离衰减”的需求时,实现 ForceEffectProtocol:
// Adding a gravity force effect

struct Gravity: ForceEffectProtocol {

    var parameterTypes: PhysicsBodyParameterTypes { [.position, .distance] }
    var forceMode: ForceMode = .force

    func update(parameters: inout ForceEffectParameters) {
        guard let distances = parameters.distances,
              let positions = parameters.positions else { return }

        for i in 0..<parameters.physicsBodyCount {
            let force = computeForce(distances[i], positions[i])
            parameters.setForce(force, index: i)
        }
    }
}parameterTypes声明需要 position 和 distance,物理引擎会预计算这些值forceMode设为.force,表示输出的是力而非加速度或冲量update函数中遍历所有受影响的 physics body,逐个计算并设置力向量
激活力场时指定空间衰减范围和碰撞掩码:
// Activating the gravity force effect

let gravity = ForceEffect(effect: Gravity(),
                          spatialFalloff: SpatialForceFalloff(bounds: .sphere(radius: 8.0)),
                          mask: .asteroids)

planet.components.set(ForceEffectComponent(effects: [gravity]))spatialFalloff限定力场只影响半径 8 米内的物体mask只对.asteroids碰撞组的物体生效- 小行星还需要
PhysicsMotionComponent设置初速度才能形成轨道运动(13:11)
PhysicsCustomJoint 自定义关节(16:19)
飞船拖拽货舱需要限制旋转幅度、禁止平移:
// Add a custom joint

guard let hookEntity = spaceship.findEntity(named: "Hook") else { return }
let hookOffset: SIMD3<Float> = hookEntity.position(relativeTo: spaceship)

let hookPin = spaceship.pins.set(named: "Hook", position: hookOffset)
let trailerPin = trailer.pins.set(named: "Trailer", position: .zero)

var joint = PhysicsCustomJoint(pin0: hookPin, pin1: trailerPin)

joint.angularMotionAroundX = .range(-.pi * 0.05 ... .pi * 0.05)
joint.angularMotionAroundY = .range(-.pi * 0.2 ... .pi * 0.2)
joint.angularMotionAroundZ = .range(-.pi * 0.2 ... .pi * 0.2)

joint.linearMotionAlongX = .fixed
joint.linearMotionAlongY = .fixed
joint.linearMotionAlongZ = .fixed

try joint.addToSimulation()pins.set(named:position:)在 entity 上定义锚点位置,关节连接两个 pinangularMotionAroundX/Y/Z逐轴设置旋转范围,X 轴更紧(±0.05π)防止货舱上下晃动太大linearMotionAlongX/Y/Z = .fixed完全禁止平移,模拟硬连接addToSimulation()激活关节,抛出异常时需处理
动态光源与阴影(19:12)
给飞船前灯添加聚光灯和阴影:
// Add a spotlight with shadow

guard let lightEntity = spaceship.findEntity(named: "HeadLight") else { return }

lightEntity.components.set(SpotLightComponent(color: .yellow,
                                              intensity: 10000.0,
                                              attenuationRadius: 6.0))

lightEntity.components.set(SpotLightComponent.Shadow())SpotLightComponent配置颜色、强度(流明)、衰减半径SpotLightComponent.Shadow()单独作为组件添加,默认所有被动态光照的物体都投射阴影- 要禁止某个物体投射阴影,添加
DynamicLightShadowComponent(castsShadow: false)(20:01)
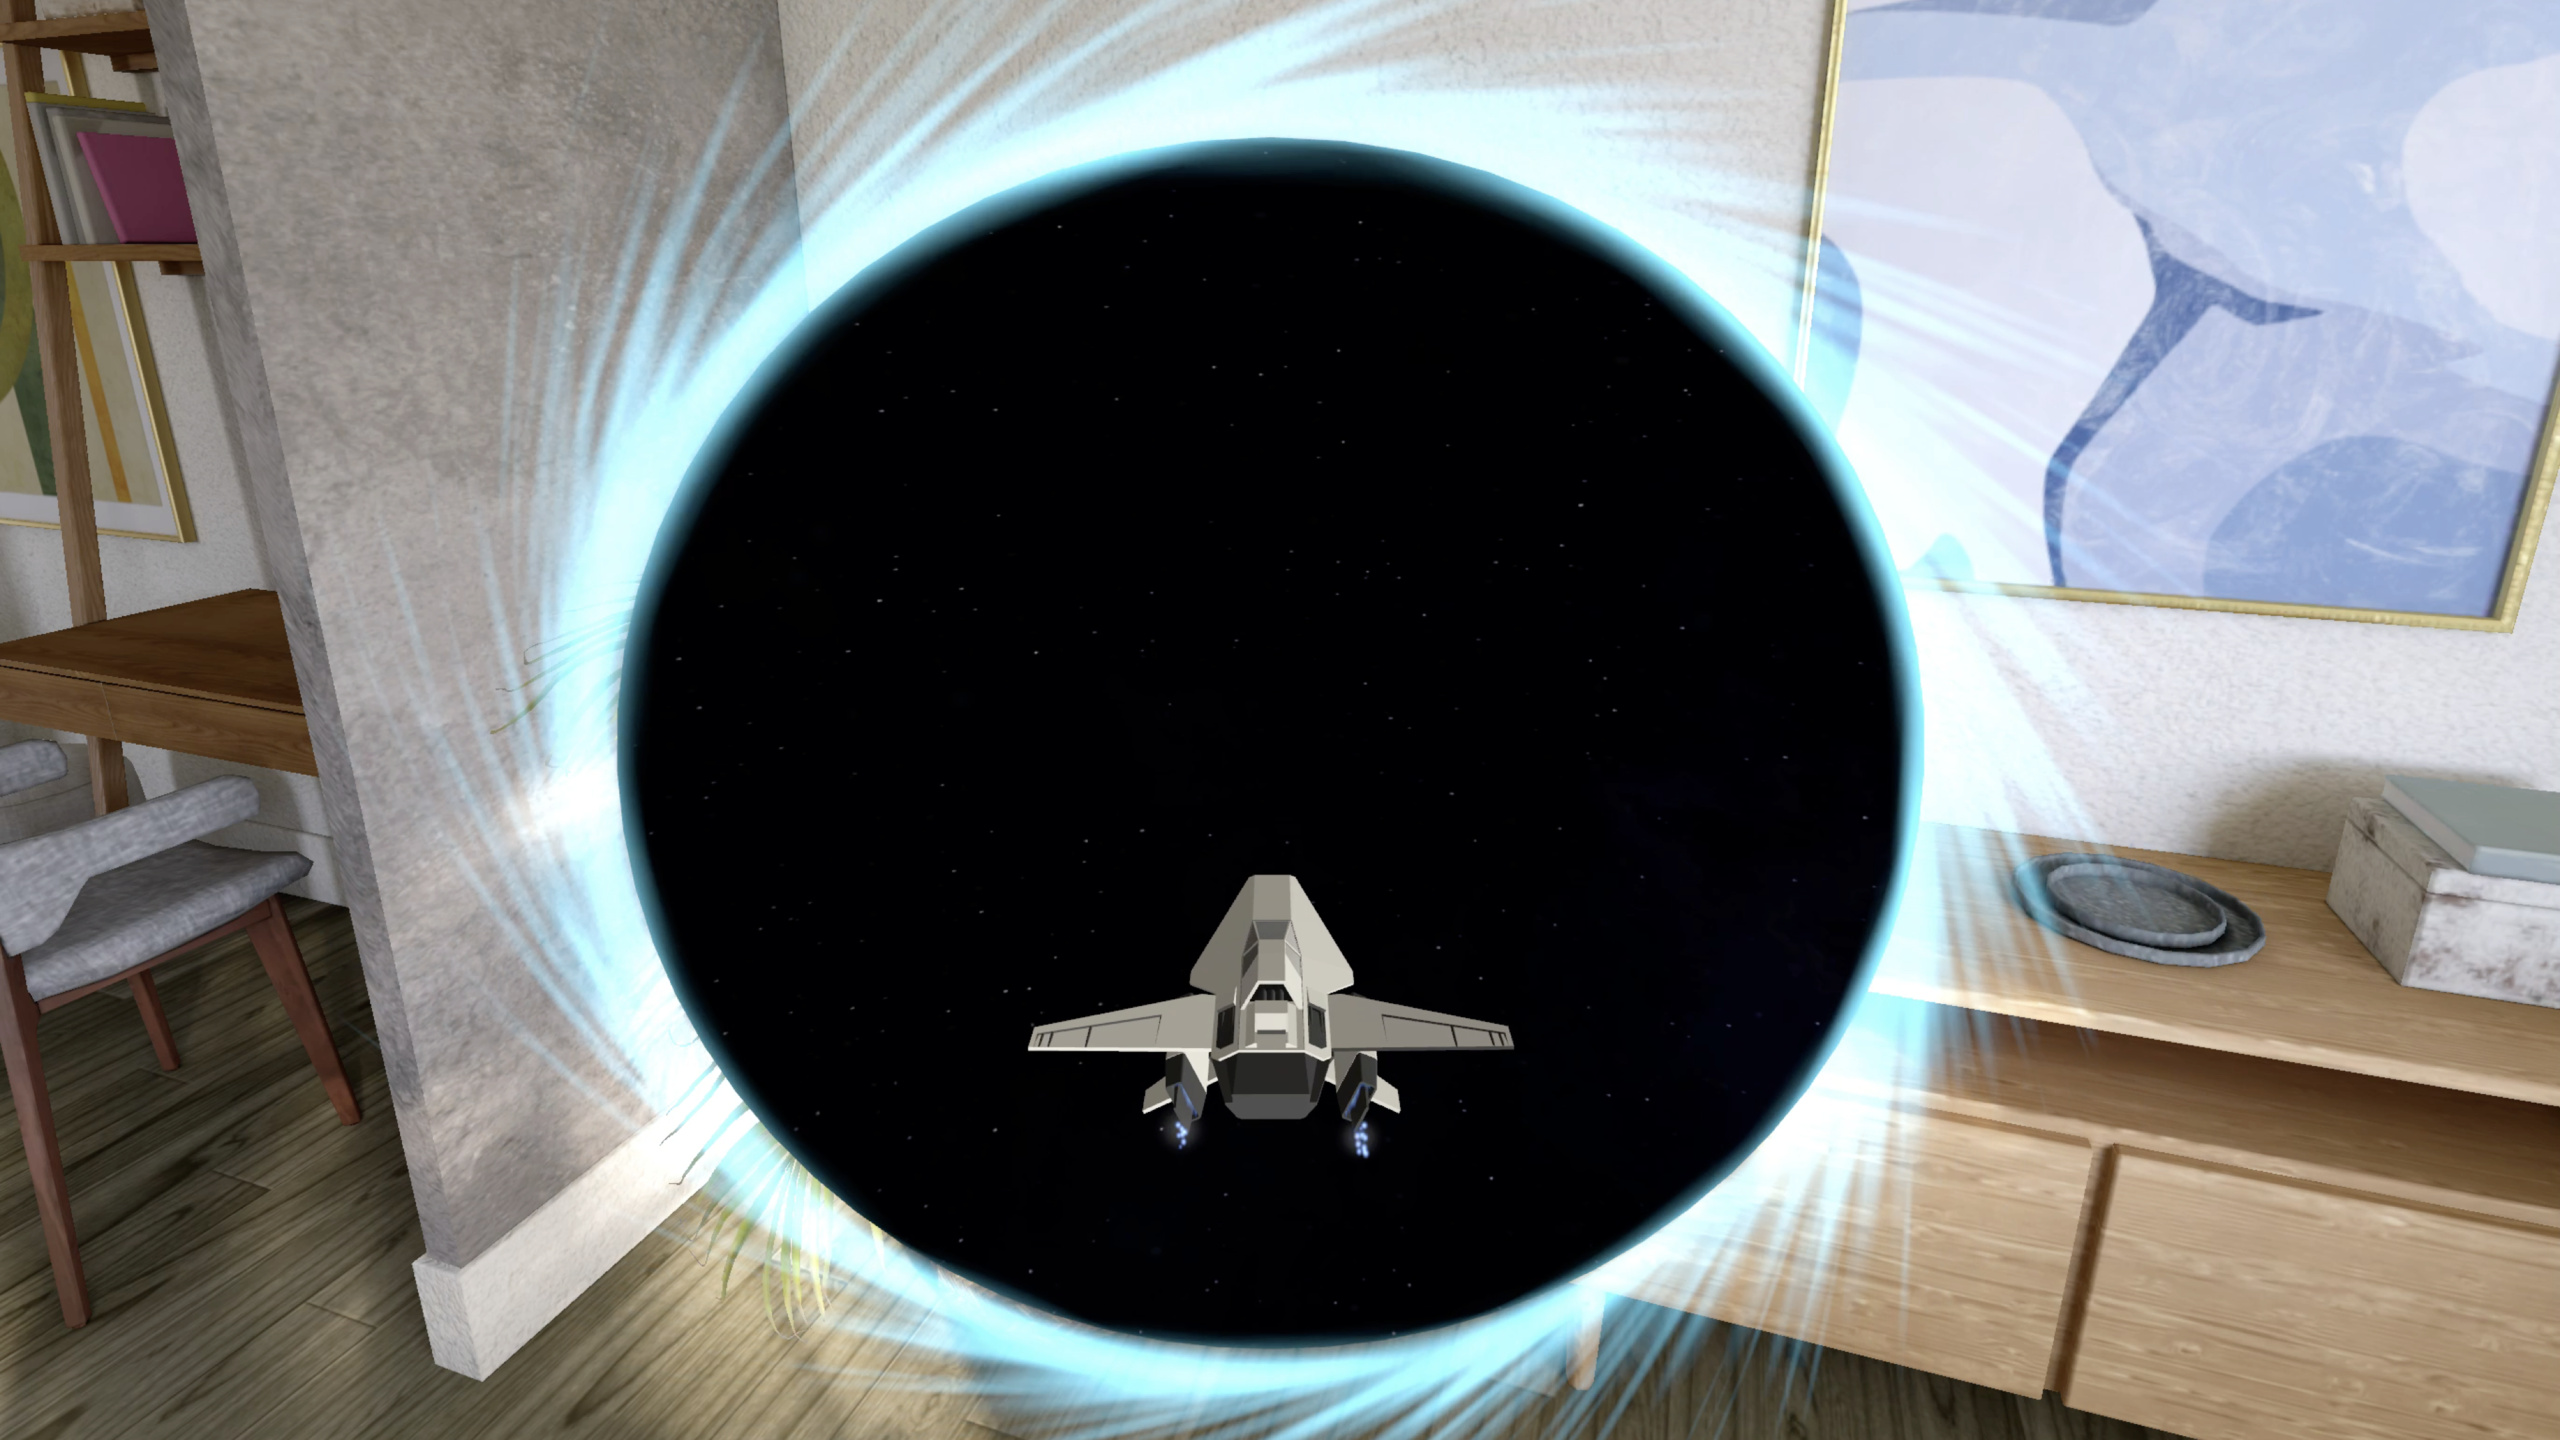
Portal Crossing 传送门穿透(21:36)
设置传送门的穿越模式和飞船的穿越组件:
// Enable portal crossing

portal.components.set(PortalComponent(target: portalWorld,
                                      clippingMode: .plane(.positiveZ),
                                      crossingMode: .plane(.positiveZ)))

spaceship.components.set(PortalCrossingComponent())
crossingMode: .plane(.positiveZ)设定穿越平面,需与传送门几何体所在平面一致clippingMode: .plane(.positiveZ)同时设定裁剪平面PortalCrossingComponent()加在需要穿越的 entity 上,未加此组件的 entity 仍会被门面裁剪
飞船穿越门时光照会突变,用 EnvironmentLightingConfigurationComponent 平滑过渡(24:33):
// Configure environmental lighting on the spaceship

var lightingConfig = EnvironmentLightingConfigurationComponent()

let distance: Float = computeShipDistanceFromPortal()
lightingConfig.environmentLightingWeight = mapDistanceToWeight(distance)

spaceship.components.set(lightingConfig)environmentLightingWeight范围 0~1:1 = 完全使用环境探针光照,0 = 完全不使用- 飞船靠近传送门时逐步从 1 降到 0,穿越后只受门内 IBL 光照
- 此组件即使不用 portal 也能用来控制环境光照权重
跨平台支持(27:21)
RealityView 在 iOS 上使用 world tracking camera:
// World tracking camera

RealityView { content in

#if os(iOS)

    content.camera = .worldTracking

#endif

}.worldTracking启用 AR 世界追踪和相机画面背景- 输入方式从手部追踪改为多点触控,左侧滑块控制油门、右侧虚拟摇杆控制俯仰和翻滚
核心启发
-
给 3D 模型加 hover effects 作为交互暗示:用户注视 3D 物体时如果没有视觉反馈,会疑惑”这个东西能点吗”。highlight 样式两行代码接入,shader 样式适合需要精细效果的场景。怎么开始:给所有可交互的 entity 加
HoverEffectComponent(.highlight(...)),美术有需求时再切 shader 样式。 -
用 SpatialTrackingSession 替代 ARKit 手部追踪:ARKit 方案需要自己管理 session 和权限,代码量大。SpatialTrackingSession 把权限请求和 anchor 管理合并,一个 session 搞定。怎么开始:新建
SpatialTrackingSession,用HandAnchor创建 anchor entity,在自定义System的update里读取位置计算手势。 -
物理场景优先用 force effects 而非手动算位置:手写每帧位移更新容易出 bug(碰撞、穿模),force effects 让物理引擎统一处理。内置四种力场覆盖常见需求,不够用时实现
ForceEffectProtocol只需写一个 update 函数。怎么开始:把”每帧设置 transform”的代码替换为addForce+ForceEffectComponent,让引擎接管运动。 -
跨平台移植只需改输入和 RealityView camera mode:hover effects、force effects、joints、光影、portal 这些核心 API 在 iOS/macOS 上签名一致。需要改的只有:visionOS 的 ImmersiveSpace 换成 iOS 的 RealityView +
.worldTracking,手部追踪换成多点触控。怎么开始:用#if os(iOS)条件编译隔离平台差异,核心逻辑代码零修改。
关联 Session
- Build a spatial drawing app with RealityKit — 用 RealityKit 构建空间绘画应用,包含 SpatialTrackingSession 的详细用法
- Compose interactive 3D content in Reality Composer Pro — Reality Composer Pro 中使用 Timeline 和 Shader Graph 创作交互式 3D 内容
- Enhance your spatial computing app with RealityKit audio — 为空间计算应用添加空间音频,本 session 飞船游戏的音效实现在此讲解
- Create custom hover effects in visionOS — SwiftUI 层面的自定义 hover effects API,与 RealityKit 的 hover effects 互补
评论
GitHub Issues · utterances