
Highlight
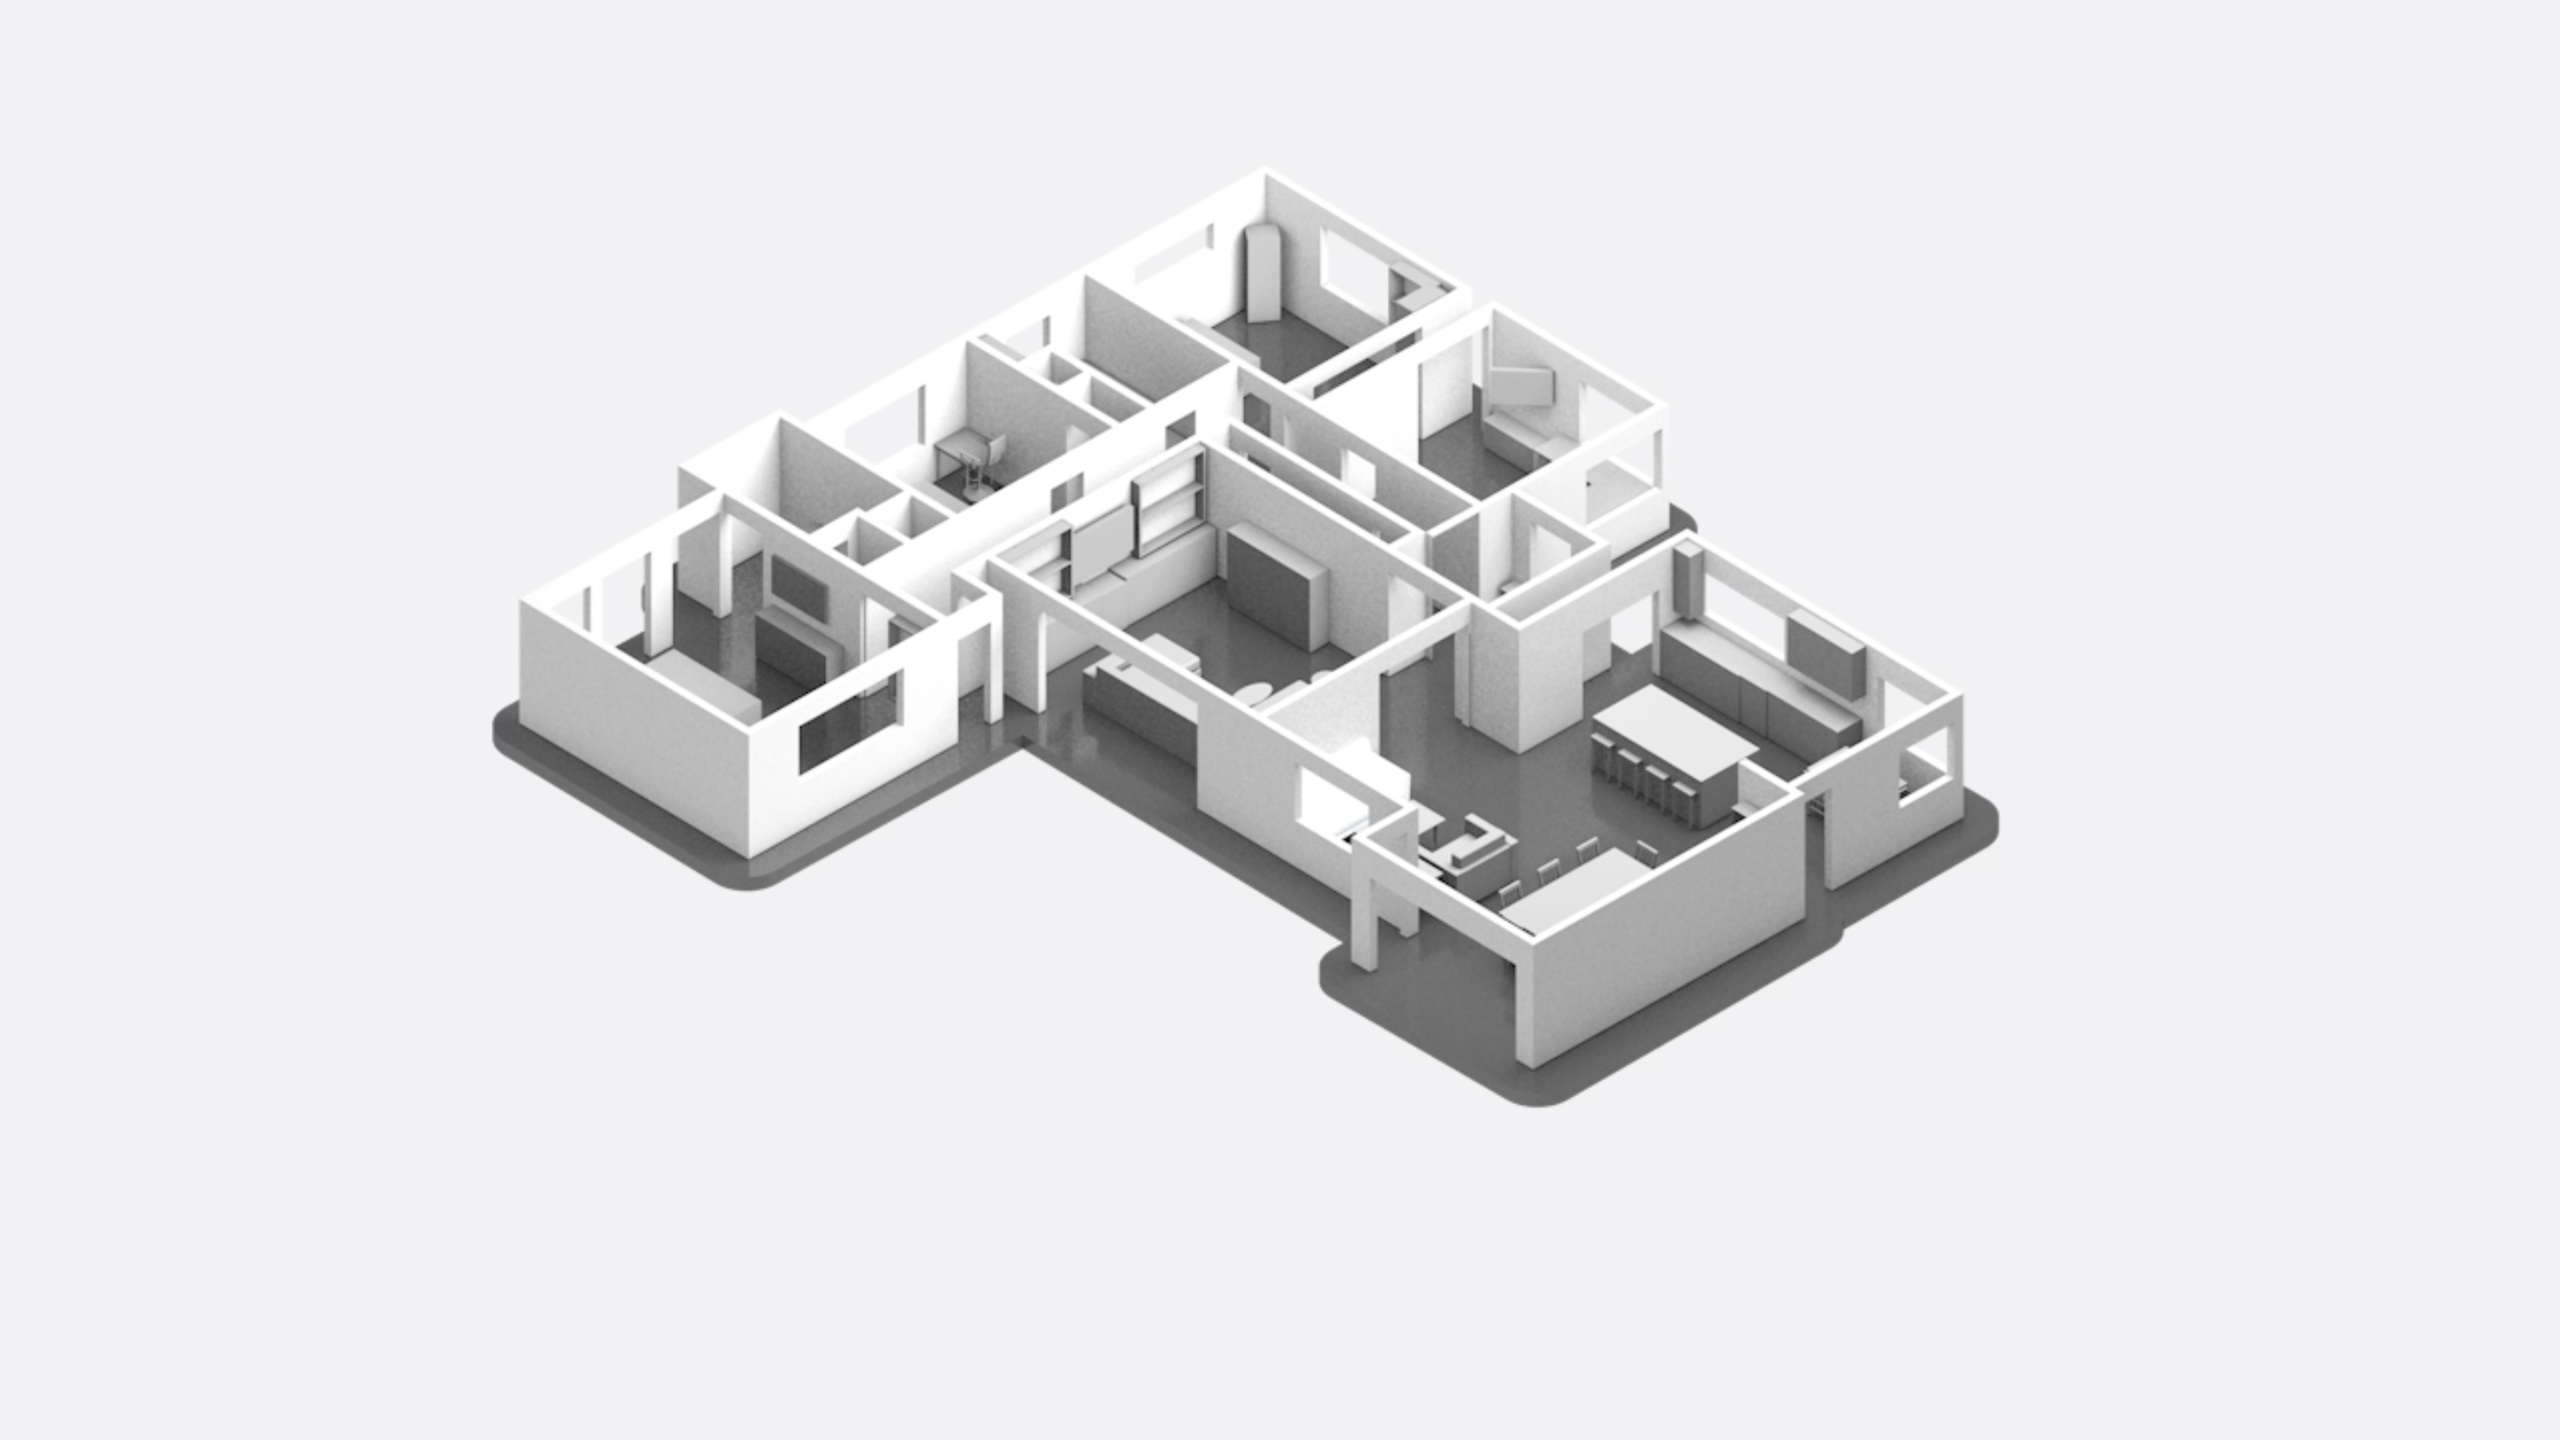
RoomPlan 在 iOS 17 支持多房间扫描合并、自定义 ARSession 集成、VoiceOver 无障碍访问,以及用 3D 模型替换扫描结果中的方块物体,让房产测绘、室内设计和空间规划应用从单房间工具升级为完整的空间解决方案。
核心内容
RoomPlan 从 iOS 16 开始让 iPhone 和 iPad 具备了扫描房间并生成 3D 模型的能力。但第一版有明显限制:只能扫一个房间,扫描时不能和其他 AR 功能混用,扫描结果中的家具只是彩色方块。
iOS 17 的四项更新解决了这些痛点。
自定义 ARSession
(01:36)以前 RoomPlan 自己管理 ARSession,开发者插不进去。现在可以在初始化时传入自定义的 ARSession:
// RoomCaptureSession 现在接受可选的 ARSession
public class RoomCaptureSession {
    public init(arSession: ARSession? = nil) {
        // ...
    }

    public func stop(pauseARSession: Bool = true) {
        // ...
    }
}
这打开了几个新场景:
- AR 互动增强:把 RoomPlan 扫描结果和 ARKit 的场景几何、平面检测结合,让虚拟内容更精确地贴合真实空间
- 房产展示升级:扫描房间的同时用 ARKit 采集高质量照片和视频,生成带 3D 模型和实景照片的房源页面
- 不干扰现有 AR:在已有 AR 体验中加入 RoomPlan,不会破坏已有的 ARAnchor
(03:20)stop(pauseARSession:) 的 pauseARSession 参数控制扫描结束后 ARSession 是否继续运行。设为 false 时,ARSession 保持活跃,为下一个功能或下一次扫描做准备。
多房间扫描
(03:53)以前扫完客厅再扫卧室,两个房间各自独立,坐标系不同,手动合并时还会遇到重复墙壁和重复家具的问题。
iOS 17 提供了两种方案让多个房间共享同一个坐标系:
方案一:连续 ARSession
(05:02)扫完第一个房间后不暂停 ARSession,直接开始扫下一个:
// 开始第一次扫描
roomCaptureSession.run(configuration: captureSessionConfig)

// 结束第一次扫描,但保持 ARSession 运行
roomCaptureSession.stop(pauseARSession: false)

// 开始第二次扫描
roomCaptureSession.run(configuration: captureSessionConfig)

// 结束第二次扫描(默认暂停 ARSession)
roomCaptureSession.stop()
关键点:
pauseARSession: false让 ARSession 在扫描间隔期保持运行- 同一个
roomCaptureSession实例复用同一个 ARSession - 所有扫描结果自动共享同一个世界坐标系
方案二:ARSession 重定位
(06:38)适合跨时段扫描,比如今天扫客厅,明天扫卧室:
// 加载之前保存的 ARWorldMap
let arWorldMap = try NSKeyedUnarchiver.unarchivedObject(
    ofClass: ARWorldMap.self,
    from: data
)

// 配置 ARKit 重定位
let arWorldTrackingConfig = ARWorldTrackingConfiguration()
arWorldTrackingConfig.initialWorldMap = arWorldMap

roomCaptureSession.init()
roomCaptureSession.arSession.run(arWorldTrackingConfig, options: [])

// 等待重定位完成...

// 开始第二次扫描
roomCaptureSession.run(configuration: captureSessionConfig)

// 结束第二次扫描
roomCaptureSession.stop()
关键点:
- 第一次扫描结束后保存
ARWorldMap - 第二次扫描前加载
ARWorldMap触发重定位 - 重定位完成后,当前坐标系与之前对齐
- 适合分时段、分次扫描的场景
合并房间:StructureBuilder
(09:40)多个房间扫完后,用 StructureBuilder 合并:
// 创建 StructureBuilder 实例
let structureBuilder = StructureBuilder(option: [.beautifyObjects])

// 加载多个 CapturedRoom
var capturedRoomArray: [CapturedRoom] = []

// 合并为 CapturedStructure
let capturedStructure = try await structureBuilder.capturedStructure(
    from: capturedRoomArray
)

// 导出为 USDZ
try capturedStructure.export(to: destinationURL)
关键点:
StructureBuilder自动处理重复墙壁和重复物体.beautifyObjects选项美化物体表示- 输出
CapturedStructure包含合并后的完整空间信息
(10:11)CapturedStructure 的结构:
public struct CapturedStructure: Codable, Sendable {
    public var rooms: [CapturedRoom]
    public var walls: [Surface]
    public var doors: [Surface]
    public var windows: [Surface]
    public var openings: [Surface]
    public var objects: [Object]
    public var floors: [Surface]
    public var sections: [Section]

    public func export(
        to url: URL,
        metadataURL: URL? = nil,
        modelProvider: ModelProvider? = nil,
        exportOptions: USDExportOptions = .mesh
    ) throws
}
关键点:
rooms数组保留每个房间的原始信息walls、doors、windows等是合并去重后的结果sections描述房间的不同功能区域(客厅、卧室等)- 支持导出为 USDZ,可选附带元数据和 3D 模型
扫描体验优化
(11:11)多房间扫描的最佳实践:
- 适合单层住宅,1-4 个卧室的典型户型
- 总扫描面积建议不超过 2000 平方英尺(约 186 平方米)
- 光照条件建议 50 lux 以上
- 扫描段之间保持图像重叠,帮助系统对齐
VoiceOver 支持
(12:00)RoomCaptureView 新增 VoiceOver 音频反馈,让视障用户也能使用扫描功能:
- “Move device to start”
- “Point camera at bottom edge of wall”
- “A fireplace. A wall.”
- “A window.”
系统会语音描述检测到的物体和扫描进度,低视力用户不再需要依赖视觉反馈。
更丰富的房间表示
(12:32)RoomPlan 现在支持更多房间类型和物体配置:
- 斜墙和曲墙:以前只能处理直墙,现在支持多边形描述的异形墙面
- 嵌入式厨房设备:洗碗机、烤箱、水槽等嵌入式设备能被检测并正确渲染
- 沙发配置:单人沙发、L 型沙发、方形沙发等不同形状都能识别
- Section 区域:房间可以划分为客厅、卧室、厨房、餐厅等功能区域
- 父子关系:窗户属于某面墙,椅子属于某张桌子,洗碗机属于某个橱柜
用 3D 模型替换方块
(17:26)以前扫描结果中的家具显示为彩色方块。现在可以用真实 3D 模型替换:
第一步:创建模型目录
// 遍历所有支持的物体类别
for category in CapturedRoom.Object.Category.allCases {
    let url = generateFolderURL(category: category, attributes: [])
    FileManager.default.createDirectory(at: url, withIntermediateDirectories: true)

    // 为每个属性组合创建子文件夹
    for attributes in category.supportedCombinations {
        let url = generateFolderURL(category: category, attributes: attributes)
        FileManager.default.createDirectory(at: url, withIntermediateDirectories: true)
    }
}
第二步:创建目录索引
struct RoomPlanCatalog: Codable {
    let categoryAttributes: [RoomPlanCatalogCategoryAttribute]
}

struct RoomPlanCatalogCategoryAttribute: Codable {
    let category: CapturedRoom.Object.Category
    let attributes: [any CapturedRoomAttribute]
    let folderRelativePath: String
    private(set) var modelFilename: String? = nil
}
第三步:打包为 catalog bundle
let catalog = RoomPlanCatalog(categoryAttributes: categoryAttributes)
let plistEncoder = PropertyListEncoder()
let data = try plistEncoder.encode(catalog)
let catalogURL = inputURL.appending(path: "catalog.plist")
try data.write(to: catalogURL)

let fileWrapper = try FileWrapper(url: inputURL)
try fileWrapper.write(
    to: outputURL,
    options: [.atomic, .withNameUpdating],
    originalContentsURL: nil
)
第四步:从 catalog 创建 ModelProvider
for categoryAttribute in catalog.categoryAttributes {
    guard let modelFilename = categoryAttribute.modelFilename else {
        continue
    }
    let folderRelativePath = categoryAttribute.folderRelativePath
    let modelURL = url.appending(path: folderRelativePath).appending(path: modelFilename)

    if categoryAttribute.attributes.isEmpty {
        try modelProvider.setModelFileURL(modelURL, for: categoryAttribute.category)
    } else {
        try modelProvider.setModelFileURL(modelURL, for: categoryAttribute.attributes)
    }
}
第五步:导出带模型的 USDZ
try capturedRoom.export(
    to: outputURL,
    modelProvider: modelProvider,
    exportOptions: .model
)
关键点:
ModelProvider把物体类别和属性映射到 3D 模型 URL- 没有属性的物体按类别匹配,有属性的按属性组合匹配
- 导出时指定
.model选项替换方块为真实模型 - Sample code 包含预填充的模型目录作为起点
元数据映射
(16:08)导出 USDZ 时可以附带元数据映射文件,把 USDZ 节点和 CapturedRoom 元素关联起来:
try capturedRoom.export(
    to: outputURL,
    metadataURL: metadataURL
)
生成的映射文件是 String 到 UUID 的字典,让你可以在渲染扫描结果时查询墙面尺寸、物体属性等额外信息。
详细内容
Object Attributes 详解
RoomPlan 现在用 attributes 更精确地描述物体。以椅子为例:
- Category:chair
- Attributes:可以是 stool(凳子)、dining chair(餐椅)、office chair(办公椅)
Attributes 通过多态枚举数组暴露,但处理起来不够直观。建议结合 ModelProvider 把 attributes 映射到具体的 3D 模型。
墙壁和地板的多边形表示
非均匀墙壁现在用 polygonCorners 描述为多边形。地板在扫描期间显示为矩形,扫描结束后美化为多边形。曲墙和曲窗在 RoomCaptureView 的最终结果中也能渲染。
导出选项对比
| 选项 | 输出 | 用途 |
|---|---|---|
.mesh | 网格 USDZ | 通用 3D 预览 |
.model | 带模型的 USDZ | 需要真实家具模型的场景 |
metadataURL | 映射文件 | 查询额外信息 |
核心启发
1. 做一个房产展示应用
- 做什么:扫描整套房子生成 3D 模型,结合高质量照片创建沉浸式房源展示
- 为什么值得做:多房间合并 + 自定义 ARSession 让扫描和拍照可以同时进行,ModelProvider 让家具显示为真实模型
- 怎么开始:用连续 ARSession 扫描各个房间,StructureBuilder 合并,导出带 metadata 的 USDZ,在网页中用 Quick Look 展示
2. 做一个室内设计规划工具
- 做什么:扫描客户房间,在 3D 模型中预览家具摆放效果
- 为什么值得做:RoomPlan 自动检测墙壁、门窗位置,Section 区分功能区域,ModelProvider 用真实家具模型替换方块
- 怎么开始:扫描房间获取结构,用 ModelProvider 加载家具目录,在 AR 中实时预览摆放效果
3. 做一个无障碍空间导航应用
- 做什么:帮助视障用户了解陌生空间的布局
- 为什么值得做:VoiceOver 支持让扫描过程本身无障碍,扫描结果可以语音描述房间结构和物体位置
- 怎么开始:集成 RoomCaptureView,扫描后用语音播报检测到的墙壁、门窗、家具及其相对位置
4. 做一个家具电商的 AR 预览功能
- 做什么:用户扫描自己的房间,在真实空间中预览电商平台的家具
- 为什么值得做:RoomPlan 提供精确的房间几何,自定义 ARSession 可以同时运行平面检测放置虚拟家具
- 怎么开始:用 RoomPlan 获取房间结构,用 ARKit 平面检测在地板/墙面上放置家具模型,结合 ModelProvider 使用真实产品模型
关联 Session
- Meet Object Capture for iOS — iOS 上的 3D 物体扫描,可与 RoomPlan 结合使用
- Create 3D models for Quick Look spatial experiences — 为 visionOS Quick Look 创建 3D 内容的最佳实践
- Meet Reality Composer Pro — Apple 的 3D 内容创作工具,可进一步美化 RoomPlan 导出结果
- Work with Reality Composer Pro content in Xcode — 在 Xcode 中集成 Reality Composer Pro 内容
评论
GitHub Issues · utterances