
Highlight
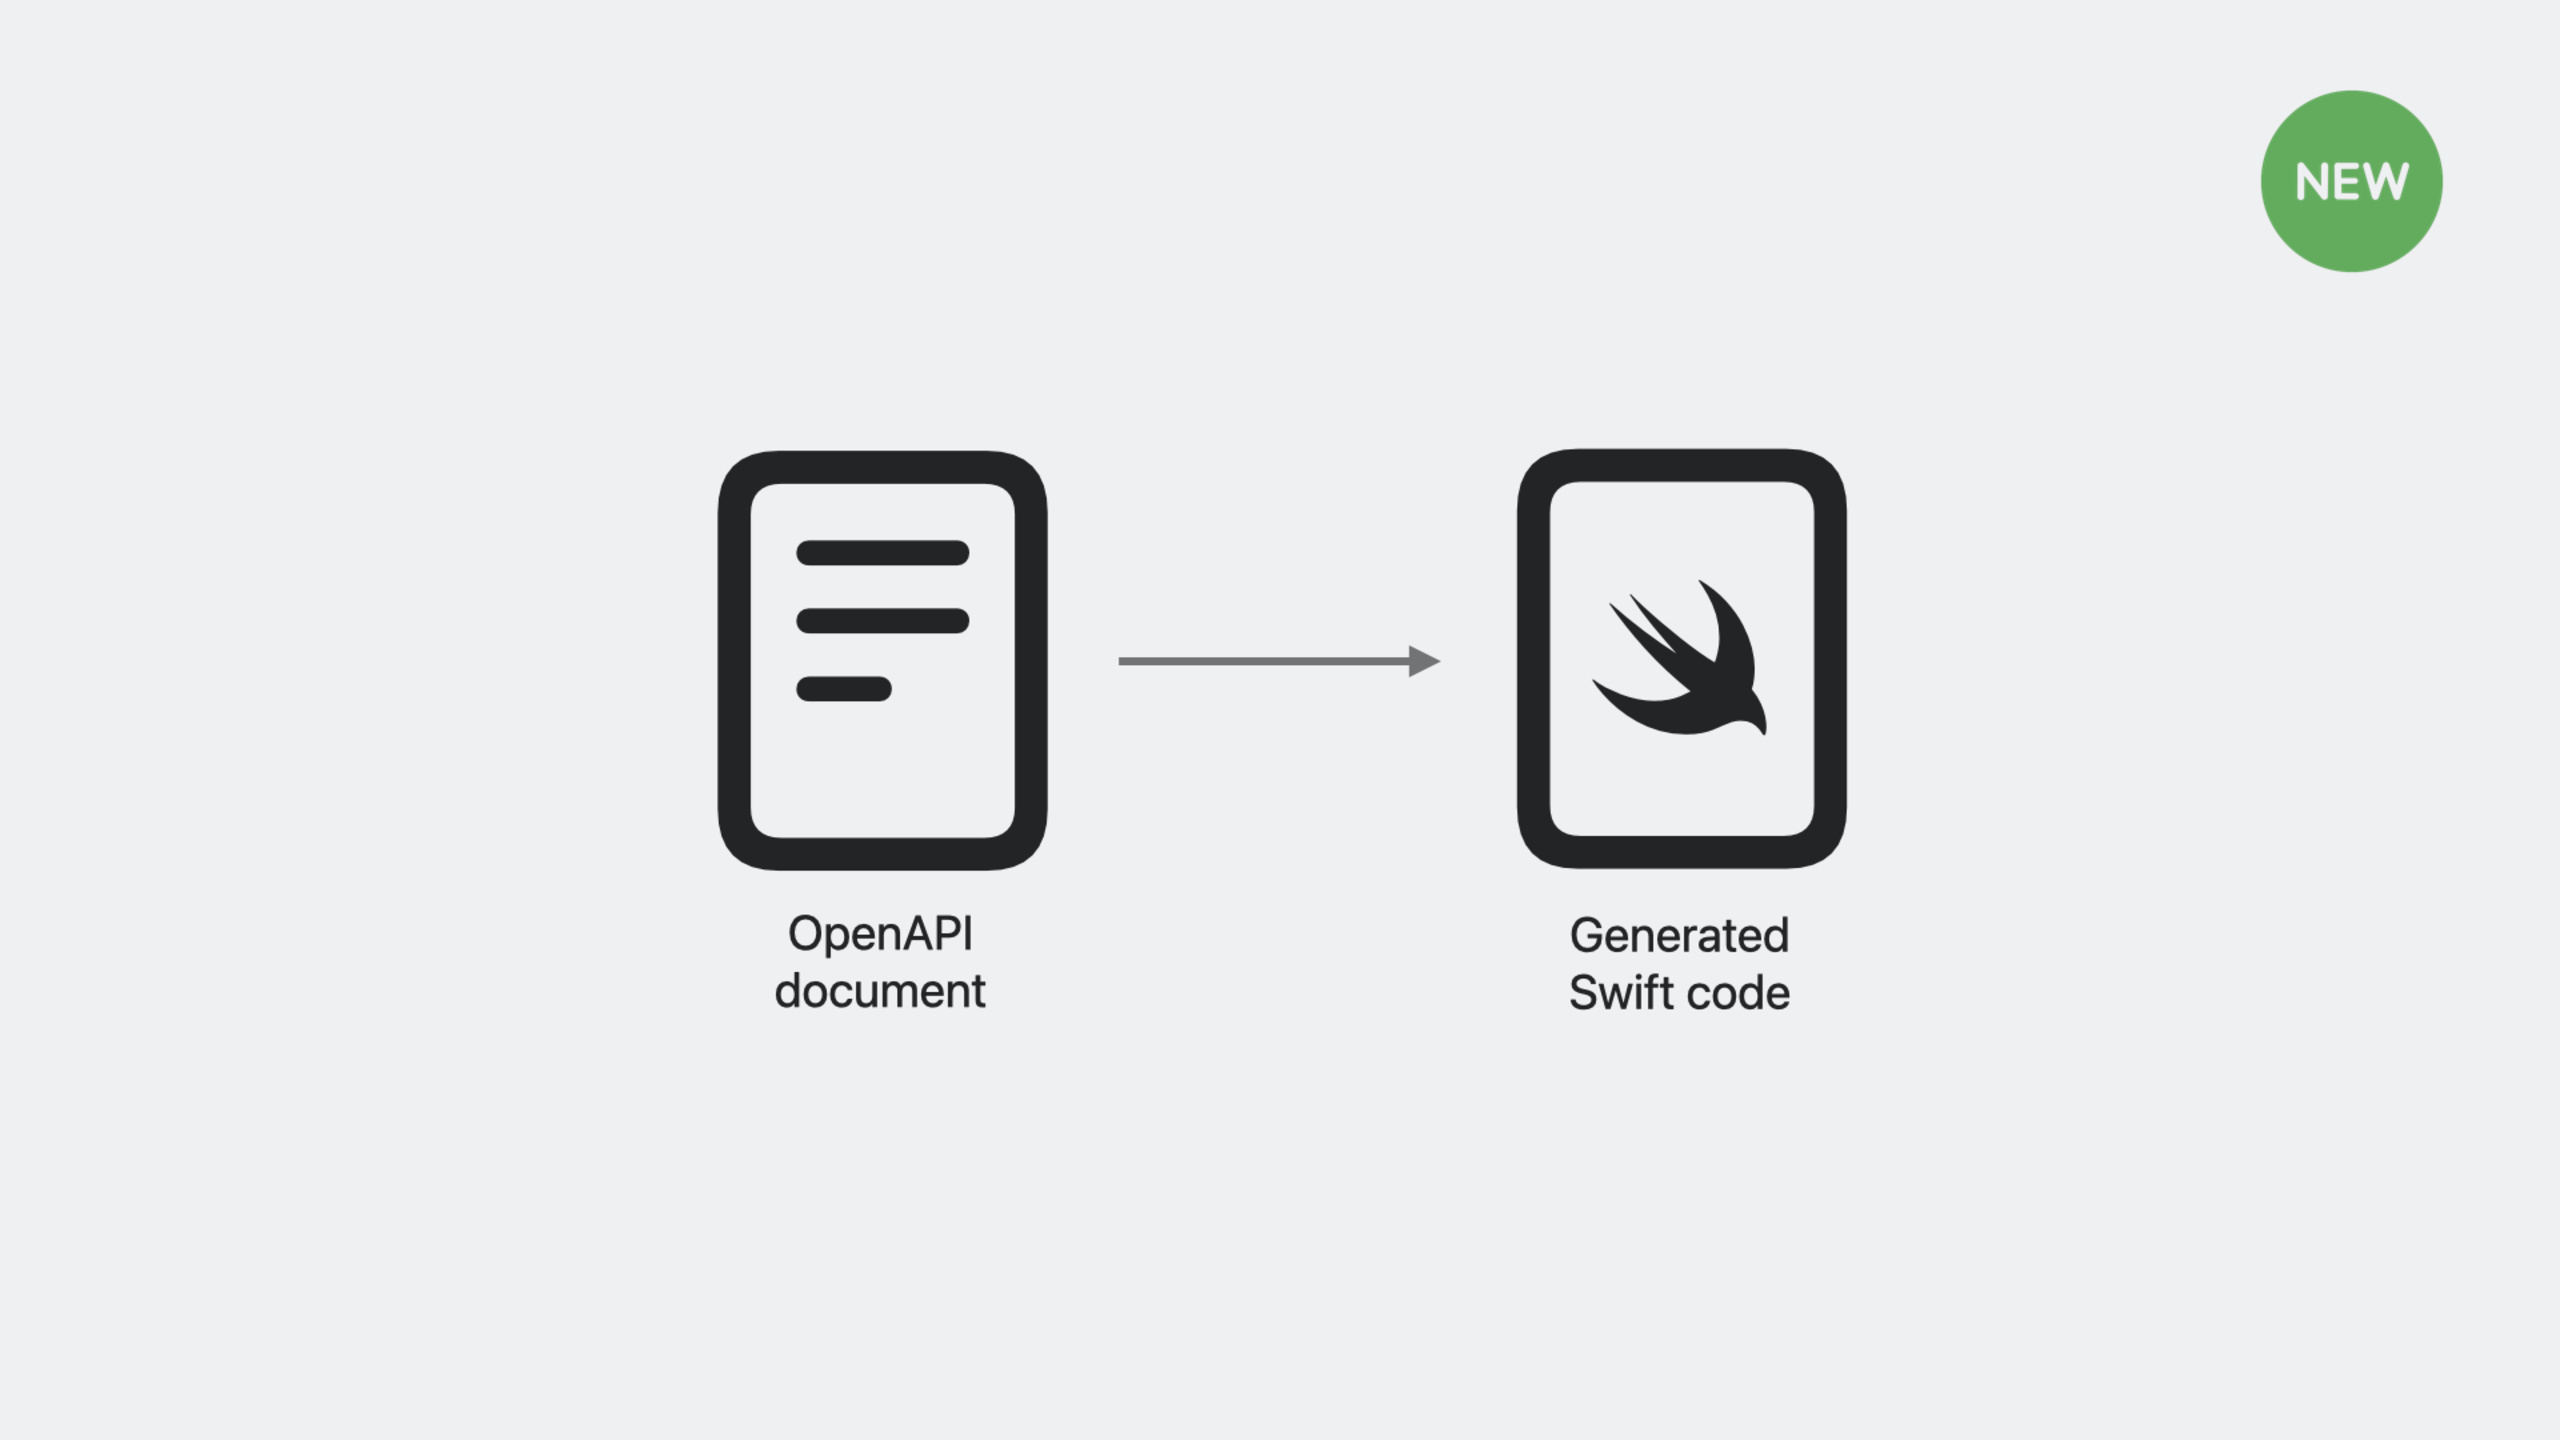
Swift OpenAPI Generator 是一个 Swift Package 插件,在构建时根据 OpenAPI 文档自动生成类型安全的客户端和服务端代码,消除手写网络请求样板代码,并确保代码与 API 文档始终保持同步。
核心内容
调用一个服务端 API 需要考虑很多事:base URL 是什么?路径怎么拼?HTTP 方法用 GET 还是 POST?参数放 query 还是 body?返回的数据结构是什么?
手写文档容易过时,看源码又费时费力。OpenAPI 用机器可读的 YAML 或 JSON 描述 API,成为服务端和客户端之间的单一事实来源。
(01:58)
手写 API 调用的痛点
一个最简单的 API 调用,手写代码需要这么多步骤:
// 1. 解析 base URL
var components = URLComponents(string: "http://localhost:8080/api")!
// 2. 添加路径
components.path = "/greet"
// 3. 添加 query 参数
components.queryItems = [URLQueryItem(name: "name", value: "World")]
// 4. 构造请求
let request = URLRequest(url: components.url!)
// 5. 发起请求
let (data, response) = try await URLSession.shared.data(for: request)
// 6. 验证响应
guard let httpResponse = response as? HTTPURLResponse,
      httpResponse.statusCode == 200 else {
    throw APIError.invalidResponse
}
// 7. 解码 JSON
struct Greeting: Decodable {
    let message: String
}
let greeting = try JSONDecoder().decode(Greeting.self, from: data)
// 8. 使用结果
print(greeting.message)
这只是一个最简单的 GET 请求。真实世界的 API 有上百个操作,各种请求头、认证、错误码、内容协商。手写这些代码重复、冗长、容易出错。
(02:55)
OpenAPI 文档
OpenAPI 文档描述 API 的完整契约:
openapi: "3.0.3"
info:
  title: "GreetingService"
  version: "1.0.0"
servers:
- url: "http://localhost:8080/api"
  description: "Production"
paths:
  /greet:
    get:
      operationId: "getGreeting"
      parameters:
      - name: "name"
        required: false
        in: "query"
        description: "Personalizes the greeting."
        schema:
          type: "string"
      responses:
        "200":
          description: "Returns a greeting"
          content:
            application/json:
              schema:
                $ref: "#/components/schemas/Greeting"
文档包含:OpenAPI 版本、API 元数据、服务器地址、路径和操作、参数定义、响应定义。一个文档就是 API 的完整规范。
(04:17)
生成的客户端代码
Swift OpenAPI Generator 在构建时读取 OpenAPI 文档,自动生成类型安全的 Swift 代码。使用生成的客户端:
import SwiftUI
import OpenAPIRuntime
import OpenAPIURLSession

struct ContentView: View {
    @State private var emoji = "🫥"

    var body: some View {
        VStack {
            Text(emoji).font(.system(size: 100))
            Button("Get cat!") {
                Task { try? await updateEmoji() }
            }
        }
        .padding()
        .buttonStyle(.borderedProminent)
    }

    let client: Client

    init() {
        self.client = Client(
            serverURL: try! Servers.server1(),
            transport: URLSessionTransport()
        )
    }

    func updateEmoji() async throws {
        let response = try await client.getEmoji(
            Operations.getEmoji.Input()
        )

        switch response {
        case let .ok(okResponse):
            switch okResponse.body {
            case .text(let text):
                emoji = text
            }
        case .undocumented(statusCode: let statusCode, _):
            print("cat-astrophe: \(statusCode)")
            emoji = "🙉"
        }
    }
}
关键点:
Client是生成的类型,包含所有 API 操作的方法Servers.server1()从 OpenAPI 文档的服务器定义生成Operations.getEmoji.Input()是类型安全的请求输入- 响应是枚举类型,
.ok和.undocumented覆盖文档中定义和未定义的响应 - 编译器强制你处理每种响应情况
(08:03)
详细内容
项目配置
在 Package.swift 中添加依赖:
// swift-tools-version: 5.8
import PackageDescription

let package = Package(
    name: "CatService",
    platforms: [.macOS(.v13)],
    dependencies: [
        .package(
            url: "https://github.com/apple/swift-openapi-generator",
            .upToNextMinor(from: "0.1.0")
        ),
        .package(
            url: "https://github.com/apple/swift-openapi-runtime",
            .upToNextMinor(from: "0.1.0")
        ),
        .package(
            url: "https://github.com/apple/swift-openapi-urlsession",
            .upToNextMinor(from: "0.1.0")
        ),
    ],
    targets: [
        .executableTarget(
            name: "CatService",
            dependencies: [
                .product(name: "OpenAPIRuntime", package: "swift-openapi-runtime"),
                .product(name: "OpenAPIURLSession", package: "swift-openapi-urlsession"),
            ],
            plugins: [
                .plugin(name: "OpenAPIGenerator", package: "swift-openapi-generator"),
            ]
        ),
    ]
)
关键点:
swift-openapi-generator是构建插件,在编译时生成代码swift-openapi-runtime提供运行时类型和协议swift-openapi-urlsession是 URLSession 传输层实现- 插件在
plugins中声明,构建时自动运行
(18:43)
生成配置
创建 openapi-generator-config.yaml 控制生成内容:
generate:
  - types
  - client
types 生成数据类型(请求输入、响应输出、模型结构体)。client 生成客户端代码。如果要实现服务端,换成 server。
(09:48)
带参数的 API 调用
OpenAPI 文档中定义的参数会自动生成类型安全的输入类型:
func updateEmoji(count: Int = 1) async throws {
    let response = try await client.getEmoji(
        Operations.getEmoji.Input(
            query: Operations.getEmoji.Input.Query(count: count)
        )
    )

    switch response {
    case let .ok(okResponse):
        switch okResponse.body {
        case .text(let text):
            emoji = text
        }
    case .undocumented(statusCode: let statusCode, _):
        print("cat-astrophe: \(statusCode)")
        emoji = "🙉"
    }
}
Operations.getEmoji.Input.Query(count: count) 是类型安全的 query 参数构造器。如果 OpenAPI 文档把 count 定义为 integer,这里传 String 会编译报错。
(13:24)
测试用的 Mock Client
生成的 APIProtocol 协议让 Mock 变得简单:
struct ContentView<C: APIProtocol>: View {
    @State private var emoji = "🫥"
    let client: C

    init(client: C) {
        self.client = client
    }

    init() where C == Client {
        self.client = Client(
            serverURL: try! Servers.server1(),
            transport: URLSessionTransport()
        )
    }

    func updateEmoji(count: Int = 1) async throws {
        let response = try await client.getEmoji(
            Operations.getEmoji.Input(
                query: Operations.getEmoji.Input.Query(count: count)
            )
        )
        // ...
    }
}

struct MockClient: APIProtocol {
    func getEmoji(_ input: Operations.getEmoji.Input) async throws -> Operations.getEmoji.Output {
        let count = input.query.count ?? 1
        let emojis = String(repeating: "🤖", count: count)
        return .ok(Operations.getEmoji.Output.Ok(
            body: .text(emojis)
        ))
    }
}
ContentView 用泛型参数 C: APIProtocol,生产环境用 Client,测试环境用 MockClient。SwiftUI 预览也可以直接注入 MockClient。
(15:06)
服务端实现
同样的 OpenAPI 文档也可以生成服务端代码。实现 APIProtocol 即可:
import Foundation
import OpenAPIRuntime
import OpenAPIVapor
import Vapor

struct Handler: APIProtocol {
    func getEmoji(_ input: Operations.getEmoji.Input) async throws -> Operations.getEmoji.Output {
        let candidates = "🐱😹😻🙀😿😽😸😺😾😼"
        let chosen = String(candidates.randomElement()!)
        let count = input.query.count ?? 1
        let emojis = String(repeating: chosen, count: count)
        return .ok(Operations.getEmoji.Output.Ok(body: .text(emojis)))
    }
}

@main
struct CatService {
    public static func main() throws {
        let app = Vapor.Application()
        let transport = VaporTransport(routesBuilder: app)
        let handler = Handler()
        try handler.registerHandlers(on: transport, serverURL: Servers.server1())
        try app.run()
    }
}
关键点:
Handler遵循APIProtocol,实现所有操作input.query.count是类型安全的参数访问- 返回
.ok(...)构造类型安全的响应 registerHandlers(on:serverURL:)自动注册所有路由
服务端配置把 generate 改成 server:
generate:
  - types
- server(16:58)
API 演进
当 API 增加新操作时,只需更新 OpenAPI 文档:
paths:
  /emoji:
    get:
      operationId: getEmoji
      # ...
  /clip:
    get:
      operationId: getClip
      responses:
        '200':
          description: "Returns a cat video!"
          content:
            video/mp4:
              schema:
                type: string
                format: binary
重新构建后,生成的代码自动包含新操作。服务端实现需要添加对应的方法:
struct Handler: APIProtocol {
    func getClip(_ input: Operations.getClip.Input) async throws -> Operations.getClip.Output {
        let clipResourceURL = Bundle.module.url(forResource: "cat", withExtension: "mp4")!
        let clipData = try Data(contentsOf: clipResourceURL)
        return .ok(Operations.getClip.Output.Ok(body: .binary(clipData)))
    }

    func getEmoji(_ input: Operations.getEmoji.Input) async throws -> Operations.getEmoji.Output {
        // ...
    }
}
编译器会强制你实现所有文档中定义的操作,不会遗漏。
(20:11)
核心启发
把现有手写网络层迁移到 OpenAPI 生成
如果你的项目有 REST API 调用层,把接口文档转成 OpenAPI YAML,用 Swift OpenAPI Generator 替换手写代码。一次迁移,长期受益——API 变更时只需改文档,重新构建即可。
入口:从现有的 API 文档或 Postman 集合导出 OpenAPI 文档,创建 openapi-generator-config.yaml 配置生成客户端代码。
为内部微服务建立统一的 API 契约
团队内部多个服务互相调用时,用 OpenAPI 文档作为契约。服务端和客户端从同一份文档生成代码,确保双方对 API 的理解一致。
入口:在 Git 仓库中维护 api.yaml,CI 构建时验证文档合法性并生成代码。
用 MockClient 做 UI 测试和预览
SwiftUI 预览和单元测试经常需要模拟网络响应。用 MockClient 实现 APIProtocol,返回固定数据,让预览和测试不依赖真实网络。
入口:为每个主要 View 创建对应的 MockClient 变体,在 #Preview 和测试用例中注入。
用 Vapor + OpenAPI 快速搭建后端
有 iOS 开发经验的团队可以用 Swift 写后端。Vapor + Swift OpenAPI Generator 让你专注于业务逻辑,路由注册、参数解析、响应构造都自动生成。
入口:创建 Vapor 项目,添加 swift-openapi-vapor 依赖,实现 APIProtocol 即可。
关联 Session
- Write Swift macros — 动手编写第一个 Swift 宏
- Expand on Swift macros — 深入理解宏的设计原则和更多角色类型
- Beyond the basics of structured concurrency — Swift 结构化并发的高级模式
- Swift concurrency: Behind the scenes — Swift 结构化并发的底层原理
评论
GitHub Issues · utterances