
Highlight
ScreenCaptureKit 是 Apple 推出的高性能 macOS 屏幕捕获框架,支持视频/音频捕获,具备 GPU 内存缓冲、硬件加速、灵活内容过滤等特性,用于屏幕共享、游戏直播、视频会议等场景。
核心内容
macOS 屏幕捕获领域一直没有统一的解决方案。开发者要么调用 CGDisplayCreateSnapshot() 截屏,要么用 AVFoundation 录屏。前者性能有限,后者功能过于复杂。更关键的是,这些方案都缺乏对”捕获什么内容”的精细控制——你不能轻松排除某个 App 窗口、不能只捕获显示器的一部分、不能同时处理音频。(00:30)
ScreenCaptureKit 填补了这个空白。它是专门为屏幕捕获设计的框架,四个核心对象覆盖整个流程:SCShareableContent 获取可捕获内容,SCContentFilter 定义要捕获什么,SCStreamConfiguration 配置输出参数,SCStream 执行捕获并交付数据。(02:15)
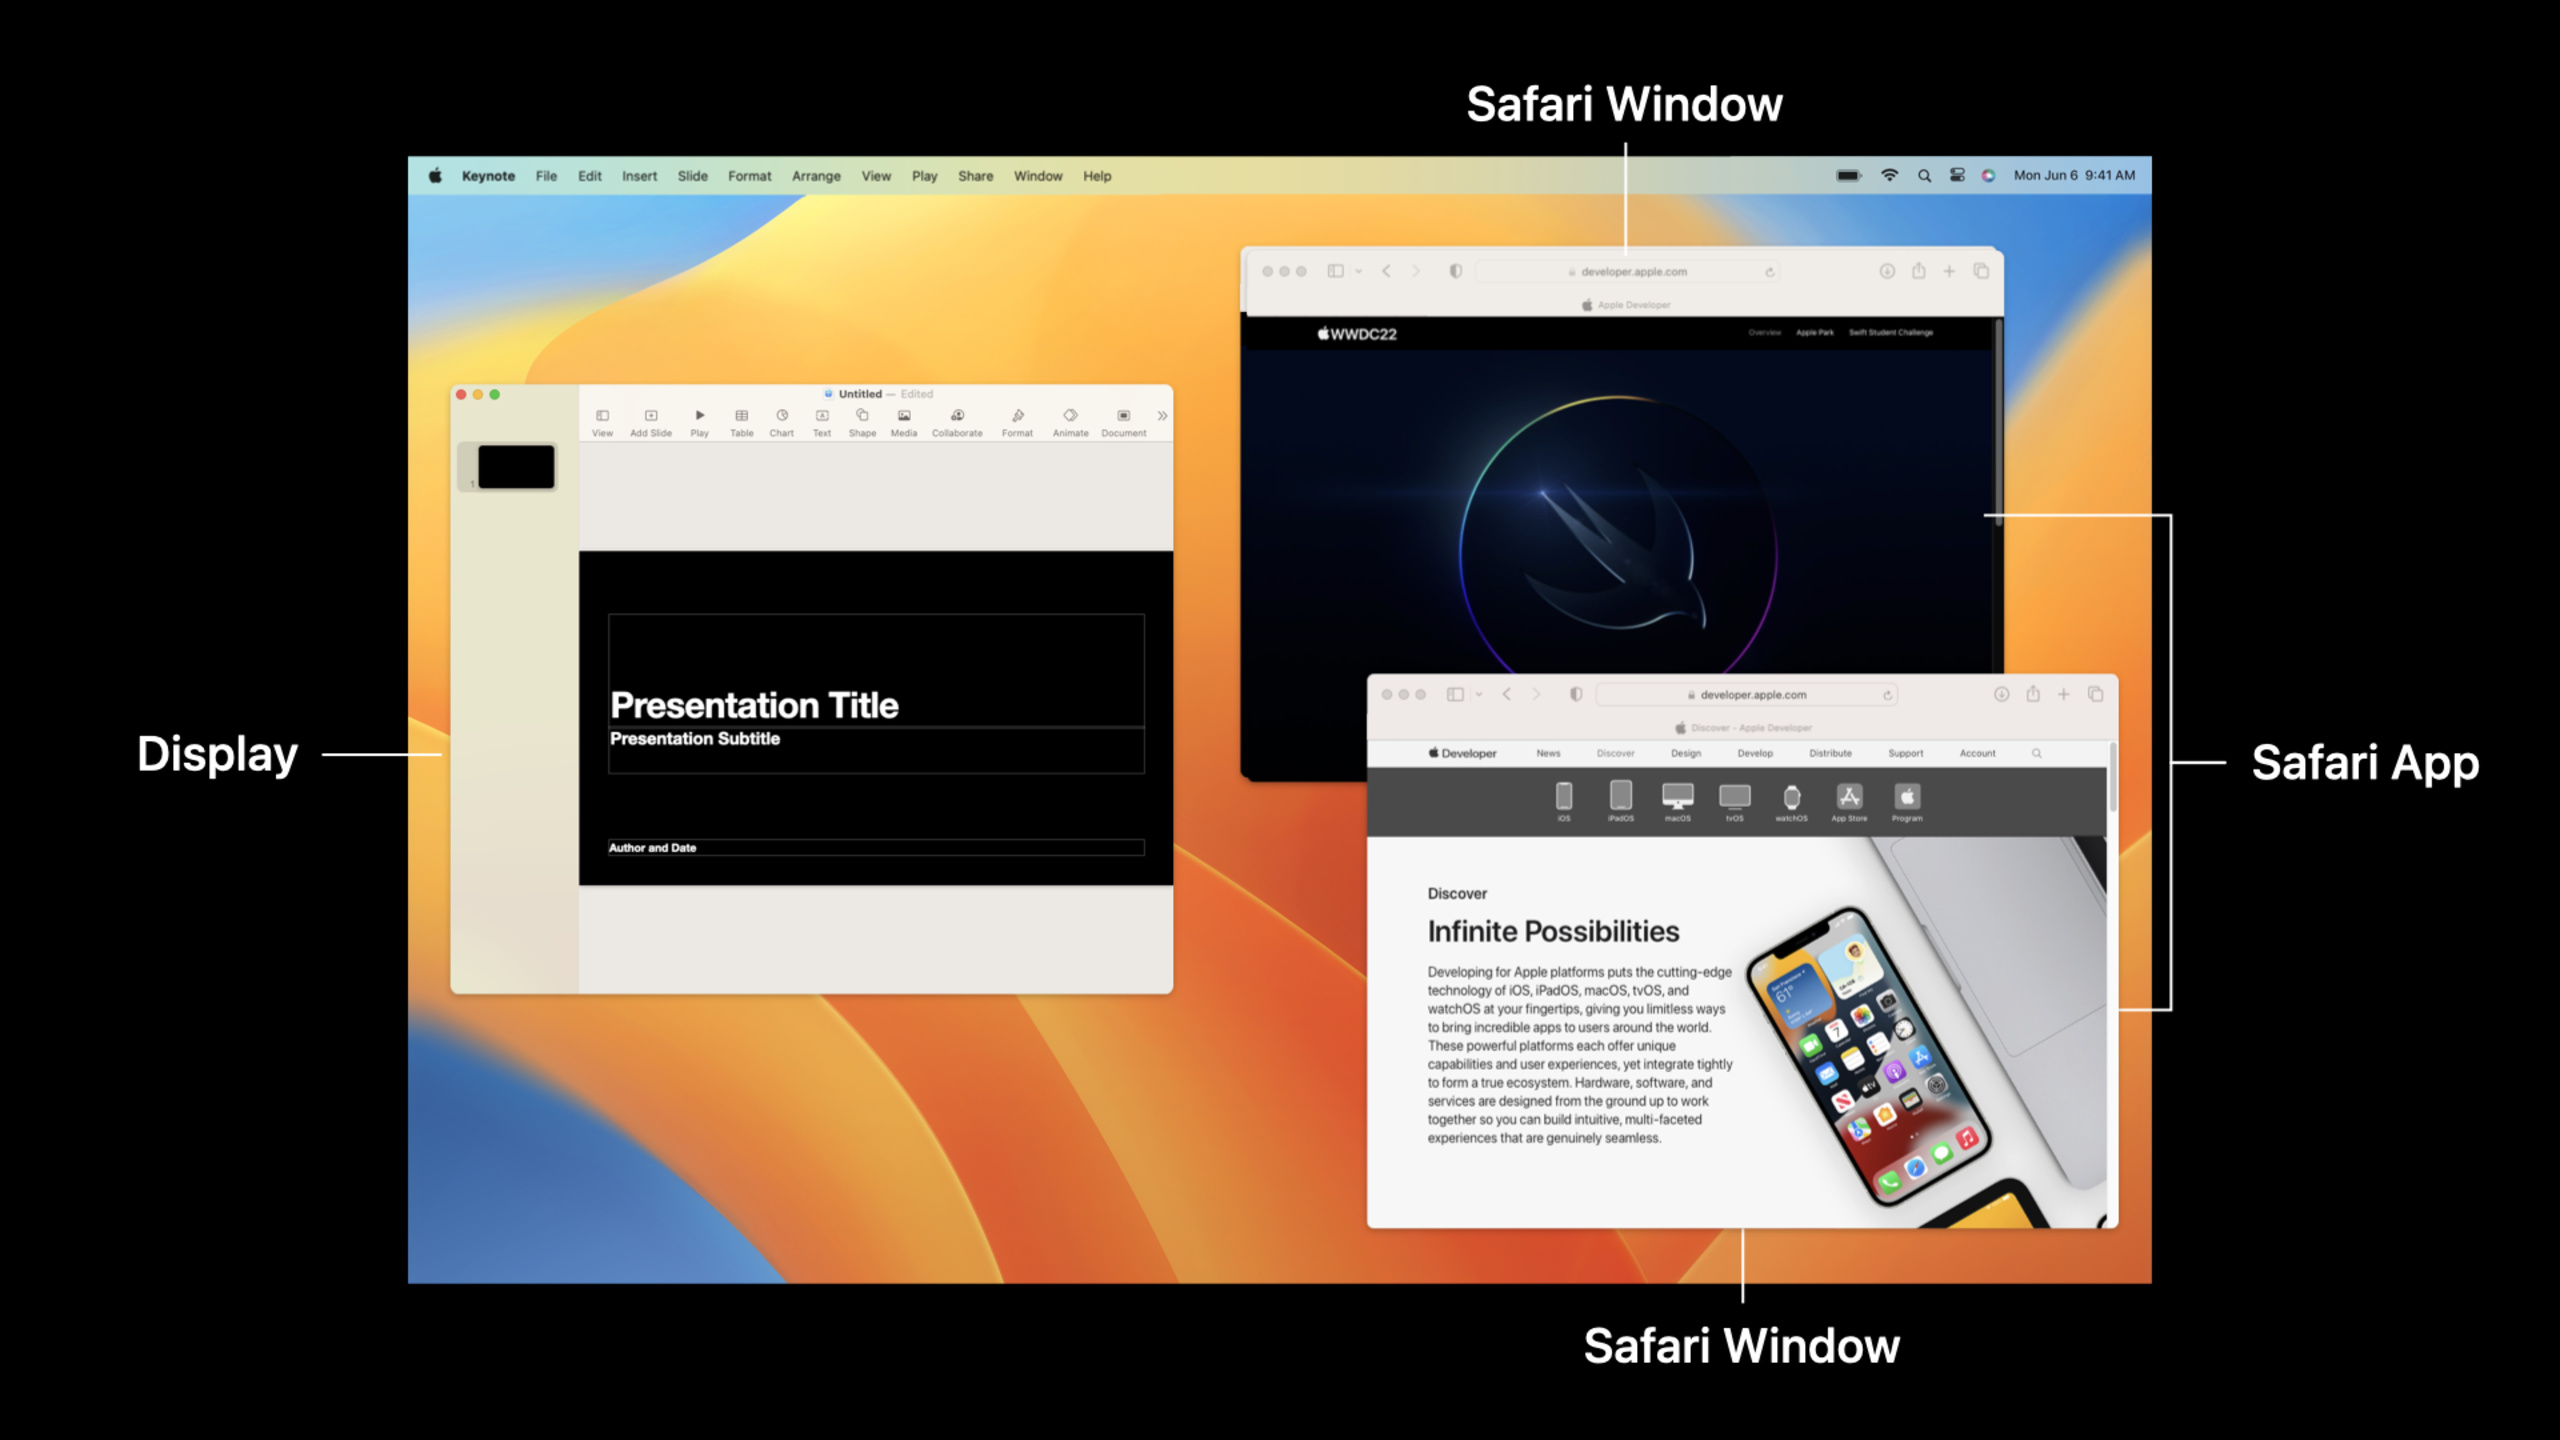
典型的应用场景是屏幕共享。用户在 Zoom 里点击”共享屏幕”,App 需要展示一个窗口选择器,排除 Zoom 自己的窗口(否则”无限镜像”),然后以合适分辨率和帧率捕获选定内容,同步处理系统音频。以前这需要组合多个 API,现在 ScreenCaptureKit 一套 API 全搞定。(04:40)
另一个场景是游戏直播。游戏开发者希望以 1080p 60fps 捕获游戏画面,同时避免捕获直播软件自己的 UI。ScreenCaptureKit 的内容过滤机制可以精确到”只包含这个窗口,排除其他一切”,并且输出分辨率与原始窗口解耦——游戏窗口 4K 也能输出 1080p 流。(08:10)
详细内容
获取可捕获内容
(06:53)第一步是获取系统当前有哪些显示器、哪些 App、哪些窗口可以被捕获。SCShareableContent.excludingDesktopWindows() 返回一个包含所有可捕获内容的对象:
// 获取可捕获内容
let content = try await SCShareableContent.excludingDesktopWindows(
    false,
    onScreenWindowsOnly: true
)
关键点:
excludingDesktopWindows: false表示包含桌面壁纸上的窗口onScreenWindowsOnly: true只返回可见窗口,最小化窗口会被排除content.applications是所有可捕获 App 的数组content.displays是所有显示器的数组- 这个调用需要用户授权”屏幕录制”权限
创建内容过滤器
(08:32)拿到所有可捕获内容后,下一步是定义”我要捕获什么”。SCContentFilter 支持三种模式:
按显示器过滤:捕获整个显示器或排除某些 App 窗口:
let excludedApps = content.applications.filter { app in
    Bundle.main.bundleIdentifier == app.bundleIdentifier
}

filter = SCContentFilter(display: display,
                         excludingApplications: excludedApps,
                         exceptingWindows: [])
关键点:
display: display捕获整个显示器excludingApplications排除指定 App 的所有窗口exceptingWindows可以进一步排除特定窗口- 这是屏幕共享软件的典型用法——排除自身窗口避免”无限镜像”
按单个窗口过滤:只捕获一个窗口,不受显示器边界限制。进阶 session(10155)会深入讨论这个模式。
按窗口列表过滤:同时捕获多个窗口,排除其他所有内容。适合多窗口协作场景。
配置流参数
(10:23)SCStreamConfiguration 控制输出格式:
let streamConfig = SCStreamConfiguration()

// 输出分辨率 1080p
streamConfig.width = 1920
streamConfig.height = 1080

// 60fps 捕获
streamConfig.minimumFrameInterval = CMTime(value: 1, timescale: CMTimeScale(60))

// 隐藏鼠标光标
streamConfig.showsCursor = false

// 启用音频捕获
streamConfig.capturesAudio = true

// 48kHz 立体声
streamConfig.sampleRate = 48000
streamConfig.channelCount = 2
关键点:
- 分辨率独立于原始内容尺寸,ScreenCaptureKit 会自动缩放
minimumFrameInterval控制帧率,不是固定帧率——系统根据内容变化动态调整- 音频捕获需要单独的用户授权
- 像素格式默认 BGRA,可通过
pixelFormat属性修改
启动捕获流
(11:46)配置完成后,创建 SCStream 并启动捕获:
// 创建捕获流
stream = SCStream(filter: filter, configuration: streamConfig, delegate: self)

// 启动捕获
try await stream?.startCapture()

// 错误处理 delegate
func stream(_ stream: SCStream, didStopWithError error: Error) {
    DispatchQueue.main.async {
        self.logger.error("Stream stopped with error: \(error.localizedDescription)")
        self.error = error
        self.isRecording = false
   }
}
关键点:
startCapture()是异步调用,需要 await- 必须提供 delegate 处理流错误和状态变化
- 常见错误包括用户撤销权限、系统资源不足、配置参数冲突
- 停止捕获调用
stream?.stopCapture()
接收媒体数据
(13:07)实现 SCStreamOutput 协议接收数据:
func stream(_ stream: SCStream, didOutputSampleBuffer sampleBuffer: CMSampleBuffer, of type: SCStreamOutputType) {
    switch type {
    case .screen:
        handleLatestScreenSample(sampleBuffer)
    case .audio:
        handleLatestAudioSample(sampleBuffer)
    }
}

// 添加输出
try stream?.addStreamOutput(self, type: .screen, sampleHandlerQueue: screenFrameOutputQueue)
try stream?.addStreamOutput(self, type: .audio, sampleHandlerQueue: audioFrameOutputQueue)
关键点:
SCStreamOutputType.screen和.audio分别对应视频和音频sampleHandlerQueue指定回调队列——建议使用专用串行队列,避免阻塞主线程CMSampleBuffer是 AVFoundation 标准类型,可以直接用于编码、推流、录制- 屏幕数据是 BGRA 像素格式,音频是 PCM 数据
核心启发
-
做什么:为你的 macOS App 添加屏幕共享功能。 为什么值得做:ScreenCaptureKit 是 Apple 推荐的屏幕捕获方案,性能优于传统 API,且能精确控制捕获内容。视频会议、远程协作、直播工具都依赖这个能力。 怎么开始:从
SCShareableContent.excludingDesktopWindows()获取可捕获内容,创建排除自身窗口的SCContentFilter,配置 1080p 30fps 输出,启动SCStream并在SCStreamOutput中处理数据。 -
做什么:构建游戏录制工具。 为什么值得做:游戏玩家需要录制高帧率画面。ScreenCaptureKit 支持独立于原始窗口的输出分辨率,游戏 4K 分辨率也能输出 1080p 60fps 流,减少编码压力。 怎么开始:按窗口模式创建
SCContentFilter.desktopIndependentWindow,配置minimumFrameInterval为 60fps,width/height设为 1080p,使用硬件编码器推流。 -
做什么:做多窗口协作白板。 为什么值得做:协作场景需要同时捕获多个窗口,但排除无关干扰。ScreenCaptureKit 的窗口列表过滤模式可以精确控制捕获内容。 怎么开始:用
SCContentFilter.init(independentWindows:)创建包含多个目标窗口的过滤器,音频捕获设置为 false(白板不需要声音),输出分辨率适配用户显示器。 -
做什么:做屏幕录制带教学标注的工具。 为什么值得做:ScreenCaptureKit 不仅捕获画面,还能提供每帧的 dirty rect(变化区域),用于智能编码和标注跟踪。进阶 session(10155)会详细讲解帧元数据的应用。 怎么开始:启动流后监听
SCStreamDelegate的didUpdateConfigurations回调,从配置变化中获取 dirty rect 信息。
关联 Session
- Take ScreenCaptureKit to the next level — discover how you can support complex screen capture experiences for people using your app with screencapturekit. we’ll explore many of the advanced options you can incorporate including fine tuning content filters, frame metadata interpretation, window pickers, and more.
- Create camera extensions with Core Media IO — discover how you can use core media io to easily create macos system extensions for software cameras, hardware cameras, and creative cameras.
- Create a more responsive media app — discover how you can use avfoundation to keep people focused on your media app’s content — not your loading spinner.
- What’s new in AVCapture — discover the latest enhancements to avcapture and how they can help you build better camera experiences in your apps.
- Advances in ProRes and other codecs — learn about the latest updates to prores and other video codecs on apple platforms.
评论
GitHub Issues · utterances