
Highlight
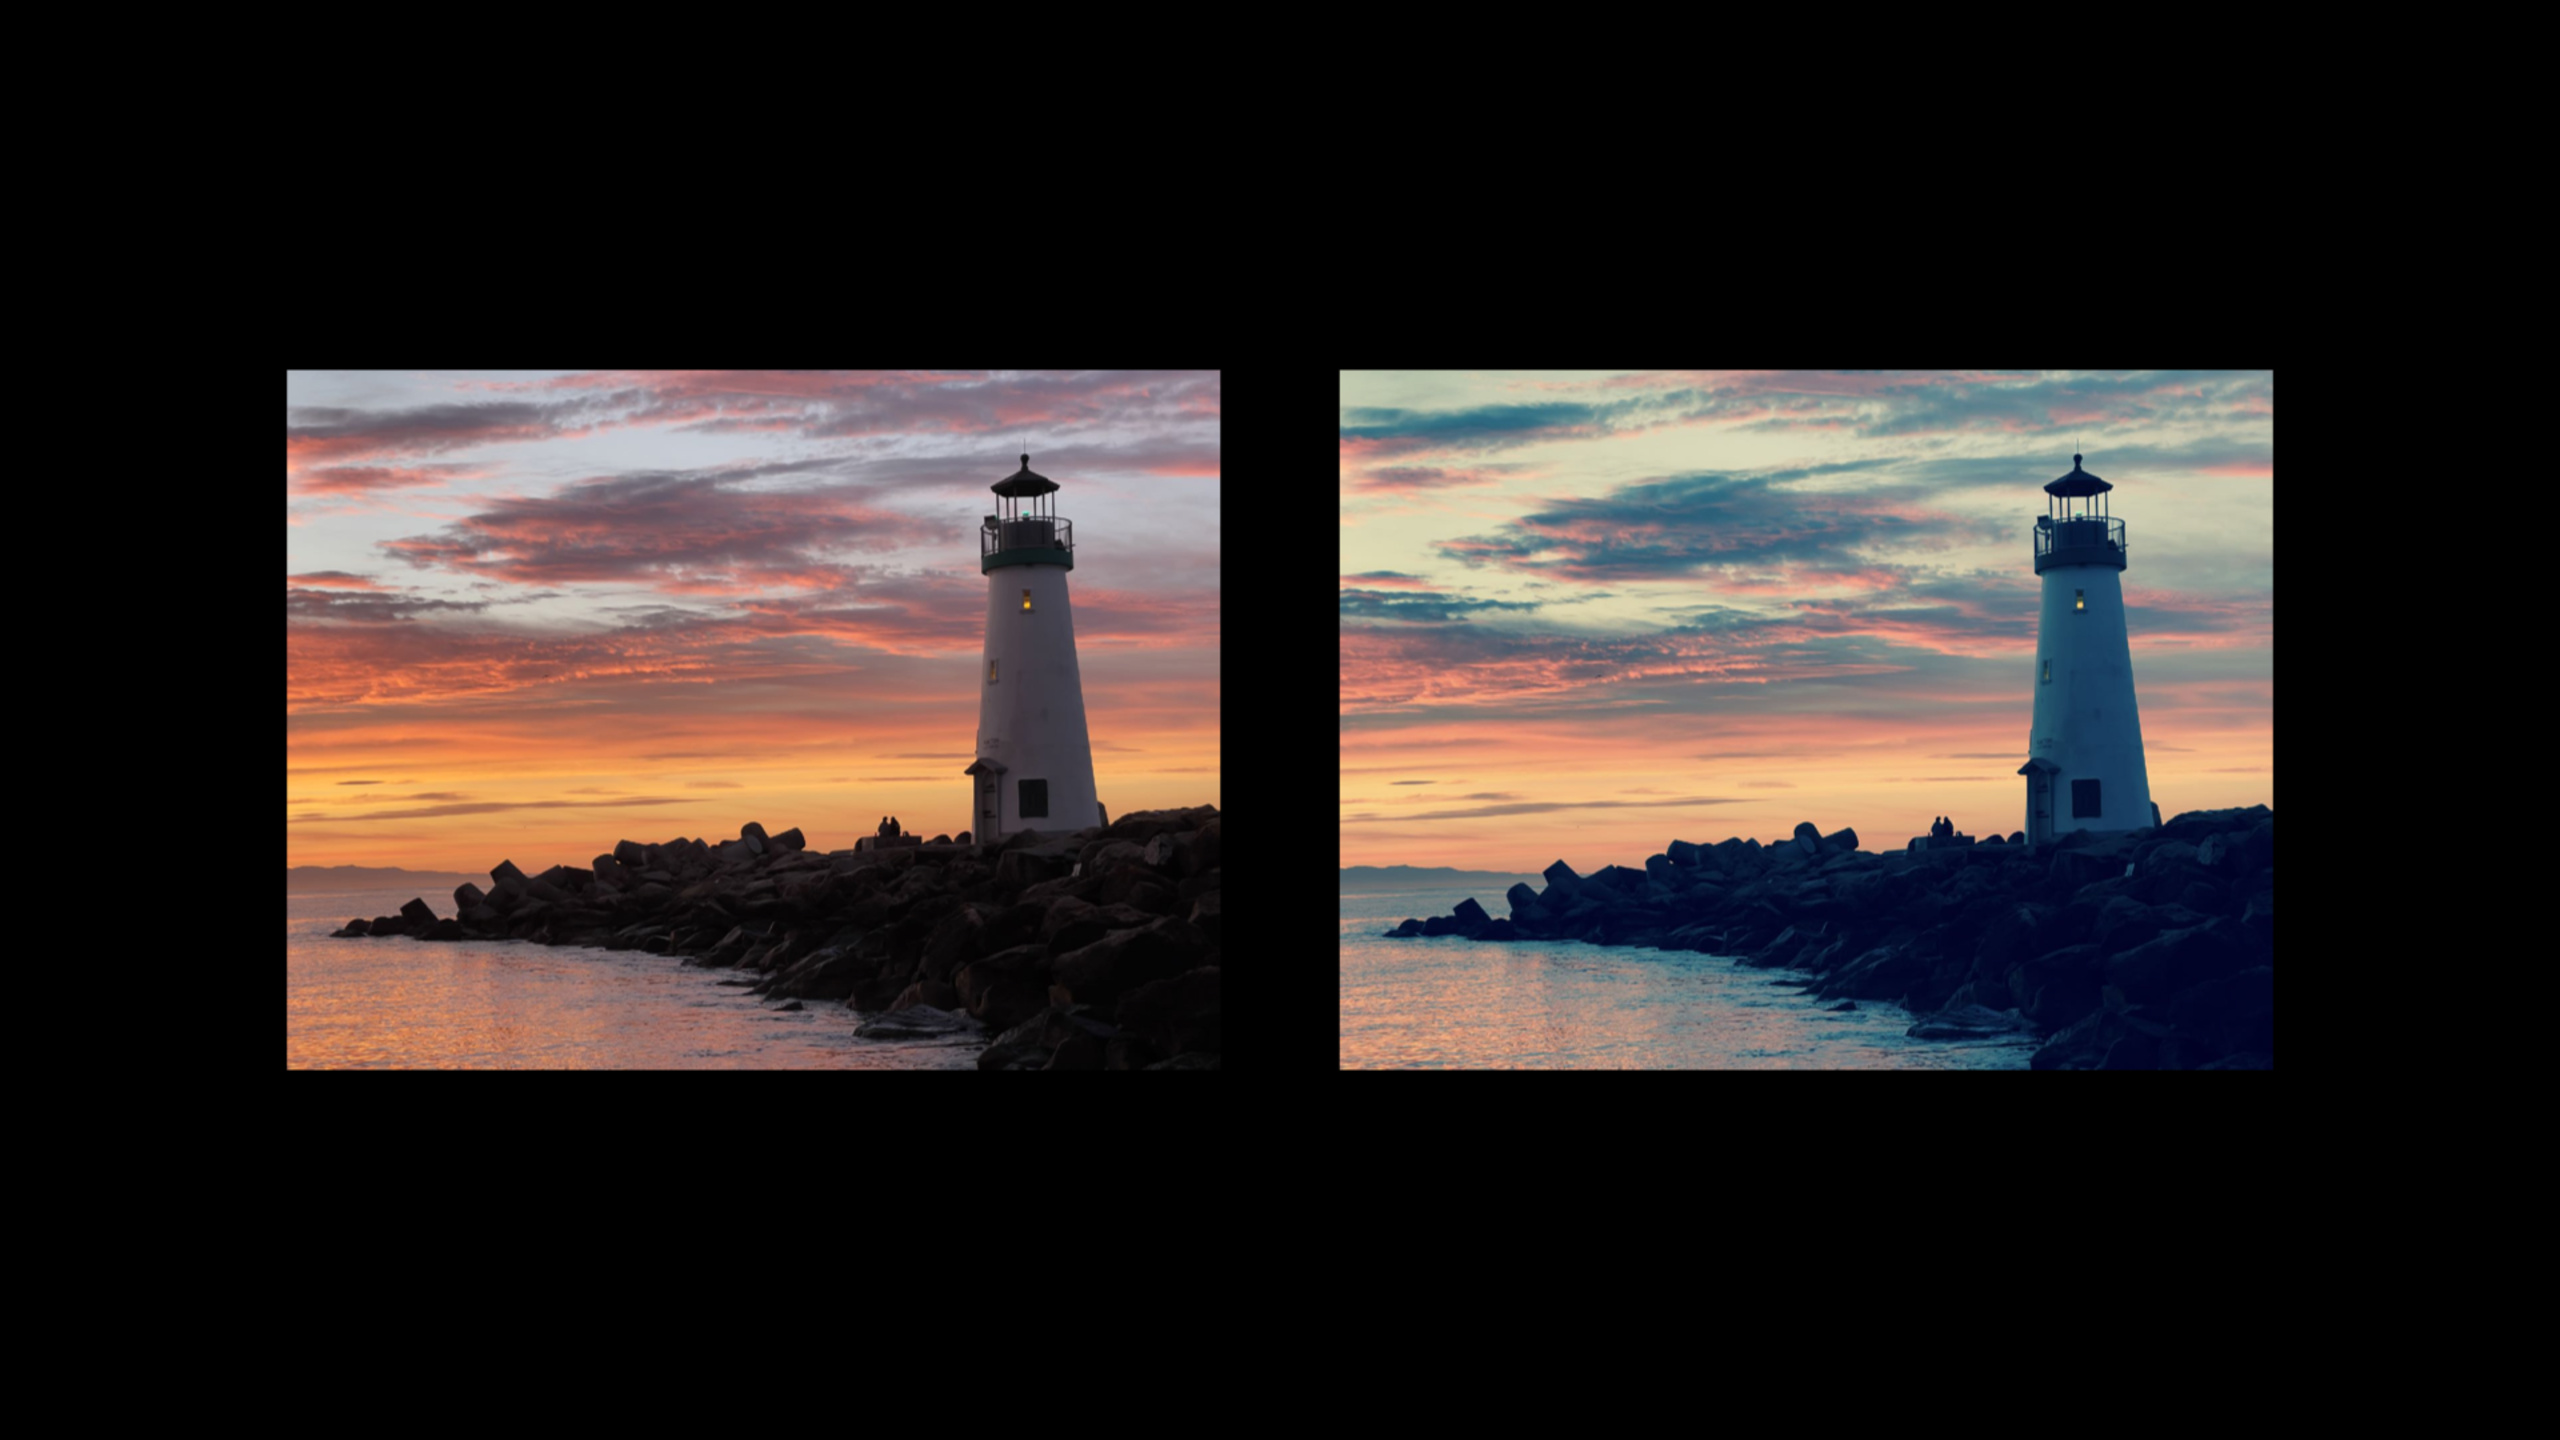
Core Image 团队的 David Hayward 系统讲解了 EDR(Extended Dynamic Range)在 Core Image 中的使用。EDR 允许像素值超过标准的 0-1 范围,用大于 1 的值表示比 SDR 白更亮的像素,前提是不超过 display headroom。
核心内容
很多图像 App 已经能拿到 HDR 数据。TIFF、OpenEXR、HDR 视频帧、Metal 渲染结果、ProRAW DNG 都可能包含超过 SDR 白色的亮度值。问题常出在显示链路:Core Image 生成了浮点像素,最后的 View 却仍按 SDR 管线显示,超过 1 的高光被裁掉。
这场 session 给出的是一条完整的 SwiftUI 路径。它先用 ViewRepresentable 包装 MTKView,让 SwiftUI App 拥有一个 Metal 渲染目标;再用 Renderer 在每一帧把 CIImage 渲染到 CIRenderDestination;最后把 EDR 所需的 layer、像素格式、色彩空间和 headroom 接入这条管线(03:39)。
EDR 的关键规则很短:SDR 白色仍是 1,黑色仍是 0,超过 1 的值表示更亮的像素;超过当前 display headroom 的值会被裁剪。headroom 会随显示器、环境光、屏幕亮度变化,所以渲染代码不能把它当常量缓存(00:47)。
Apple 把落地步骤压缩成三步:初始化 View 让它支持 EDR;每次渲染前读取当前 headroom;让 ContentView 的 imageProvider 用这个 headroom 生成 CIImage(08:50)。
详细内容
用 MTKView 承接 Core Image 渲染
(05:17)示例 App 的第一层是 MetalView。它是 SwiftUI View,但内部创建的是 MTKView。
struct MetalView: ViewRepresentable {

    @StateObject var renderer: Renderer

    func makeView(context: Context) -> MTKView {
        let view = MTKView(frame: .zero, device: renderer.device)

        view.delegate = renderer

        // Suggest to Core Animation, through MetalKit, how often to redraw the view.
        view.preferredFramesPerSecond = 30

        // Allow Core Image to render to the view using Metal's compute pipeline.
        view.framebufferOnly = false

       return view
    }
关键点:
ViewRepresentable把平台 View 接进 SwiftUI;macOS 下是NSView,其他平台是UIView。renderer是@StateObject,负责持有 Metal command queue 和 Core Image context。view.delegate = renderer让Renderer接收draw()调用。preferredFramesPerSecond = 30让动画类 App 由MTKView周期性触发绘制。framebufferOnly = false允许 Core Image 通过 Metal compute pipeline 渲染到这个 View。
如果是图像编辑器,session 建议改用 enableSetNeedsDisplay。这样滑块、按钮或视频帧到达时再触发一次绘制,避免无意义的周期性刷新(06:18)。
Renderer 每帧创建 CIRenderDestination
(07:12)Renderer 的 draw(in:) 做三件事:确定当前显示比例、创建 Core Image 的渲染目标、向 imageProvider 要一张当前时间点的 CIImage。
func draw(in view: MTKView) {
  if let commandBuffer = commandQueue.makeCommandBuffer(),
     let drawable = view.currentDrawable {
      // Calculate content scale factor so CI can render at Retina resolution.
  #if os(macOS)
      var contentScale = view.convertToBacking(CGSize(width: 1.0, height: 1.0)).width
  #else
      var contentScale = view.contentScaleFactor
  #endif

      let destination = CIRenderDestination(width: Int(view.drawableSize.width),
                          height: Int(view.drawableSize.height),
                          pixelFormat: view.colorPixelFormat,
                          commandBuffer: commandBuffer,
                          mtlTextureProvider: { () -> MTLTexture in
                                   return drawable.texture
                          })

      let time = CFTimeInterval(CFAbsoluteTimeGetCurrent() - self.startTime)

      // Create a displayable image for the current time.
      var image = self.imageProvider(time, contentScaleFactor)

      image = image.transformed(by: CGAffineTransform(translationX: shiftX, y: shiftY))
      image = image.composited(over: self.opaqueBackground)

      _ = try? self.cicontext.startTask(toRender: image, from: backBounds,
                                             to: destination, at: CGPoint.zero)
关键点:
makeCommandBuffer()创建本帧的 Metal 命令缓冲区。view.currentDrawable提供最终显示用的 texture。- macOS 用
convertToBacking计算点到像素的比例;iOS 和 iPadOS 用contentScaleFactor。 CIRenderDestination把 Core Image 输出连接到drawable.texture。imageProvider按时间和比例生成这一帧要显示的CIImage。startTask(toRender:)让 Core Image 把结果渲染到 Metal 目标。
这里每帧都计算 content scale,因为 View 可能被拖到另一块显示器,CIImage 又是按像素度量的(07:12)。
打开 EDR:layer、像素格式、色彩空间
(09:17)给 MTKView 增加 EDR 支持时,第一步发生在 makeView()。
if let caMtlLayer = view.layer as? CAMetalLayer  {
    caMtlLayer.wantsExtendedDynamicRangeContent = true
    view.colorPixelFormat = MTLPixelFormat.rgba16Float
    view.colorspace = CGColorSpace(name: CGColorSpace.extendedLinearDisplayP3)
}
关键点:
wantsExtendedDynamicRangeContent = true告诉CAMetalLayer这个 layer 想显示 EDR 内容。.rgba16Float使用 16-bit 浮点像素格式,能表达超过 1 的颜色值。extendedLinearDisplayP3使用扩展、线性的 Display P3 色彩空间。- 这段代码只初始化显示目标,还没有决定每个像素有多亮。
这一步解决的是容器能力。没有它,后面的 Core Image 内容即使用了超过 1 的值,也无法按 EDR 路径显示。
每次 draw 前读取 headroom
(09:35)第二步发生在 Renderer.draw()。渲染前要从当前屏幕读取 headroom,然后传给内容生成逻辑。
let screen = view.window?.screen;
#if os(macOS)
     let headroom = screen?.maximumExtendedDynamicRangeColorComponentValue ?? 1.0
#else
     let headroom = screen?.currentEDRHeadroom ?? 1.0
#endif
     var image = self.imageProvider(time, contentScaleFactor, headroom)
关键点:
view.window?.screen找到这个 View 当前所在的屏幕。- macOS 使用
maximumExtendedDynamicRangeColorComponentValue。 - iOS 和 iPadOS 使用
currentEDRHeadroom。 - 读取失败时回退到
1.0,相当于只使用 SDR 范围。 headroom被传入imageProvider,让图像生成代码按当前显示能力控制高光。
session 明确强调,headroom 是动态属性。环境光、屏幕亮度、显示器变化都会影响它,所以应在每次 draw() 中读取(09:49)。
用 CIFilter 生成 EDR 高光
(12:42)App 支持 EDR 后,示例给 checkerboard 加了一个 ripple transition,并用 shadingImage 做明亮的镜面高光。
let ripple = CIFilter.rippleTransition()
ripple.inputImage = image
ripple.targetImage = image
ripple.center = CGPoint(x: 512.0, y: 384.0)
ripple.time = Float(fmod(time*0.25, 1.0))
ripple.shadingImage = shading
image = ripple.outputImage
关键点:
CIFilter.rippleTransition()创建 ripple transition 滤镜。inputImage和targetImage都指向当前 checker image,效果用于同一张图上的波纹变化。center设置波纹中心。time用当前动画时间驱动过渡进度。shadingImage提供镜面高光图。outputImage是叠加波纹和高光后的 Core Image 输出。
高光图来自另一个 Core Image 滤镜(13:34)。这里开始真正使用 headroom。
let gradient = CIFilter.linearGradient()
let w = min( headroom, 8.0 )
gradient.color0 = CIColor(red: w, green: w, blue: w,
                          colorSpace: CGColorSpace(name: CGColorSpace.extendedLinearSRGB)!)!
gradient.color1 = CIColor.clear
gradient.point0 = CGPoint(x: sin(angle)*90.0 + 100.0, y: cos(angle)*90.0 + 100.0)
gradient.point1 = CGPoint(x: sin(angle)*85.0 + 100.0, y: cos(angle)*85.0 + 100.0)
let shading = gradient.outputImage?.cropped(to: CGRect(x: 0, y: 0, width: 200, height: 200))
关键点:
linearGradient()用两个点和两种颜色生成过程化图像,不需要 bitmap 数据。min(headroom, 8.0)把白色亮度限制在当前 headroom 和示例选择的最大值之间。CIColor(red: w, green: w, blue: w, ...)让 RGB 分量可以大于 1。extendedLinearSRGB提供未钳制的线性色彩空间。color1 = .clear让高光从亮白过渡到透明。cropped(to:)把无限 extent 的渐变裁成 ripple filter 需要的尺寸。
Core Image 内置超过 150 个滤镜支持 EDR。session 提到的例子包括 CIColorControls、CIExposureAdjust、gradient filters、CIAreaLogarithmicHistogram 和 CIColorCube 系列(10:46)。
让 SDR color cube 处理 EDR 输入
(16:13)传统 color cube 数据通常只覆盖 0 到 1。WWDC 2022 给 CIColorCubeWithColorSpace 增加了 extrapolate,让已有 SDR cube data 可以用于 EDR 输入。
let f = CIFilter.colorCubeWithColorSpace()
f.cubeDimension = 32
f.cubeData = sdrData
f.extrapolate = true
f.inputImage = edrImage
let edrResult = f.outputImage
关键点:
colorCubeWithColorSpace()创建带色彩空间的 color cube 滤镜。cubeDimension = 32设置 cube 尺寸。cubeData = sdrData继续使用原有 SDR look 数据。extrapolate = true允许滤镜把 SDR cube data 外推到 EDR 输入。inputImage = edrImage传入包含超过 1 亮度值的图像。outputImage保留 EDR 输出能力。
如果要获得更适合 EDR 的结果,session 还提到另一条路径:使用 HLG 或 PQ 这样的 EDR 色彩空间制作新的 cube data,并可能增加 cube 维度(15:32)。
自定义 CIKernel 的边界
(16:25)自定义 CIKernel 迁移到 EDR 时,先检查 RGB 数学。代码里如果用 clamp、min、max 把 RGB 限在 0 到 1,很多情况下可以移除这些限制。
Alpha 要保留在 0 到 1。session 给出的反例是 kernel 不小心把 alpha 也乘以 5。正确做法是只放大 RGB,不放大 alpha;否则混合或显示时会出现未定义行为(16:50)。
核心启发
-
做一个 EDR 高光检查器:加载 ProRAW、OpenEXR 或 HDR 视频帧,叠加显示超过 1 的区域。值得做的原因是 EDR 高光很容易在 SDR 预览中被忽略。可以从
CIImage输入开始,用 Core Image 滤镜生成 false-color overlay,再在MTKView中按 headroom 渲染。 -
做一个可调强度的镜面高光滤镜:把 session 中的
linearGradient()和rippleTransition()改成可交互效果。用户拖动滑块时更新高光方向、大小和上限。实现入口是enableSetNeedsDisplay、imageProvider和CIColor(red: w, green: w, blue: w, colorSpace:)。 -
给图片编辑器增加 EDR look 预览:复用现有 SDR color cube,并把
extrapolate打开,先让旧 look 能处理 EDR 输入。之后再为 HLG 或 PQ 制作新的 cube data。实现入口是CIFilter.colorCubeWithColorSpace()、cubeData、extrapolate和inputImage。 -
做一个 headroom 调试 HUD:在渲染画面角落显示当前屏幕的 headroom,并记录它随亮度、环境光、外接显示器变化的曲线。实现入口是
currentEDRHeadroom、maximumExtendedDynamicRangeColorComponentValue和每帧draw(in:)中的读取逻辑。
关联 Session
- Explore EDR on iOS — 解释 iOS 和 iPadOS 上的 EDR、headroom、tone mapping 与 Reference Mode。
- Display HDR video in EDR with AVFoundation and Metal — 展示如何用 AVFoundation 和 Metal 构建 HDR 视频的 EDR 播放链路。
- Discover Metal 3 — 介绍 Metal 3 的渲染、性能和工具更新,是理解 MTKView 渲染管线的背景资料。
- What’s new in SwiftUI — 总览 SwiftUI 2022 更新,补充这场 session 中多平台 SwiftUI App 结构的上下文。
评论
GitHub Issues · utterances