
Highlight
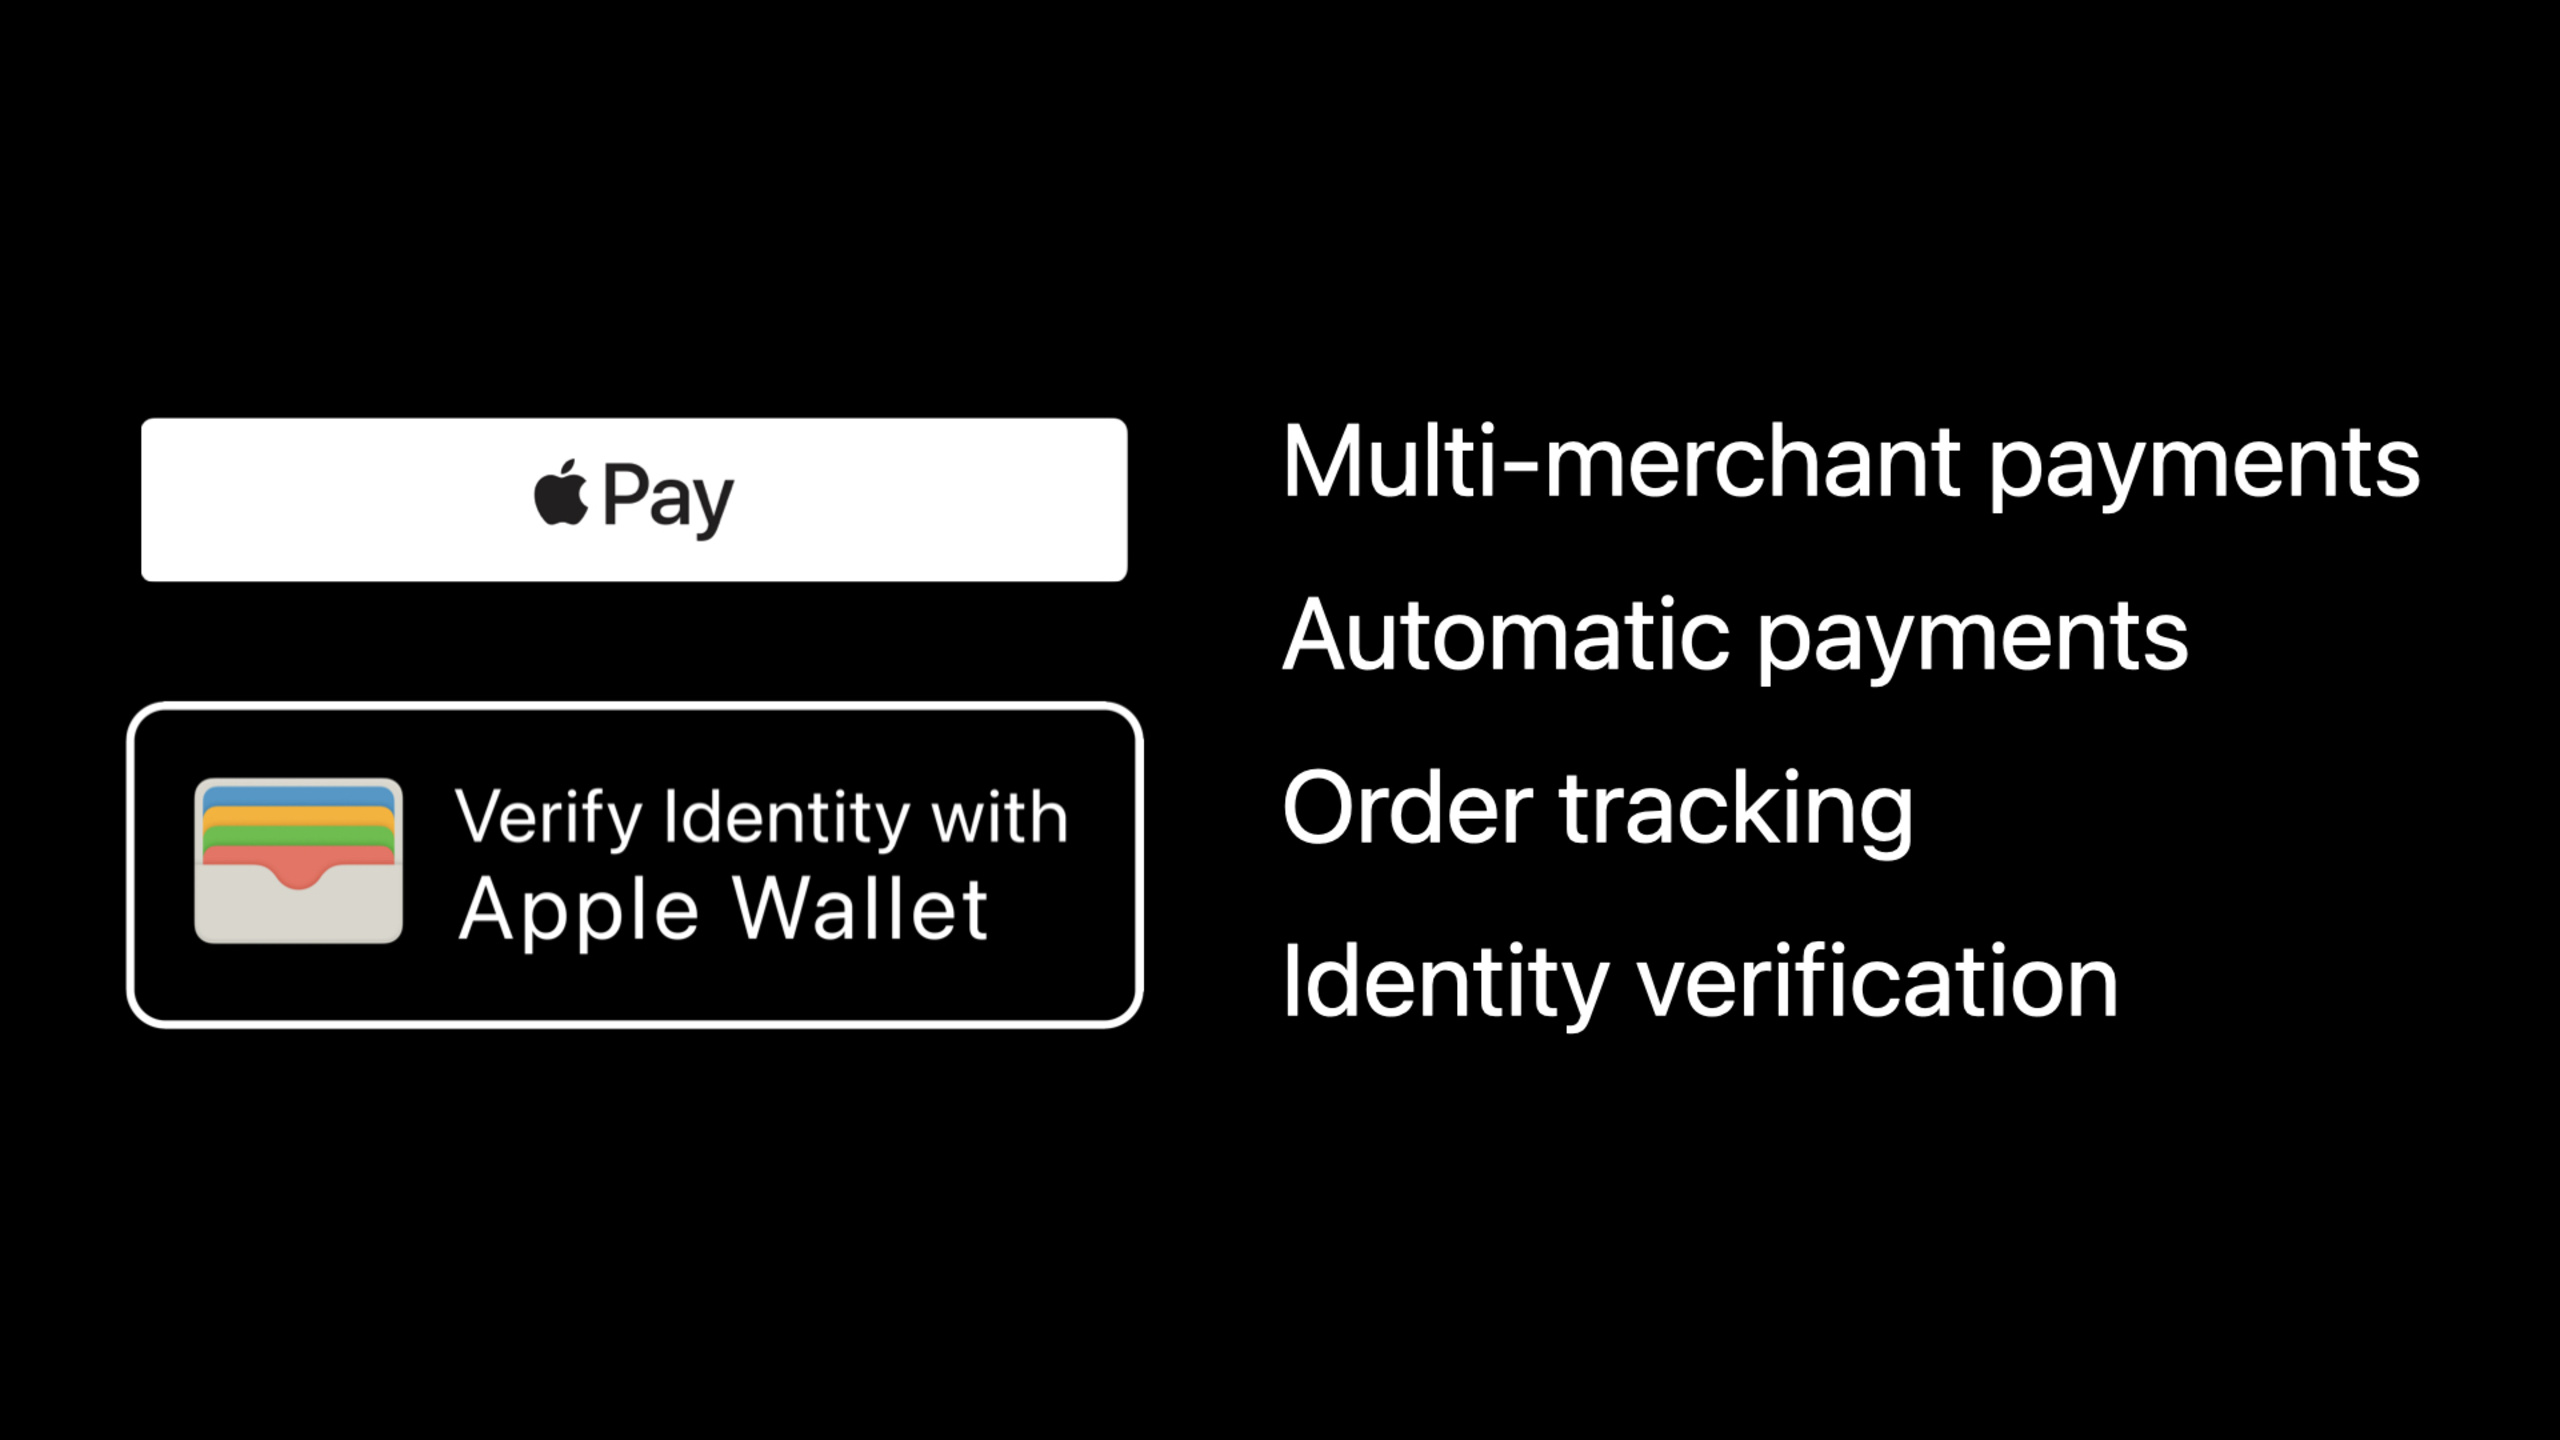
iOS 16 为 Wallet 和 Apple Pay 新增 SwiftUI 按钮、多商户支付、自动扣款、订单追踪和 Wallet 身份验证 API,让 App 可以把支付授权、订单状态和身份数据请求接入同一套 PassKit 流程。
核心内容
一次支付通常不是一个孤立动作。
旅行平台要把一笔订单拆给航空公司、酒店和租车公司。订阅服务要在用户换手机后继续扣款。电商要在付款后把发货、取货和售后状态同步给用户。需要年龄验证的 App 还要避免收集完整生日、证件号和照片。
这一场 session 把这些场景放在 Wallet 和 Apple Pay 的同一条链路里讲。Apple 在 iOS 16 里补上了五类能力:SwiftUI 原生按钮、多商户支付、自动扣款、Wallet 订单追踪,以及从 Wallet 中的 ID 请求身份数据。
第一个变化很小,但影响日常开发。Add to Apple Wallet、Pay with Apple Pay、Verify Identity with Wallet 都有 SwiftUI 入口。按钮负责展示系统一致的外观,开发者只需要提供请求对象和回调。
第二个变化面向复杂交易。多商户支付允许一次 Apple Pay 授权生成多个 payment token。用户看到总价和商户拆分,商户拿到各自的 token,不需要互相传递完整卡号。
第三个变化面向长期扣款。Apple Pay merchant token 绑定 Apple ID,而不是绑定发起支付的设备。用户升级或重置 iPhone 后,符合条件的商户仍然可以按用户授权继续扣款。
第四个变化把付款后的订单放进 Wallet。商户返回订单详情后,设备会到商户服务器异步拉取 order package。订单更新时,服务器再通知已注册的设备重新拉取。
第五个变化是身份验证。App 可以请求 Wallet 中 ID 的指定字段,也可以只请求“是否年满 18 岁”这种布尔结果。用户在系统 sheet 中审核请求,批准后 App 拿到加密响应,再交给服务器解密和验证。
详细内容
SwiftUI 里的 Wallet 和 Apple Pay 按钮
(02:39)以前在 SwiftUI 里放 Wallet 按钮,常见做法是桥接 UIKit 控件,自己处理可用性、样式和回调。iOS 16 提供 AddPassToWalletButton,传入 pass 数组和完成回调即可。
@State var addedToWallet: Bool

@ViewBuilder private var airlineButton: some View {
    if let pass = createAirlinePass() {
        AddPassToWalletButton([pass]) { added in
            addedToWallet = added
        }
        .frame(width: 250, height: 50)
        .addPassToWalletButtonStyle(.blackOutline)
    } else {
        // Fallback
    }
}
关键点:
@State var addedToWallet保存用户是否完成添加,后续可以用于更新界面或记录状态。createAirlinePass()可能失败;逐字稿提到 pass 数据格式错误或签名错误时要处理失败路径。AddPassToWalletButton([pass])接收 pass 数组,示例只有一个元素,也可以放多个 pass。- 闭包里的
added是系统返回的布尔结果。 .frame(width: 250, height: 50)使用 session 中展示的默认尺寸。.addPassToWalletButtonStyle(.blackOutline)设置按钮样式。else分支是 fallback,避免 pass 无法创建时界面没有出口。
(03:40)支付按钮也有 SwiftUI 版本。先准备 PKPaymentRequest,再把授权状态变化交给 onPaymentAuthorizationChange 处理。
// Create a payment request
let paymentRequest = PKPaymentRequest()
// ...

// Create a payment authorization change method
func authorizationChange(phase: PayWithApplePayButtonPaymentAuthorizationPhase) { ... }

PayWithApplePayButton(
    .plain,
    request: paymentRequest,
    onPaymentAuthorizationChange: authorizationChange
) {
    // Fallback
}
.frame(width: 250, height: 50)
.payWithApplePayButtonStyle(.automatic)
关键点:
PKPaymentRequest()仍然是支付配置的核心对象。authorizationChange接收PayWithApplePayButtonPaymentAuthorizationPhase,用于处理授权流程中的状态变化。PayWithApplePayButton(.plain, request: ...)把按钮文案、支付请求和授权回调放在一起。- fallback 闭包用于当前设备不支持 Apple Pay 的情况。
.payWithApplePayButtonStyle(.automatic)让系统选择合适样式。- 逐字稿提到 Pay 按钮有 17 种 label,并支持 iOS、iPadOS、macOS 和 watchOS。
一笔交易生成多个商户 token
(04:38)多商户支付解决的是市场、旅行、票务这类聚合交易。用户只看到一笔总价,但实际收款方有多个。过去平台可能把完整信用卡信息传给各个商户,这对隐私和安全都不好。
(06:34)iOS 16 的做法是为每个额外商户创建 PKPaymentTokenContext,再挂到同一个 PKPaymentRequest 上。
// Create a payment request
let paymentRequest = PKPaymentRequest()
// ...

// Set total amount
paymentRequest.paymentSummaryItems = [
    PKPaymentSummaryItem(label: "Total", amount: 500)
]

// Create a multi token context for each additional merchant in the payment
let multiTokenContexts = [
    PKPaymentTokenContext(
        merchantIdentifier: "com.example.air-travel",
        externalIdentifier: "com.example.air-travel",
        merchantName: "Air Travel",
        merchantDomain: "air-travel.example.com",
        amount: 150
    ),
    PKPaymentTokenContext(
        merchantIdentifier: "com.example.hotel",
        externalIdentifier: "com.example.hotel",
        merchantName: "Hotel",
        merchantDomain: "hotel.example.com",
        amount: 300
    ),
    PKPaymentTokenContext(
        merchantIdentifier: "com.example.car-rental",
        externalIdentifier: "com.example.car-rental",
        merchantName: "Car Rental",
        merchantDomain: "car-rental.example.com",
        amount: 50
    )
]
paymentRequest.multiTokenContexts = multiTokenContexts
关键点:
paymentSummaryItems先设置用户要授权的总额,这里是 500。- 每个
PKPaymentTokenContext描述一个额外商户。 merchantIdentifier是商户标识。externalIdentifier对同一个商户应保持稳定;逐字稿明确要求同一商户每次请求 token 使用相同值。merchantName和merchantDomain用于展示商户信息。amount是该商户要授权的金额。paymentRequest.multiTokenContexts把这些上下文加入支付请求。- 所有 token context 的金额之和必须小于或等于支付请求总额。
自动扣款:订阅和自动充值
(07:36)自动扣款的核心问题是长期授权。普通 payment token 和设备相关。用户换 iPhone 或重置设备后,商户的后续扣款可能中断。iOS 16 引入 Apple Pay merchant token。如果支付网络支持,它绑定用户的 Apple ID,可以给持续扣款更稳定的授权依据。
(10:14)订阅、分期、周期账单使用 PKRecurringPaymentRequest。示例先创建试用期和正式账期,再把 recurring request 放进 PKPaymentRequest。
// Specify the amount and billing periods
let regularBilling = PKRecurringPaymentSummaryItem(label: "Membership", amount: 20)

let trialBilling = PKRecurringPaymentSummaryItem(label: "Trial Membership", amount: 10)

let trialEndDate = Calendar.current.date(byAdding: .month, value: 1, to: Date.now)
trialBilling.endDate = trialEndDate
regularBilling.startDate = trialEndDate

// Create a recurring payment request
let recurringPaymentRequest = PKRecurringPaymentRequest(
    paymentDescription: "Book Club Membership",
    regularBilling: regularBilling,
    managementURL: URL(string: "https://www.example.com/managementURL")!
)
recurringPaymentRequest.trialBilling = trialBilling

recurringPaymentRequest.billingAgreement = """
50% off for the first month. You will be charged $20 every month after that until you cancel. \ You may cancel at any time to avoid future charges. To cancel, go to your Account and click \ Cancel Membership.
"""

recurringPaymentRequest.tokenNotificationURL = URL(
    string: "https://www.example.com/tokenNotificationURL"
)!

// Update the payment request
let paymentRequest = PKPaymentRequest()
// ...
paymentRequest.recurringPaymentRequest = recurringPaymentRequest

// Include in the summary items
let total = PKRecurringPaymentSummaryItem(label: "Book Club", amount: 10)
total.endDate = trialEndDate
paymentRequest.paymentSummaryItems = [trialBilling, regularBilling, total]
关键点:
PKRecurringPaymentSummaryItem描述周期账单的展示项。trialBilling.endDate标记试用期结束时间。regularBilling.startDate标记正式扣款开始时间。PKRecurringPaymentRequest接收付款描述、正式账期和管理页面 URL。managementURL应指向用户可以更新或删除付款方式的页面。trialBilling是可选试用账期。billingAgreement用短文本说明扣款条款;逐字稿提到支付 sheet 只显示前 500 个字符。tokenNotificationURL让服务器接收 merchant token 生命周期通知,例如 token 被发卡行或用户删除。paymentRequest.recurringPaymentRequest把自动扣款请求加入支付请求。- recurring payment 不会自动加入 summary items,需要开发者手动加入。
total应展示用户第一次会被扣的金额,这里是试用期金额 10。
(12:39)自动充值适合储值卡和预付余额。余额低于阈值时,系统按固定金额充值。
// Specify the reload amount and threshold
let automaticReloadBilling = PKAutomaticReloadPaymentSummaryItem(
    label: "Coffee Shop Reload",
    amount: 25
)
reloadItem.thresholdAmount = 5

// Create an automatic reload payment request
let automaticReloadPaymentRequest = PKAutomaticReloadPaymentRequest(
    paymentDescription: "Coffee Shop",
    automaticReloadBilling: automaticReloadBilling,
    managementURL: URL(string: "https://www.example.com/managementURL")!
)

automaticReloadPaymentRequest.billingAgreement = """
Coffee Shop will add $25.00 to your card immediately, and will automatically reload your \
card with $25.00 whenever the balance falls below $5.00. You may cancel at any time to avoid \ future charges. To cancel, go to your Account and click Cancel Reload.
"""

automaticReloadPaymentRequest.tokenNotificationURL = URL(
    string: "https://www.example.com/tokenNotificationURL"
)!

// Update the payment request
let paymentRequest = PKPaymentRequest()
// ...
paymentRequest.automaticReloadPaymentRequest = automaticReloadPaymentRequest

// Include in the summary items
let total = PKAutomaticReloadPaymentSummaryItem(
    label: "Coffee Shop",
    amount: 25
)
total.thresholdAmount = 5
paymentRequest.paymentSummaryItems = [total]
关键点:
PKAutomaticReloadPaymentSummaryItem描述自动充值金额。thresholdAmount是触发充值的余额阈值。PKAutomaticReloadPaymentRequest接收付款描述、自动充值项和管理页面 URL。billingAgreement说明立即充值金额、触发阈值和取消方式。tokenNotificationURL和 recurring payment 一样用于 merchant token 生命周期通知。paymentRequest.automaticReloadPaymentRequest表示这笔支付要建立自动充值授权。- summary items 仍然需要手动设置。
- 逐字稿还说明:一次交易只能请求一种自动扣款类型,自动扣款不能和多商户支付一起使用。
Wallet 订单追踪
(15:14)付款后,用户最关心的是订单状态。iOS 16 的 Wallet order tracking 可以展示 active、recently completed 和 past orders,也可以显示配送、取货窗口、条形码、商户联系方式和跳回 App 的入口。
(17:08)集成前,开发者要在账号里创建 Order Type ID 和证书。订单以 order package 分发,包里包含订单元数据、图片、本地化资源,并且必须加密签名后再压缩分发。
(19:17)在 App 内使用 Apple Pay 时,服务器处理支付成功后返回订单详情。客户端把这些详情放进 PKPaymentAuthorizationResult.orderDetails。
func onAuthorizationChange(phase: PayWithApplePayButtonPaymentAuthorizationPhase) {
    switch phase {
    // ...
    case .didAuthorize(let payment, let resultHandler):
        server.createOrder(with: payment) { serverResult in
            guard case .success(let orderDetails) = serverResult else { /* handle error */ }
            let result = PKPaymentAuthorizationResult(status: .success, errors: nil)
            result.orderDetails = PKPaymentOrderDetails(
                orderTypeIdentifier: orderDetails.orderTypeIdentifier,
                orderIdentifier: orderDetails.orderIdentifier,
                webServiceURL: orderDetails.webServiceURL,
                authenticationToken: orderDetails.authenticationToken,
            )
            resultHandler(result)
        }
    }
}
关键点:
onAuthorizationChange处理 Apple Pay 授权状态变化。.didAuthorize阶段拿到payment和resultHandler。server.createOrder(with: payment)把支付信息交给服务器处理。guard case .success(let orderDetails)确认服务器创建订单成功。PKPaymentAuthorizationResult(status: .success, errors: nil)表示支付授权成功。PKPaymentOrderDetails包含 Order Type ID、Order ID、服务器 URL 和认证 token。authenticationToken是设备后续请求订单包时使用的共享 secret。result.orderDetails是 iOS 16 的新入口。resultHandler(result)完成授权结果回传。
(20:13)网页也可以在完成支付时传入 order details。
paymentRequest.show().then((response) => {
    server.createOrder(response).then((orderDetails) => {
        let details = { };
        if (response.methodName === "https://apple.com/apple-pay") {
            details.data = {
                orderDetails: {
                    orderTypeIdentifier: orderDetails.orderTypeIdentifier,
                    orderIdentifier: orderDetails.orderIdentifier,
                    webServiceURL: orderDetails.webServiceURL,
                    authenticationToken: orderDetails.authenticationToken,
                },
            };
        }
        response.complete("success", details);
    });
});
关键点:
paymentRequest.show()展示 Web Payment Request 流程。server.createOrder(response)在服务端创建订单。details是完成支付时返回给浏览器的数据。response.methodName === "https://apple.com/apple-pay"确认当前支付方式是 Apple Pay。details.data.orderDetails的四个字段对应 App 里的PKPaymentOrderDetails。response.complete("success", details)完成支付,并把订单详情交给系统。
订单更新也走商户服务器。order package 声明支持 automatic updates 后,设备会注册更新。商户更新订单时,用注册信息通知设备;设备收到通知后再次请求最新 order package。逐字稿强调,订单信息直接在设备和商户服务器之间交换,iCloud 同步的订单信息端到端加密。
从 Wallet 中的 ID 请求身份数据
(23:10)iOS 16 允许 App 和 App Clip 从 Wallet 中的 driver’s license 或 State ID 请求信息。这个 API 的目标是减少敏感数据收集。比如年龄验证不需要完整生日,只需要请求 age(atLeast:) 的布尔结果。
(27:05)SwiftUI 使用 VerifyIdentityWithWalletButton 启动流程。不可用时提供 fallback,例如用户没有把 ID 加入 Wallet。
@ViewBuilder var verifiyIdentityButton: some View {
    VerifyIdentityWithWalletButton(
        .verifyIdentity,
        request: createRequest(),
    ) { result in
        // ...
    } fallback: {
        // verify identity another way
    }
}
关键点:
VerifyIdentityWithWalletButton是 SwiftUI 入口。.verifyIdentity是按钮 label 类型之一。request: createRequest()提供PKIdentityRequest。- result 闭包接收用户批准或取消后的结果。
- fallback 闭包用于身份验证不可用的场景。
(27:18)请求对象由 descriptor、merchant identifier 和 nonce 组成。descriptor 指定要请求的数据元素,也指定是否会存储这些元素。
func createRequest() -> PKIdentityRequest {
    let descriptor = PKIdentityDriversLicenseDescriptor()
    descriptor.addElements([.age(atLeast: 18)],
                            intentToStore: .willNotStore)
    descriptor.addElements([.givenName, .familyName, .portrait],
                            intentToStore: .mayStore(days: 30))

    let request = PKIdentityRequest()
    request.descriptor = descriptor
    request.merchantIdentifier = // configured in Developer account
    request.nonce = // bound to user session
}
关键点:
PKIdentityDriversLicenseDescriptor()描述要从证件中请求哪些数据。- 第一组
addElements请求“是否至少 18 岁”,并声明不会存储。 - 第二组
addElements请求 given name、family name 和 portrait,并声明最多可能存储 30 天。 PKIdentityRequest()是传给按钮的请求对象。request.descriptor绑定数据请求描述。merchantIdentifier指向开发者账号中配置的 merchant ID 和加密证书。nonce绑定当前用户会话,用于防止响应重放;逐字稿建议通常由服务器生成和验证。
(29:37)用户批准后,App 收到 PKIdentityDocument,应把它发给服务器解密和验证。常见失败原因是用户取消。
@ViewBuilder var verifiyIdentityButton: some View {
    VerifyIdentityWithWalletButton(
        .verifyIdentity,
        request: createRequest(),
    ) { result in
        switch result {
        case .success(let document):
            // send document to server for decryption and verification
        case .failure(let error):
            switch error {
            case PKIdentityError.cancelled:
                // handle cancellation
            default:
                // handle other errors
            }
        }
    } fallback: {
        // verify identity another way
    }
}
关键点:
.success(let document)表示用户批准,document包含加密响应。- 注释明确要求把 document 发到服务器解密和验证。
.failure(let error)表示流程失败。PKIdentityError.cancelled是用户没有批准请求的常见失败路径。- fallback 仍然处理 API 不可用的场景。
(30:46)服务器侧要处理加密和签名。响应是 CBOR 编码的 encryption envelope,使用 HPKE 加密。服务器用私钥解密后得到 ISO 18013-5 定义的 mdoc response。使用数据前,服务器要验证 issuer signature 和 device signature。Apple 服务器和发证机构服务器不参与这一步。
核心启发
-
做旅行组合付款页:把机票、酒店和租车拆成多个
PKPaymentTokenContext。这样用户只授权一笔总价,每个商户拿自己的 payment token,避免在商户之间传完整卡号。 -
做会员订阅的 Apple Pay 自动扣款:用
PKRecurringPaymentRequest描述试用期、正式账期、管理页面和 token 通知地址。服务端接入 Apple Pay Merchant Token Management API,处理 token 删除等生命周期事件。 -
做咖啡卡自动充值:用
PKAutomaticReloadPaymentRequest和PKAutomaticReloadPaymentSummaryItem设置充值金额与阈值。余额低于阈值时按用户授权自动充值,并在 Wallet 中提供管理入口。 -
做电商订单的 Wallet 追踪:创建 Order Type ID 和证书,付款成功后返回
PKPaymentOrderDetails。服务器生成签名的 order package,并在发货、可取货、完成时通知设备更新。 -
做少收集数据的年龄验证:用
PKIdentityDriversLicenseDescriptor请求.age(atLeast: 18),并把intentToStore设为.willNotStore。服务器只验证加密响应和签名,不保存完整出生日期。
关联 Session
- What’s new with in-app purchase — 关注付费体验、交易状态和 StoreKit 2,适合和 Apple Pay 自动扣款一起比较。
- What’s new in StoreKit testing — 介绍购买和订阅测试工具,适合补齐支付流程的本地验证环节。
- Explore in-app purchase integration and migration — 讲服务端 API 和通知迁移,和 Wallet 订单、merchant token 的服务端处理互补。
- Meet passkeys — 同样围绕系统级身份与凭证安全,适合理解 Apple 在减少敏感信息暴露上的设计方向。
评论
GitHub Issues · utterances