
Highlight
Metal 混合渲染管线用光栅化做主渲染,光追做反射、阴影和环境光遮蔽,配合 tile memory 在单 render pass 内完成,避免 G-Buffer 写出到主内存。
核心内容
你的游戏已经有了完整的光栅化渲染管线。画面不错,但反射是假的(屏幕空间反射),阴影是硬边(shadow map),角落没有接触阴影。你想加入光追提升画质,但不想重写整个渲染器。
混合渲染就是这个问题的答案:光栅化做主,光追做辅。
详细内容
混合渲染管线架构
(01:19)
核心思路分三步:
- 光栅化生成 G-Buffer — 用传统方式渲染场景,输出位置、法线、材质信息
- 从 G-Buffer 发射光线 — 在 compute pass 或 fragment shader 中读取 G-Buffer,发射光线
- 合成最终画面 — 把光追结果和光栅化结果混合
Render Pass 1 (光栅化):
  - 渲染场景到 G-Buffer (position, normal, albedo)

Compute Pass (光追):
  - 读取 G-Buffer
  - 发射 shadow rays / reflection rays / AO rays
  - 输出 shadow mask / reflection color / AO factor

Render Pass 2 (合成):
  - 读取 G-Buffer 和光追结果
- 计算光照并合成(06:32)
关键点:
- G-Buffer 只需要生成一次
- 每种光追效果可以独立实现
- 光追分辨率可以低于屏幕分辨率
- 用 temporal accumulation 降噪
Ray-Traced Shadows
(08:35)
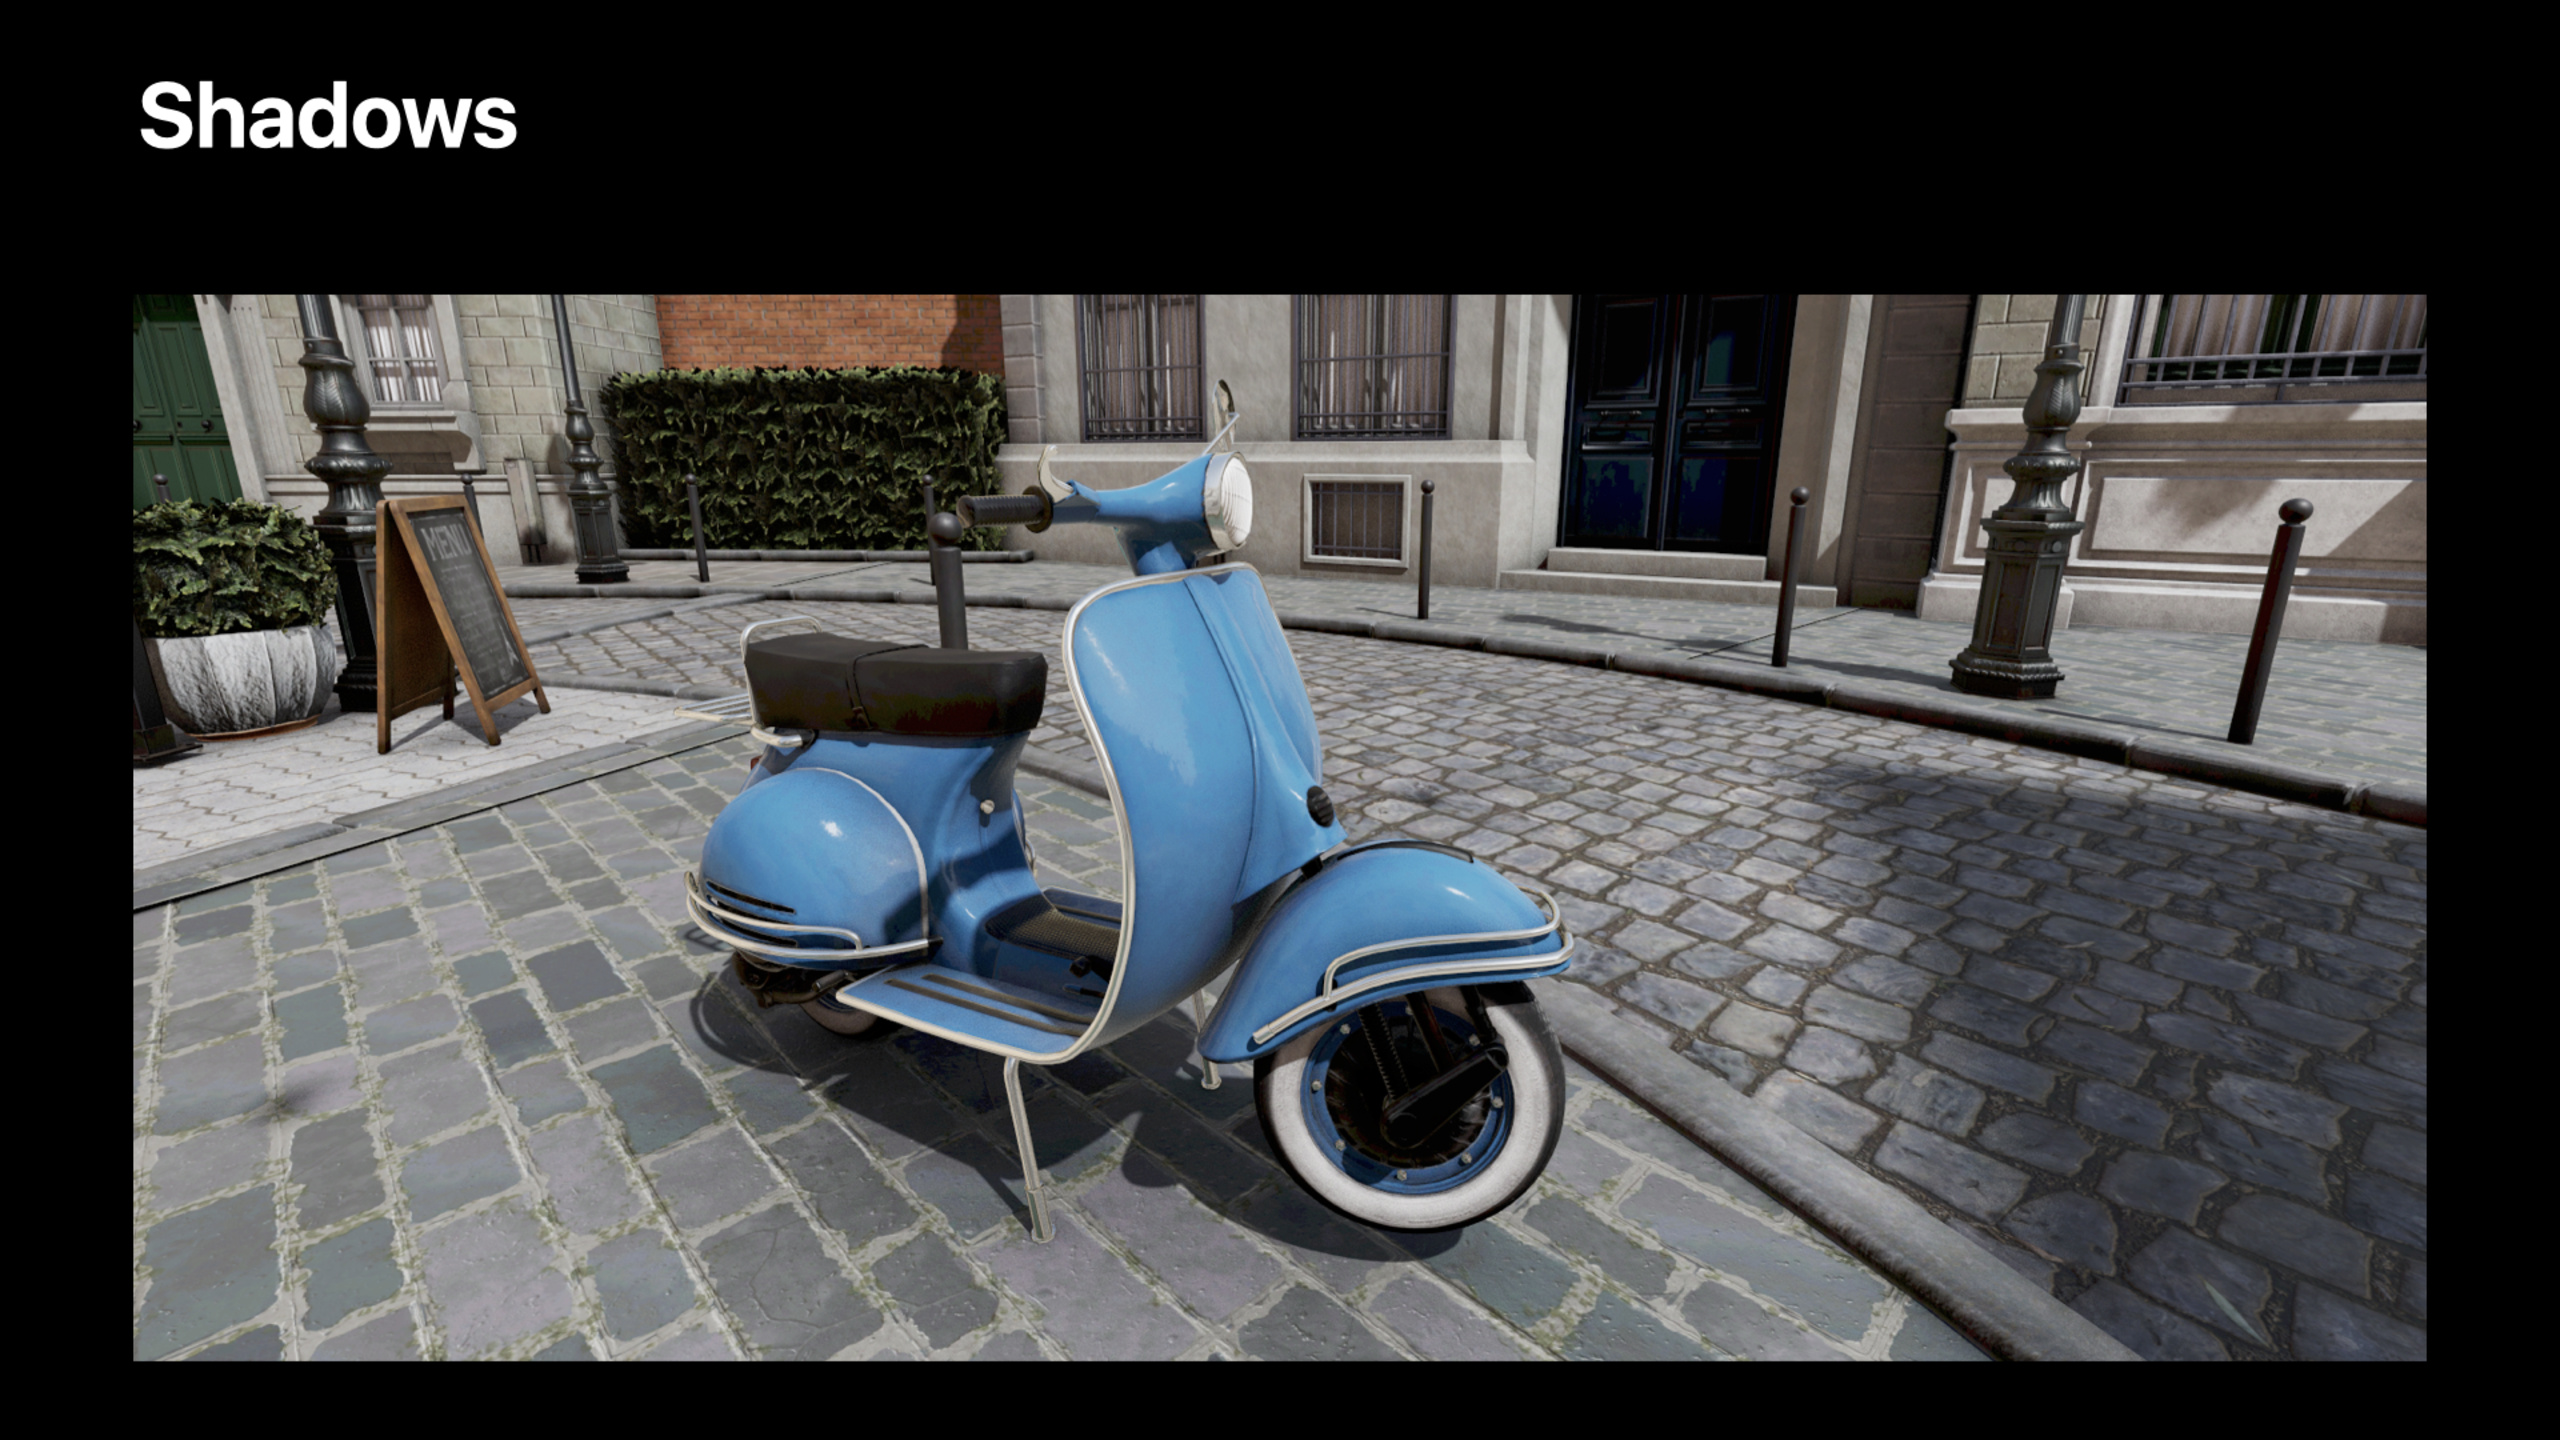
Shadow map 的问题是分辨率有限,近处锯齿明显,而且不支持软阴影。光追阴影直接从 G-Buffer 发射光线到光源,判断是否有遮挡。
kernel void rayTracedShadows(
    texture2d<float> gBufferPosition [[texture(0)]],
    texture2d<float> gBufferNormal [[texture(1)]],
    texture2d<float> shadowMask [[texture(2)]],
    uint2 gid [[thread_position_in_grid]]
) {
    float3 position = gBufferPosition.read(gid).xyz;
    float3 normal = gBufferNormal.read(gid).xyz;

    // 偏移起点避免自相交
    float3 origin = position + normal * 0.01;
    float3 direction = normalize(lightPosition - position);

    ray ray;
    ray.origin = origin;
    ray.direction = direction;
    ray.max_distance = distance(lightPosition, position);

    intersector<instancing> intersector;
    intersector.set_acceleration_structure(accelerationStructure);

    auto intersection = intersector.intersect(ray, accelerationStructure);

    // 如果有交点,说明被遮挡
    float shadow = (intersection.type == intersection_type::none) ? 1.0 : 0.0;
    shadowMask.write(shadow, gid);
}(11:54)
关键点:
- 从 G-Buffer 读取世界空间位置
- 起点沿法线偏移避免自相交
max_distance设为到光源的距离- 输出 shadow mask,合成时乘到光照上
软阴影可以通过向光源区域随机采样多个点实现:
float shadow = 0.0;
for (int i = 0; i < sampleCount; i++) {
    float3 lightSample = lightPosition + randomOffset(i);
    float3 direction = normalize(lightSample - position);
    ray.direction = direction;
    ray.max_distance = distance(lightSample, position);

    auto intersection = intersector.intersect(ray, accelerationStructure);
    shadow += (intersection.type == intersection_type::none) ? 1.0 : 0.0;
}
shadow /= sampleCount;
Ray-Traced Ambient Occlusion
(13:30)
Screen Space Ambient Occlusion(SSAO)在屏幕边缘和遮挡物后方会失效。光追 AO 从 G-Buffer 向半球方向发射短距离光线,统计被遮挡的比例。
kernel void rayTracedAO(
    texture2d<float> gBufferPosition [[texture(0)]],
    texture2d<float> gBufferNormal [[texture(1)]],
    texture2d<float> aoTexture [[texture(2)]],
    uint2 gid [[thread_position_in_grid]]
) {
    float3 position = gBufferPosition.read(gid).xyz;
    float3 normal = gBufferNormal.read(gid).xyz;

    float ao = 0.0;
    for (int i = 0; i < sampleCount; i++) {
        float3 sampleDir = sampleHemisphere(normal, i);

        ray ray;
        ray.origin = position + normal * 0.01;
        ray.direction = sampleDir;
        ray.max_distance = aoRadius; // 短距离,比如 1.0 米

        auto intersection = intersector.intersect(ray, accelerationStructure);
        ao += (intersection.type != intersection_type::none) ? 1.0 : 0.0;
    }
    ao = 1.0 - (ao / sampleCount);
    aoTexture.write(ao, gid);
}(15:07)
关键点:
- 采样方向限制在法线半球内
- 光线距离短(AO 只关心附近遮挡)
- 结果可以模糊降噪
- 每像素 4-8 条光线就能有不错的效果
Tile Memory 优化
(17:20)
在 Apple GPU 上,混合渲染可以利用 tile memory 避免写出 G-Buffer。
// 光栅化 pass:G-Buffer 存到 tile memory
fragment GBufferOutput gBufferFragment(...) {
    GBufferOutput output;
    output.position = float4(worldPosition, 1.0);
    output.normal = float4(normal, 0.0);
    output.albedo = albedo;
    return output;
}

// 在同一个 render pass 的 tile shader 中做光追
[[kernel]] void tileShader(
    texture2d<float> positionTexture [[texture(0)]], // tile memory
    texture2d<float> normalTexture [[texture(1)]],   // tile memory
    ...
) {
    // 直接从 tile memory 读取 G-Buffer,发射光线
    // 结果写回 tile memory
}(18:45)
关键点:
- tile shader 在 tile memory 中执行
- G-Buffer 不需要写出到主内存
- 光追结果直接用于合成
- 大幅减少内存带宽
降噪和时域累积
(20:30)
每像素只发射少量光线(1-4 条)会产生噪声。解决方案是时域累积:把当前帧的结果和历史帧混合。
// 当前帧的光追结果
float4 currentResult = traceRays(...);

// 重投影到上一帧的屏幕坐标
float2 prevUV = reproject(currentPosition, prevViewProjMatrix);

// 读取历史帧结果
float4 historyResult = historyTexture.sample(sampler, prevUV);

// 混合(指数移动平均)
float blendFactor = 0.9; // 90% 历史 + 10% 当前
float4 denoisedResult = lerp(currentResult, historyResult, blendFactor);(22:15)
关键点:
- 重投影需要上一帧的 view-projection 矩阵
- blend factor 可以自适应调整(运动快时降低)
- 需要拒绝无效的历史样本(遮挡变化时)
- 配合 spatial filter 进一步降噪
核心启发
-
从 shadow map 迁移到光追阴影。用 G-Buffer 位置发射光线到光源,支持任意精度和软阴影。入口 API:
intersector.intersect(ray, accelerationStructure)。 -
用光追 AO 替代 SSAO。在角落和接触面获得更准确的遮挡信息。入口 API:半球采样 + 短距离光线求交。
-
在 Apple GPU 上用 tile shader 做混合渲染。G-Buffer 留在 tile memory,光追和合成在同一个 render pass 完成。入口 API:
[[kernel]] tileShader+ tile memory texture。 -
光追结果用时域累积降噪。每像素少量光线 + 历史帧混合 = 平滑结果。入口 API:重投影 + 指数移动平均。
-
逐步添加光追效果。先加阴影,再加 AO,最后加反射。每个效果独立实现,不影响现有管线。入口 API:独立的 compute pass 或 tile shader。
关联 Session
- Enhance your app with Metal ray tracing — Metal 光线追踪 API 新特性
- Optimize high-end games for Apple GPUs — Apple GPU TBDR 架构游戏优化
- Discover Metal debugging, profiling, and asset creation tools — Xcode 13 Metal 调试和性能分析工具
评论
GitHub Issues · utterances